Free 3D Octagon Pillow Pattern

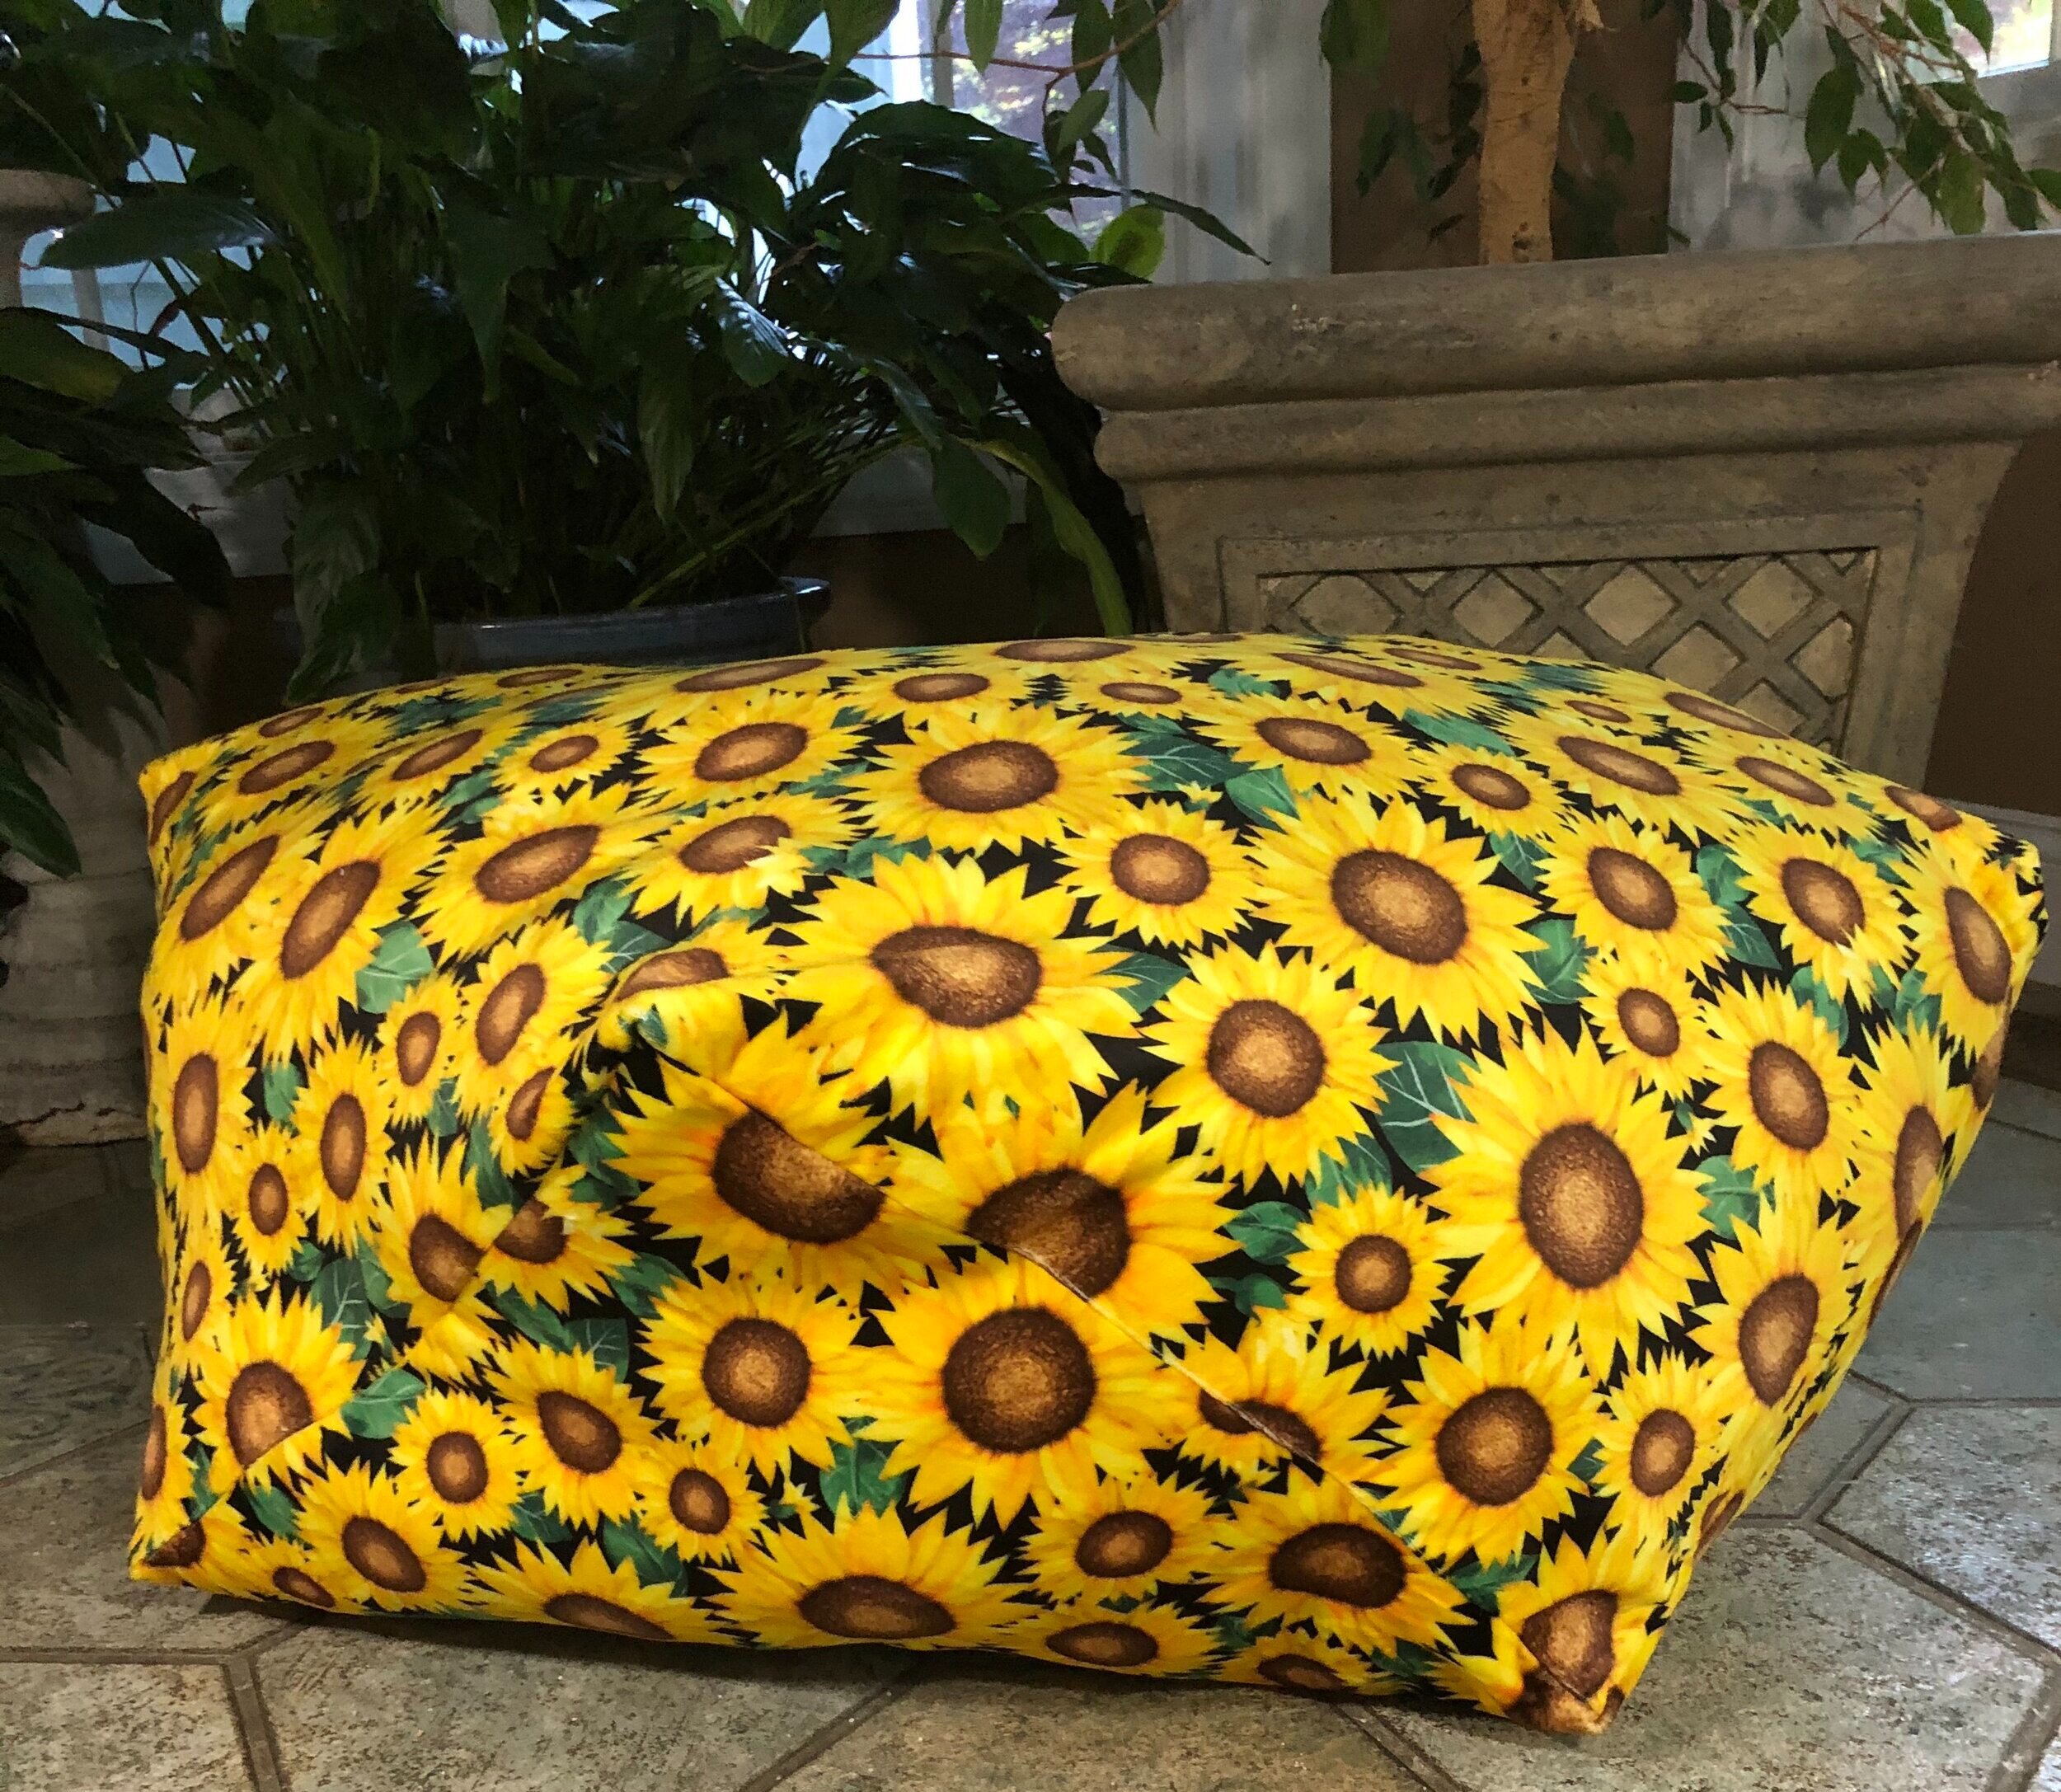
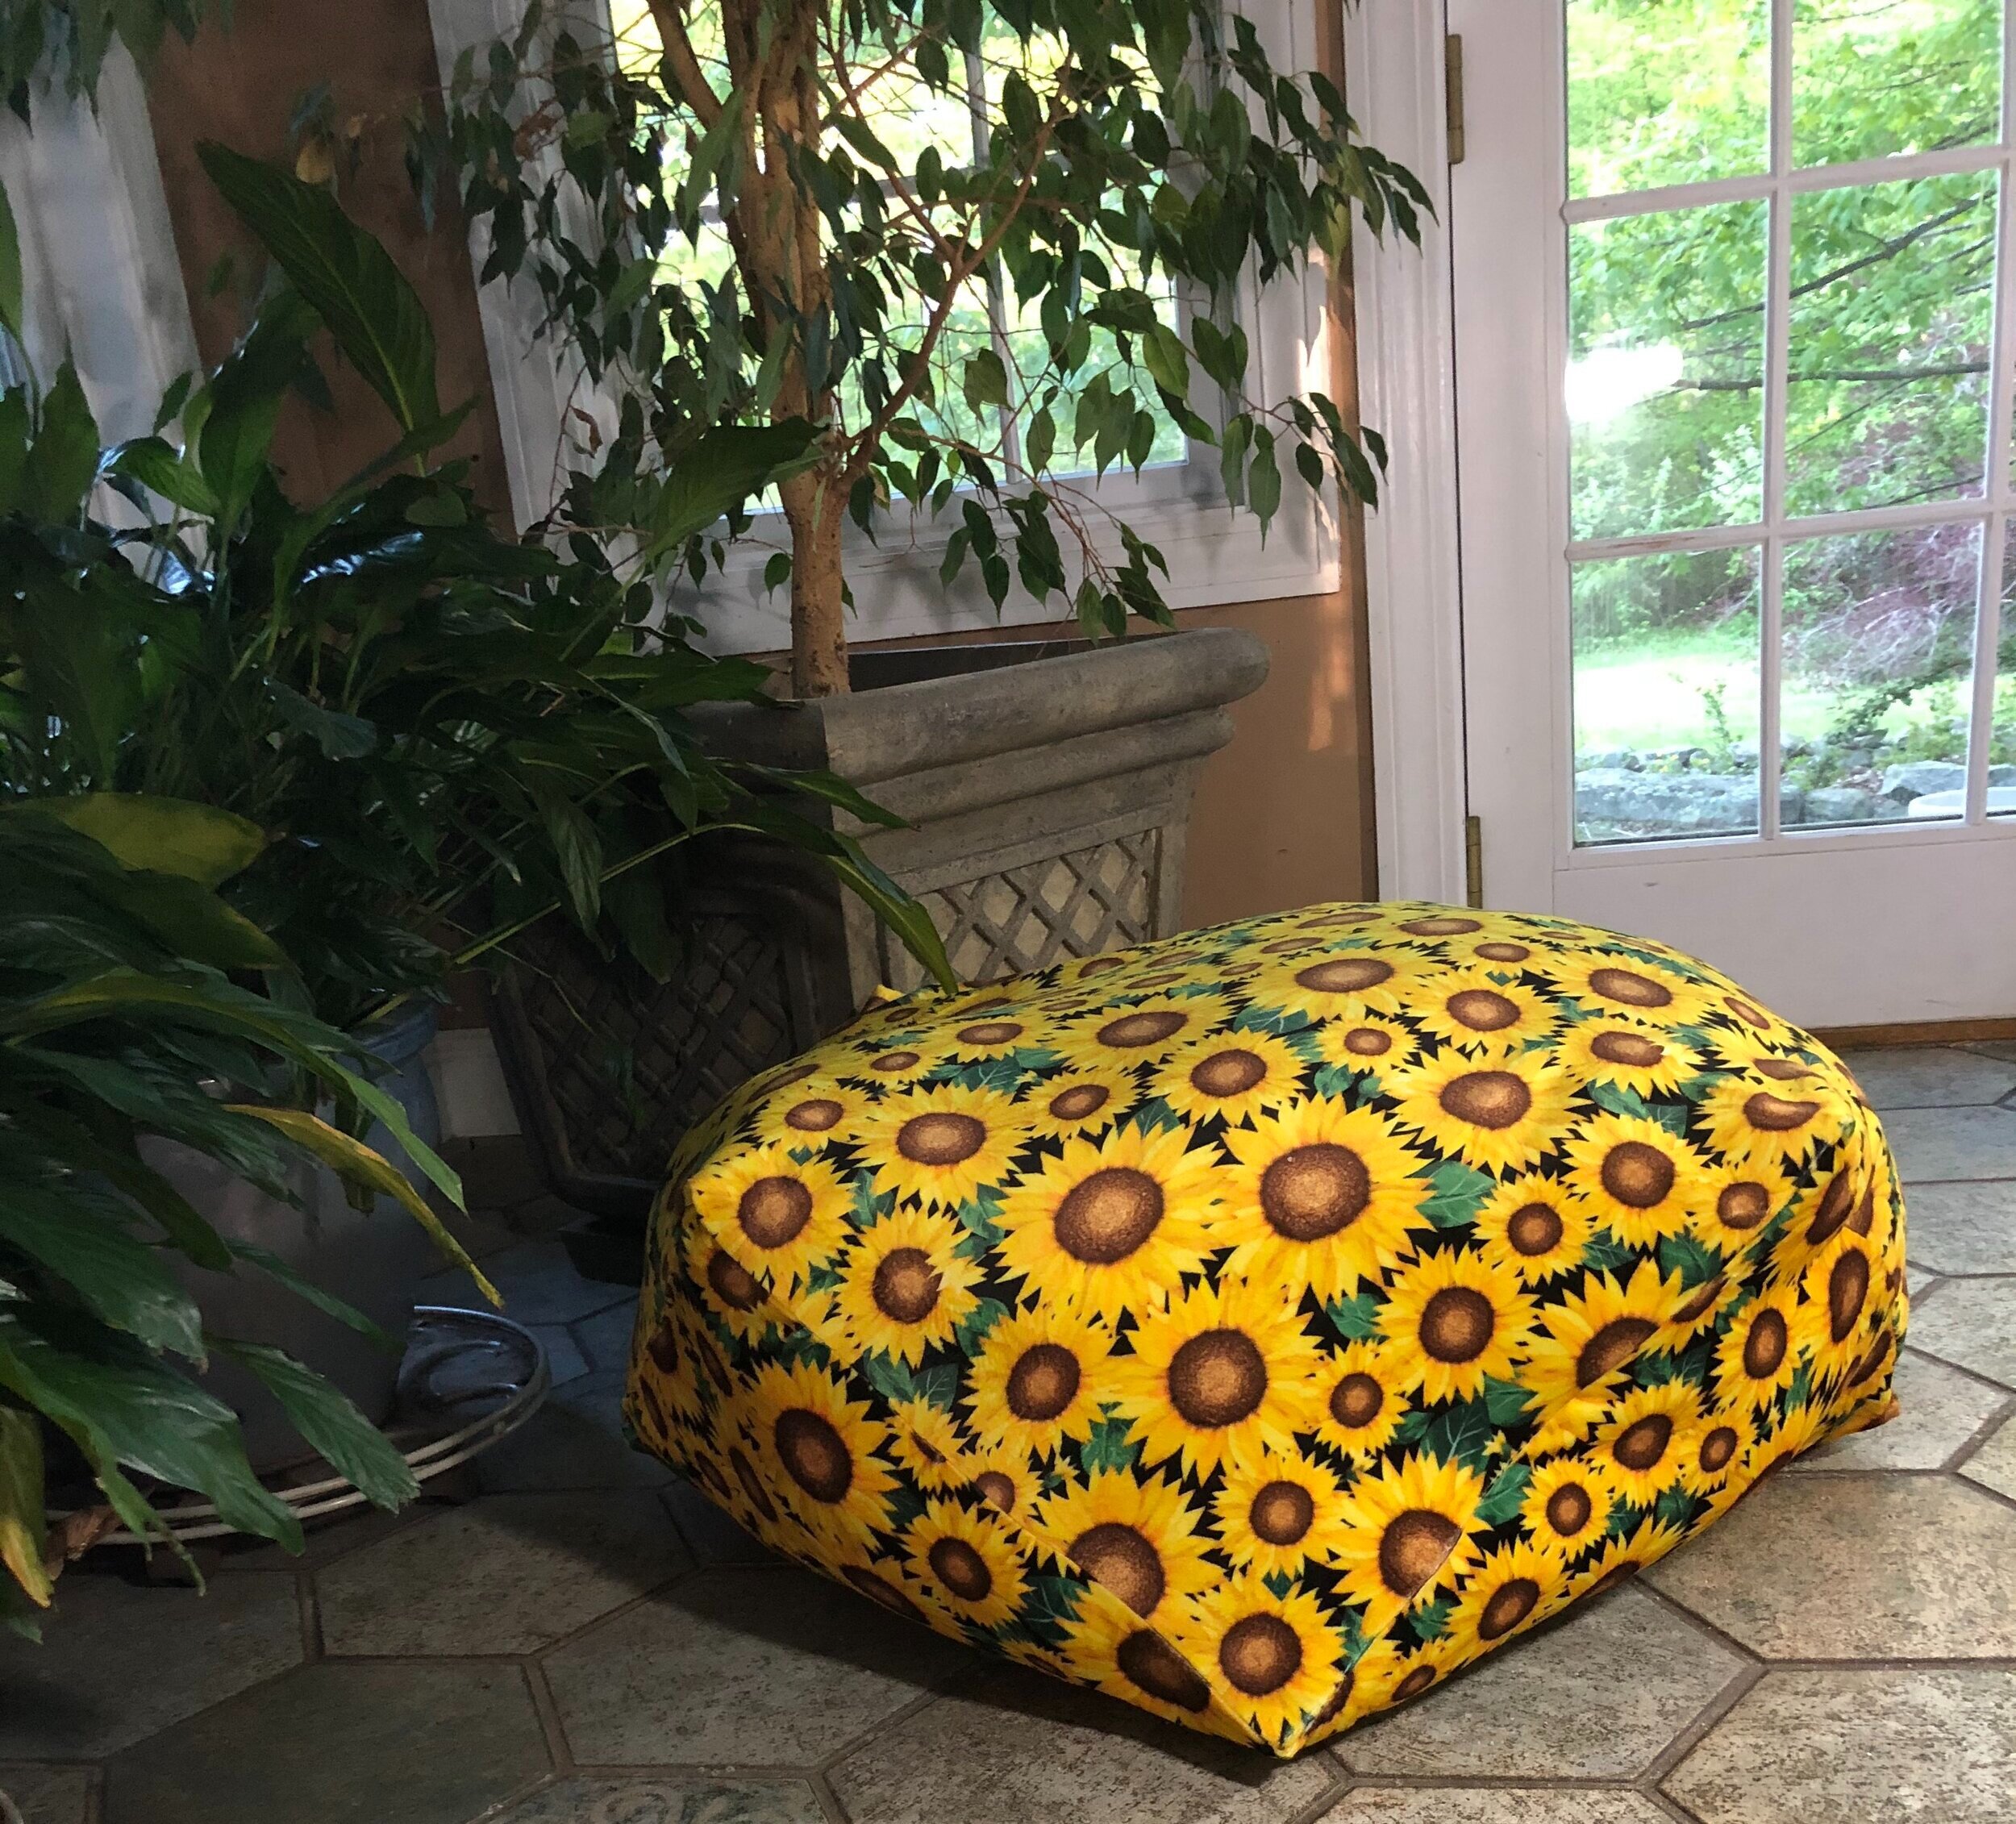
Pillows! We all love to snuggle up with a good pillow, but they are even snugglier (I know – not a word) when they are made with Shannon Fabrics Cuddle® and Luxe Cuddle®. Here is a really fun free pattern to make a large pillow. Use it to prop up in bed or when you need extra seating around the TV. It is adaptable to make into a smaller size too, but with two yards of fabric you get this darling 3D octagon pillow.  This is not the flat octagon that quilters think of. This pillow has eight corners. 

IMG_4305.jpg


MATERIALS

IMG_4289.jpg

2 yards of Shannon Fabrics Cuddle® or Luxe Cuddle®

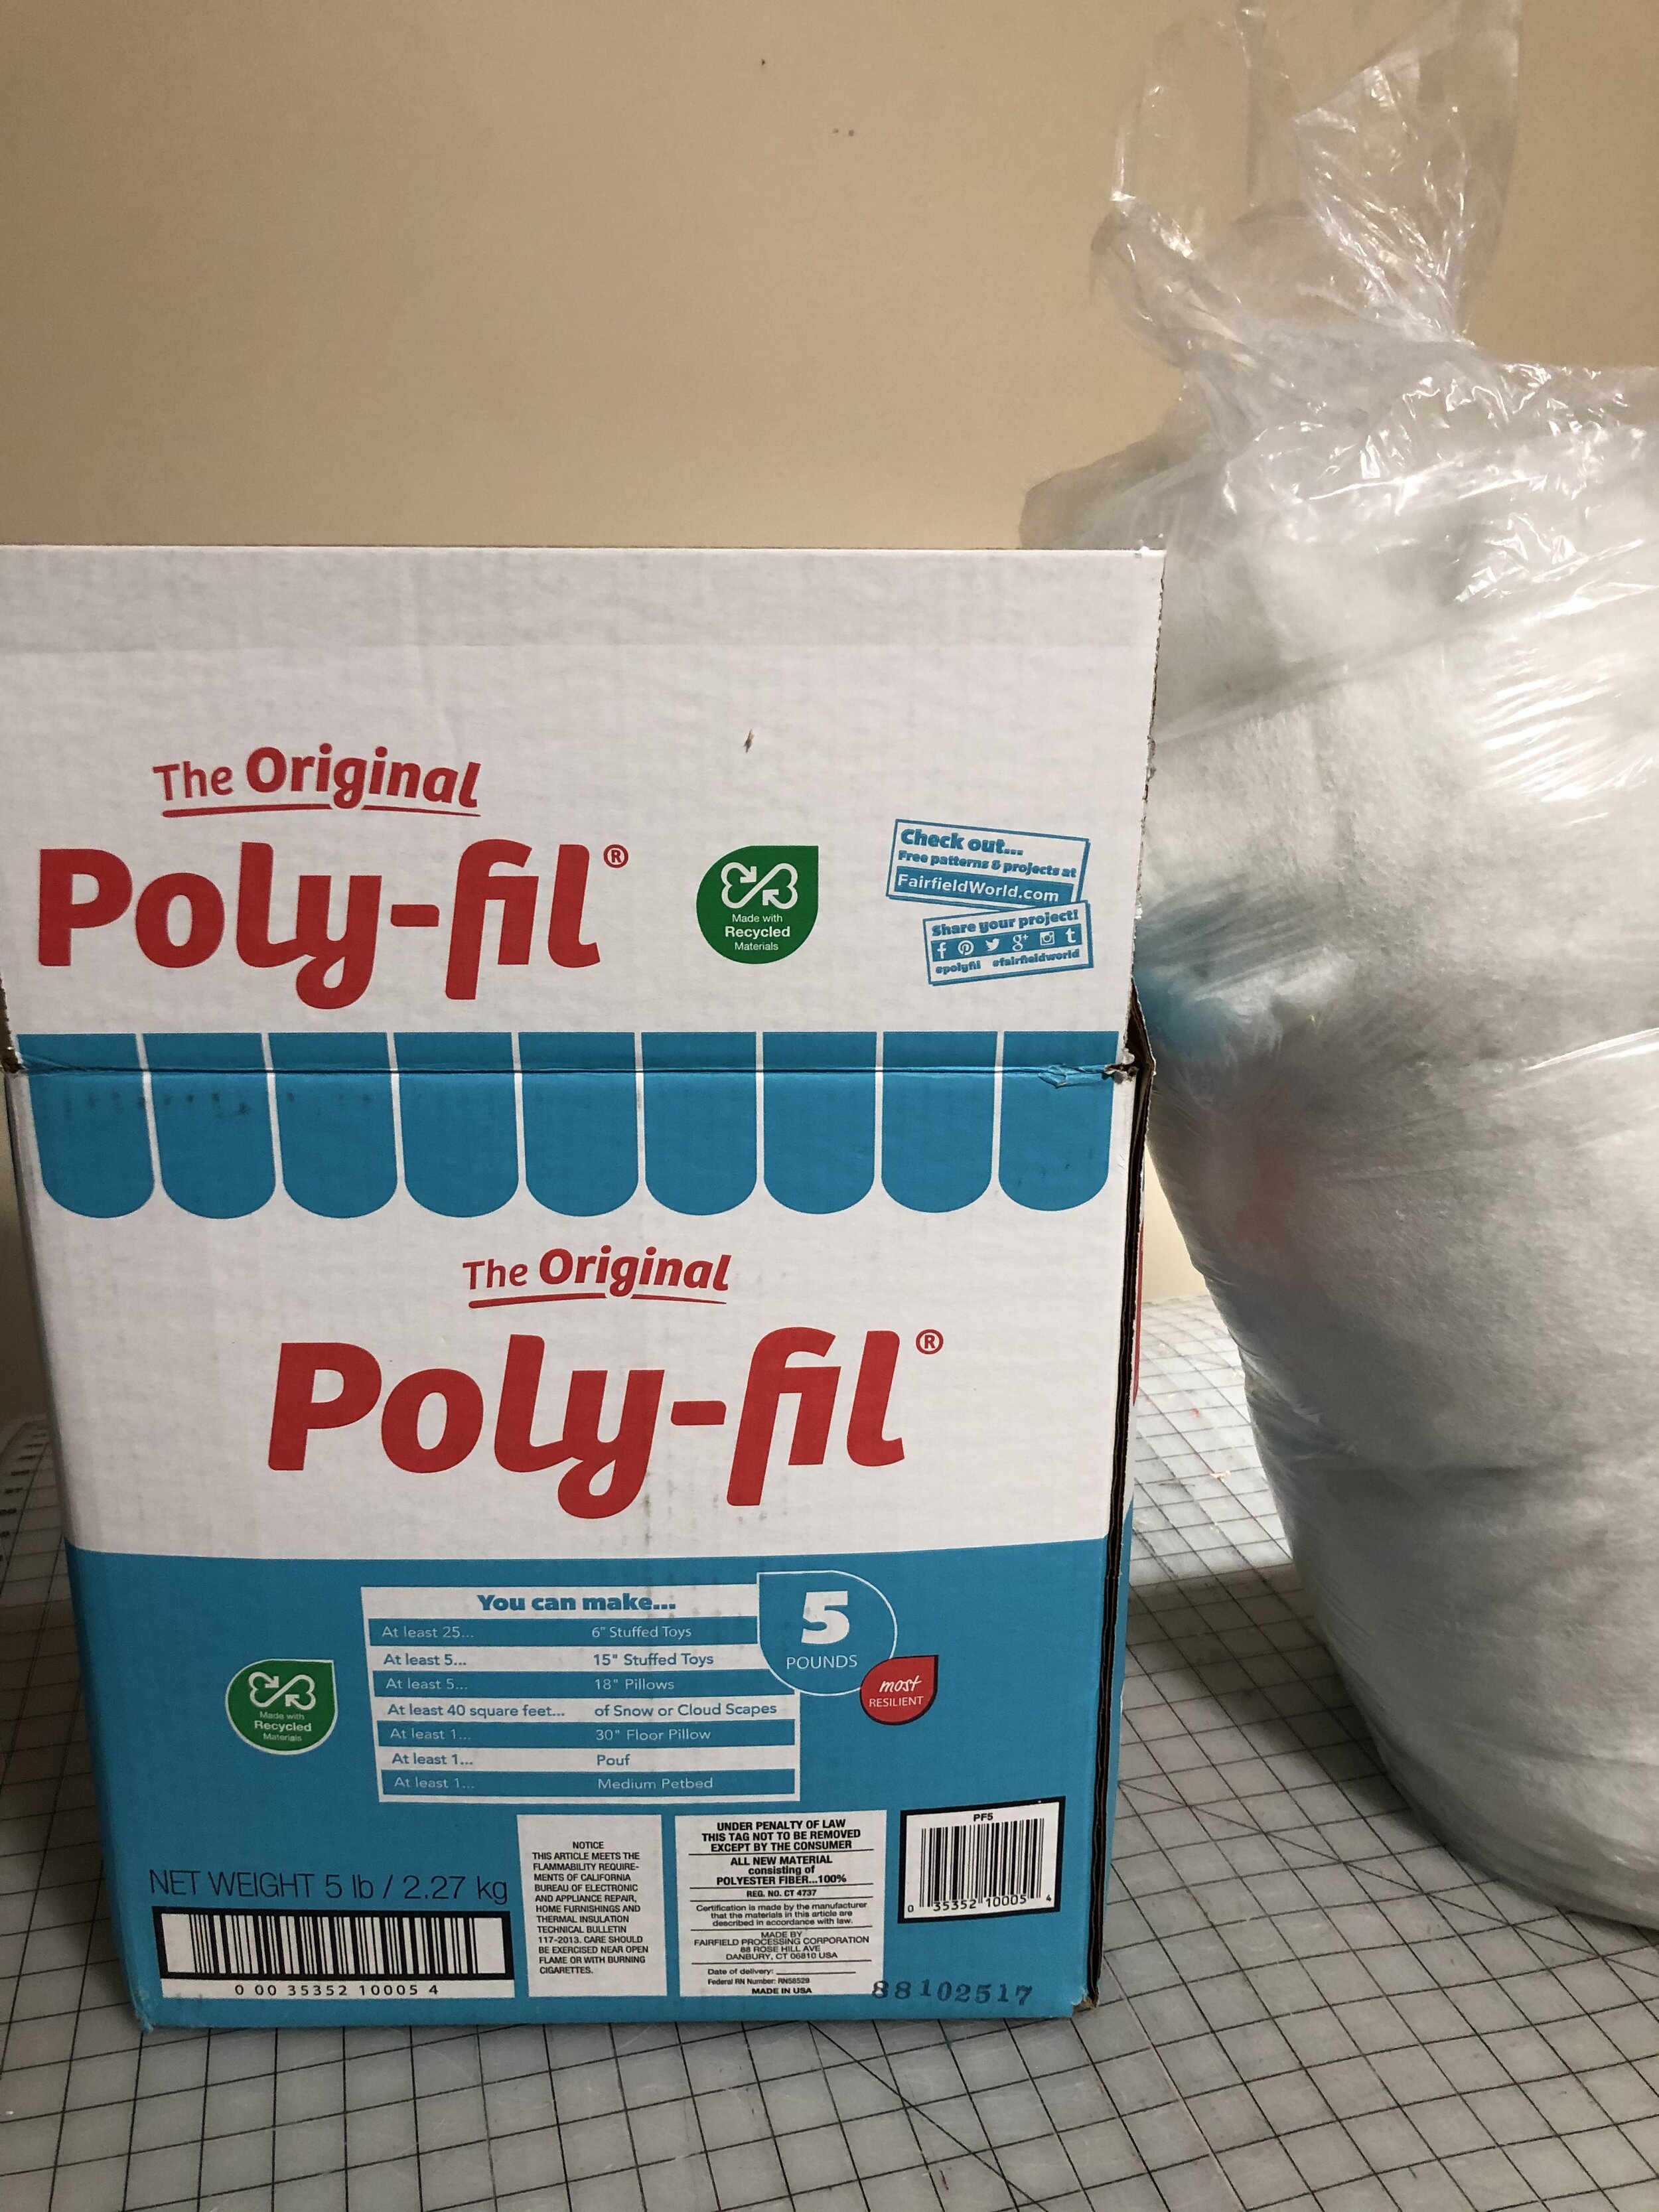
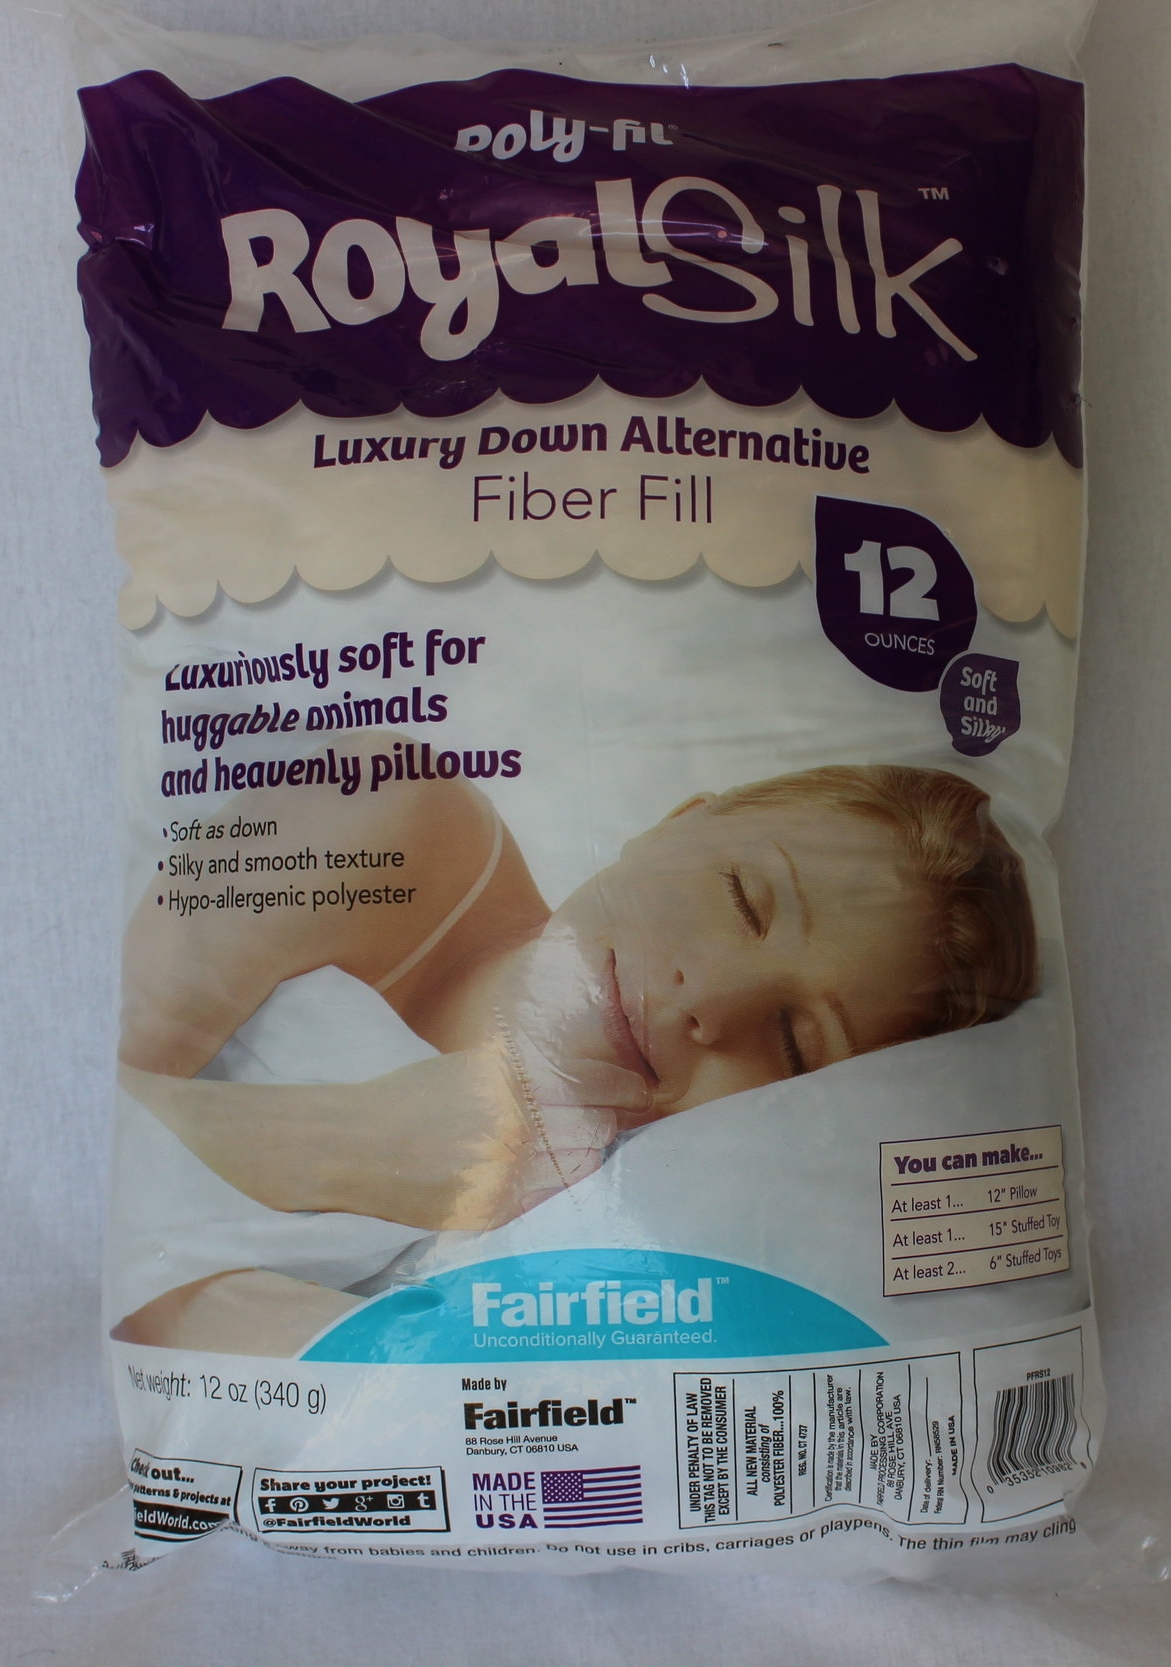
5 pounds of Poly-Fil from Fairfield World

Marking Pen

Corner turner

Matching Good Quality Polyester Thread (not cotton)

Long Flower Head Pins

Walking Foot 

 INSTRUCTIONS

 STEP 1 PREPARATION - CUTTING

IMG_4258.jpg

Cut the 2 yards in half. They will now be 2 pieces of fabric that are 36” by the width of fabric

IMG_4259.jpg
  • Remove the selvage

IMG_4260.jpg
  • To make an even square, fold the 36” at the corner to match the width of fabric. This will form a triangle.

  • Cut along the straight line where you can see the back side of the fabric and the inside of the fabric (see photo).

  • Do this with both pieces of fabric. You now have 2 square pieces of fabric

IMG_4263.jpg
  • Fold each square in half. With a marking pen, mark the half way along each edge. Do this for both squares.

IMG_4265.jpg
  • At the place that you have marked, cut a 3/8” straight slit. Do this on all four sides for both squares

STEP 2 SEWING

  • You are going to sew each of the eight sides individually. To achieve perfect corners, sew each side separately.

  • For the first side, match a corner of one square to the inside of the slit on the other square.

IMG_4269.jpg
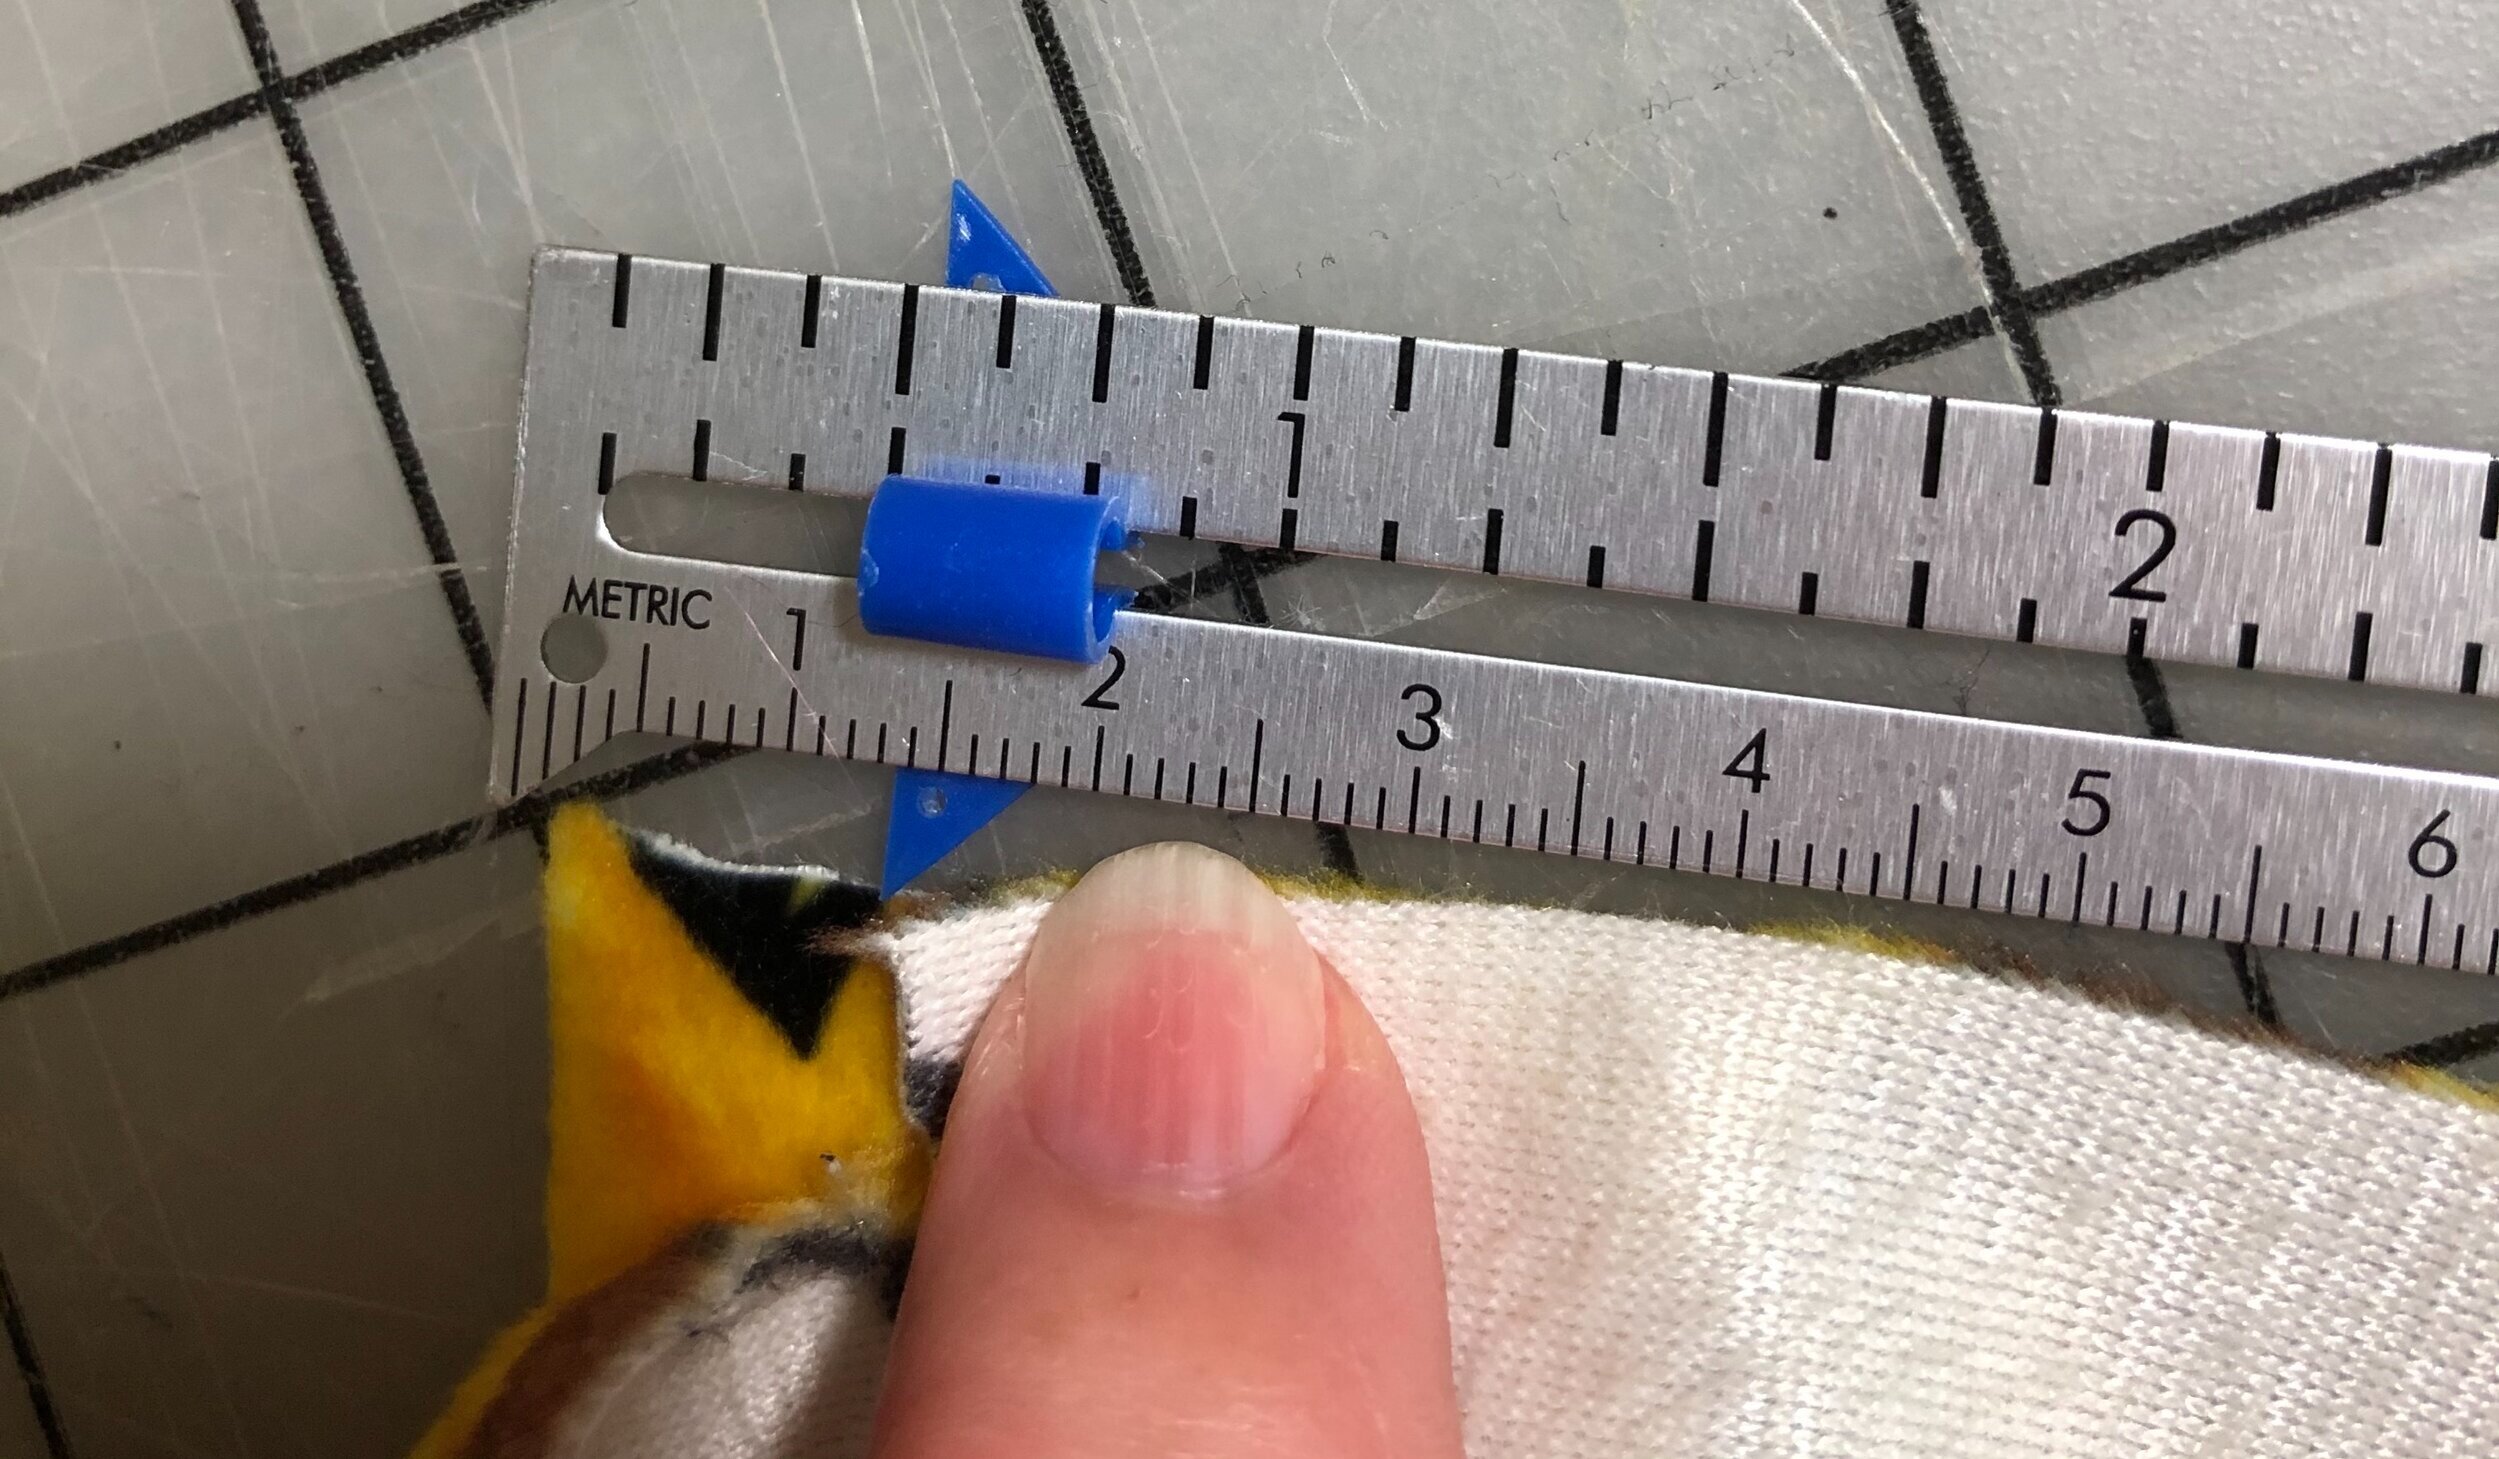
  • Place the corner 1/2” from the slit and pin.

IMG_4270.jpg
  • Follow the edge along until you reach the other corner and slit. Match this corner with the slit on the other square. Pin.

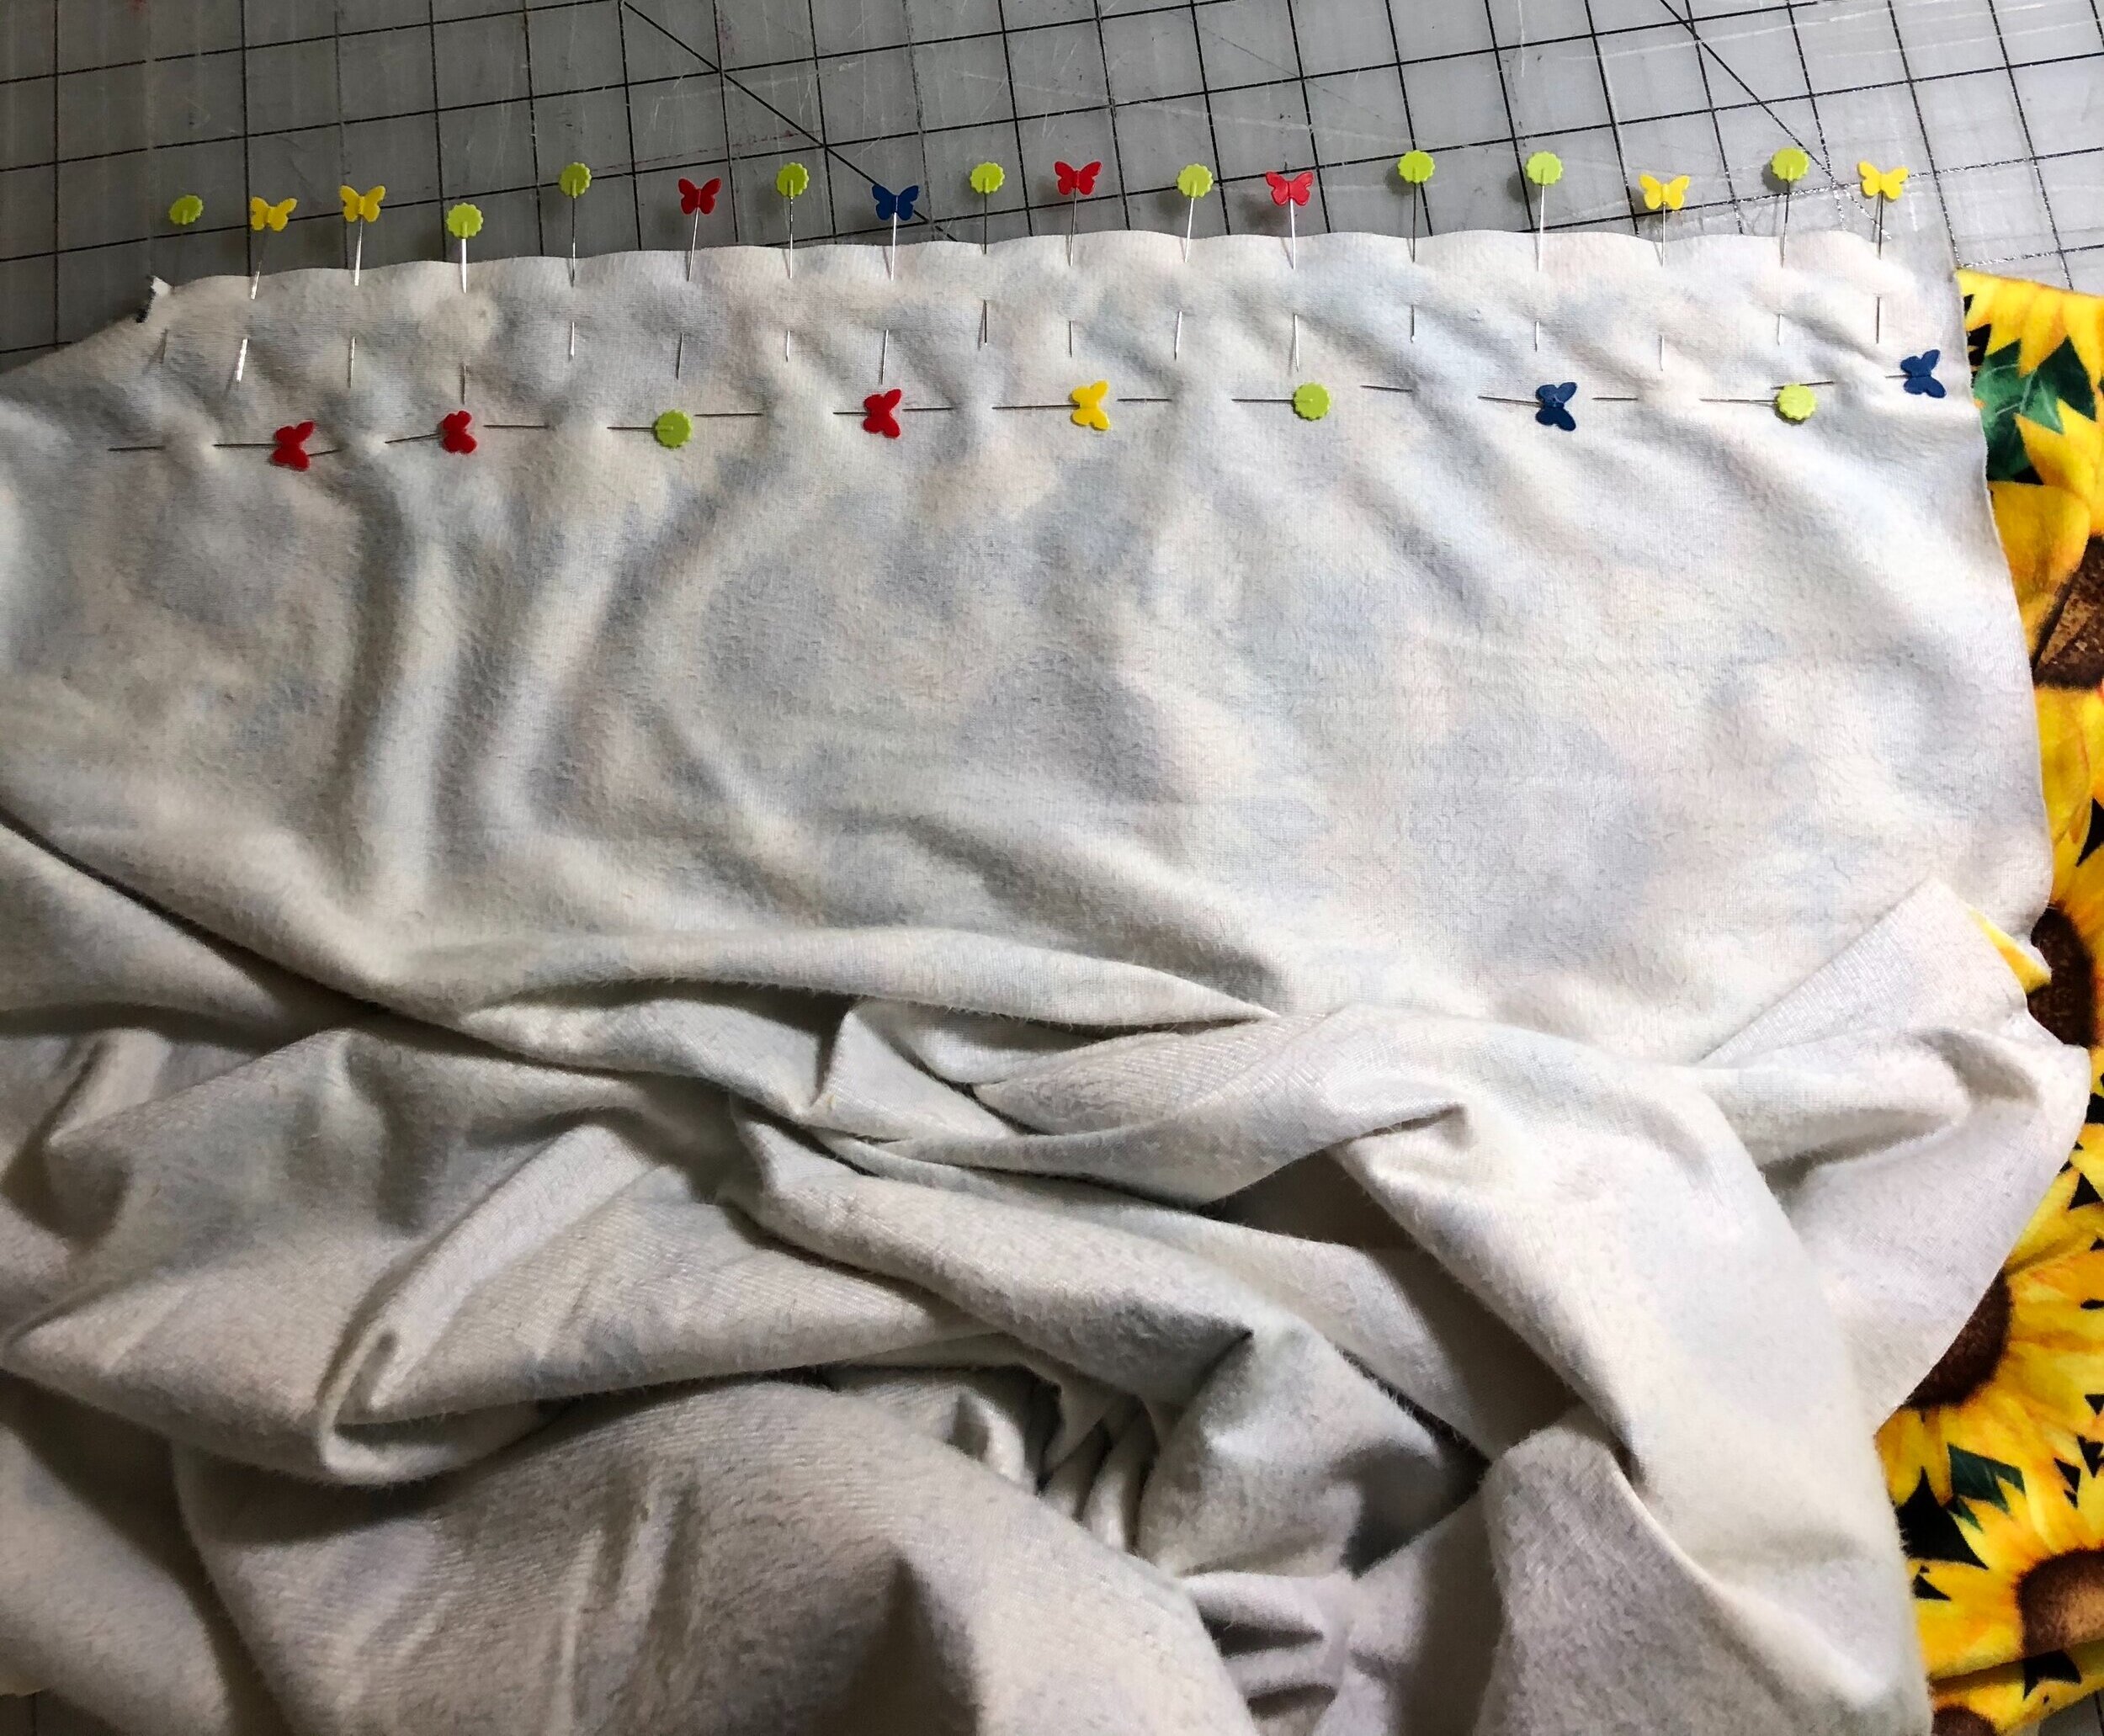
  • Smooth out the fabric on a firm surface. One edge may appear longer than the other. Ease the two pieces together such that they are the same size. Do not stretch them. Pin by the half-way method…pin at the half-way point, then keep pinning half-way between each pin until the pins are about 1” apart.

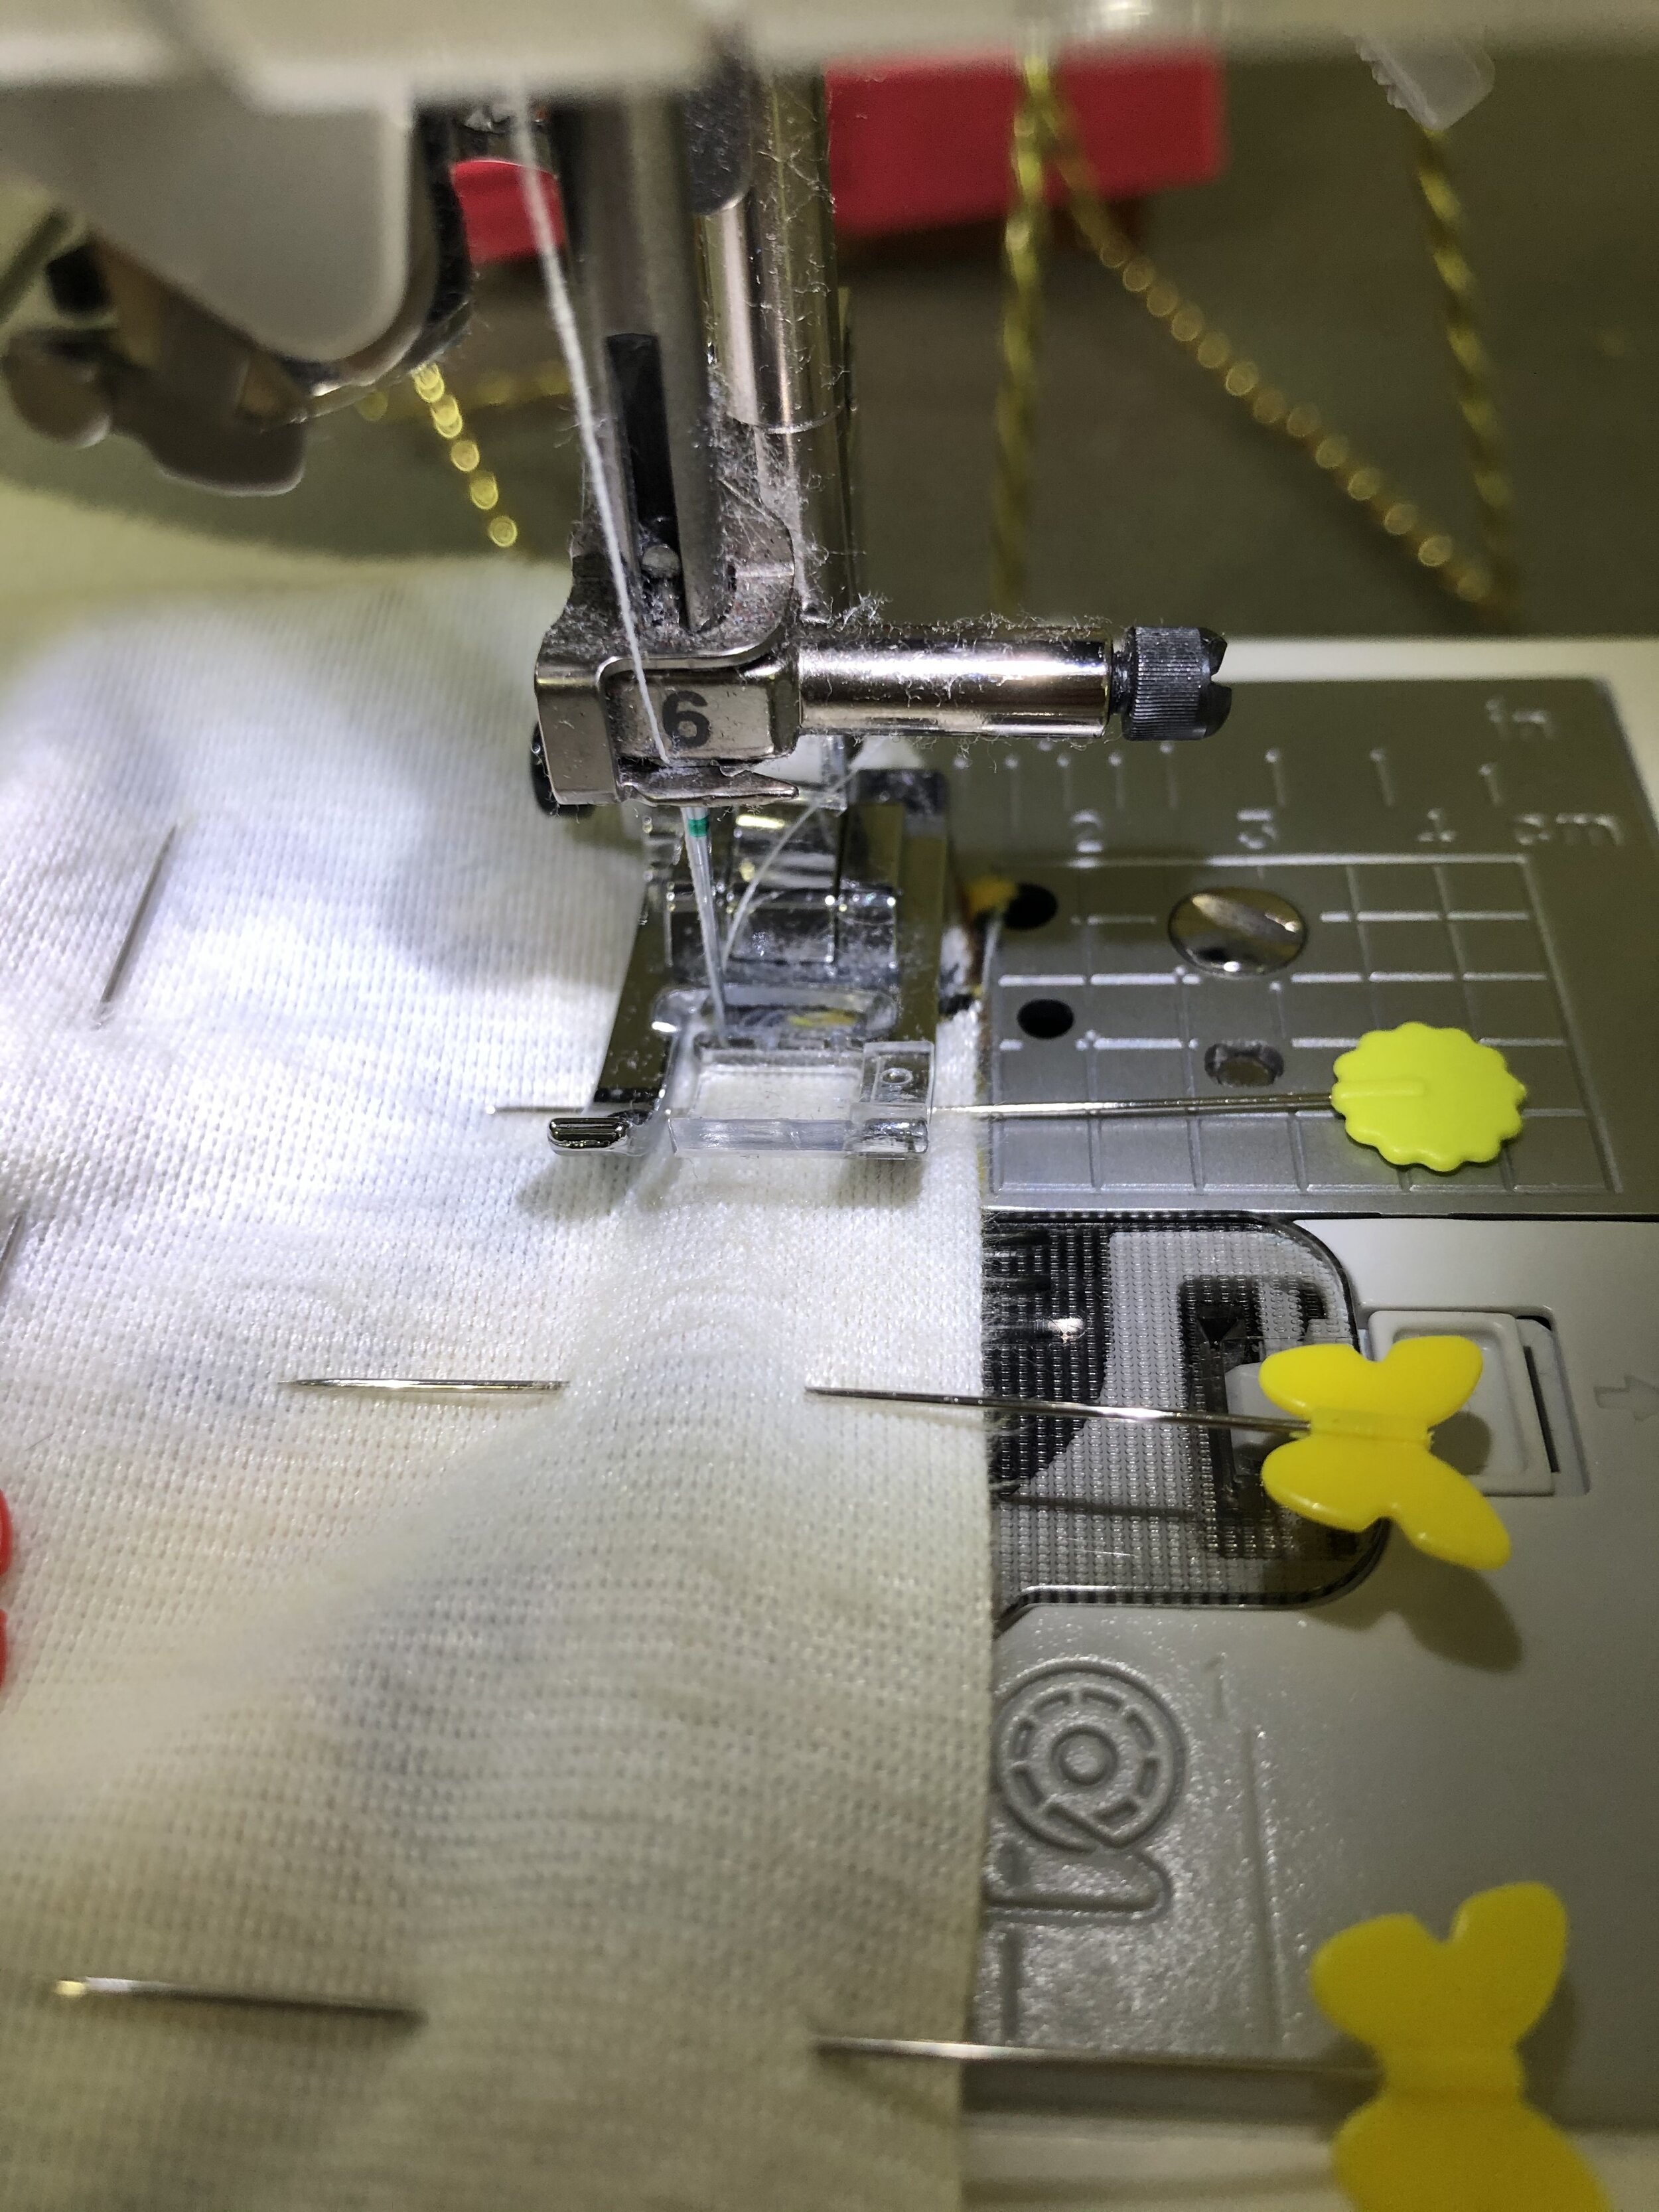
  • Now pin along the bottom of the pins in a horizontal direction. This is a unique double pinning method devised by Shannon fabrics to prevent stretching.

IMG_4271.jpg
  • Now sew that edge with a 1/2” seam allowance.

  • Laying your fabric flat find the next edge to the right of the edge you just sewed. Place the corner that you just sewed 1/2” from the corresponding slit. You will have a pucker in the corner. This is needed to make the corner when it is turner right side out. End at the slit, which should be 1/2” from corner edge.

  • Pin this new edge in the same manner as the first edge.

IMG_4274.jpg
  • When you begin to sew, place your needle in the last stitch. Make sure that the pucker does not get caught in the stitches. Pull it down and free from your seam.

  • Sew all eight sides in this way.

IMG_4286.jpg
  • However, for the last side leave a minimum of 5” not sewn for the opening.

STEP 3 TURNING RIGHT SIDE OUT

IMG_4287.jpg
  • Trim the corners, checking each one that they are completely stitched together and have no puckers. Adjust where necessary.

  • Turn right sided out.

  • Push the corners out.

STEP 4 FILLING

IMG_4290.jpg
  • Fill the pillow with the entire box of poly-fill through the opening.

STEP 5 FINISHING

IMG_4291.jpg
  • Fold the opening at the 1/2” line and pin.

IMG_4292.jpg
  • Zigzag the opening closed.

ENJOY your new pillow! Make any size square of fabric into a fun 3D octagon pillow.

IMG_4303.jpg

Bessie Bunny debuts in Sew-a-Softie 2018

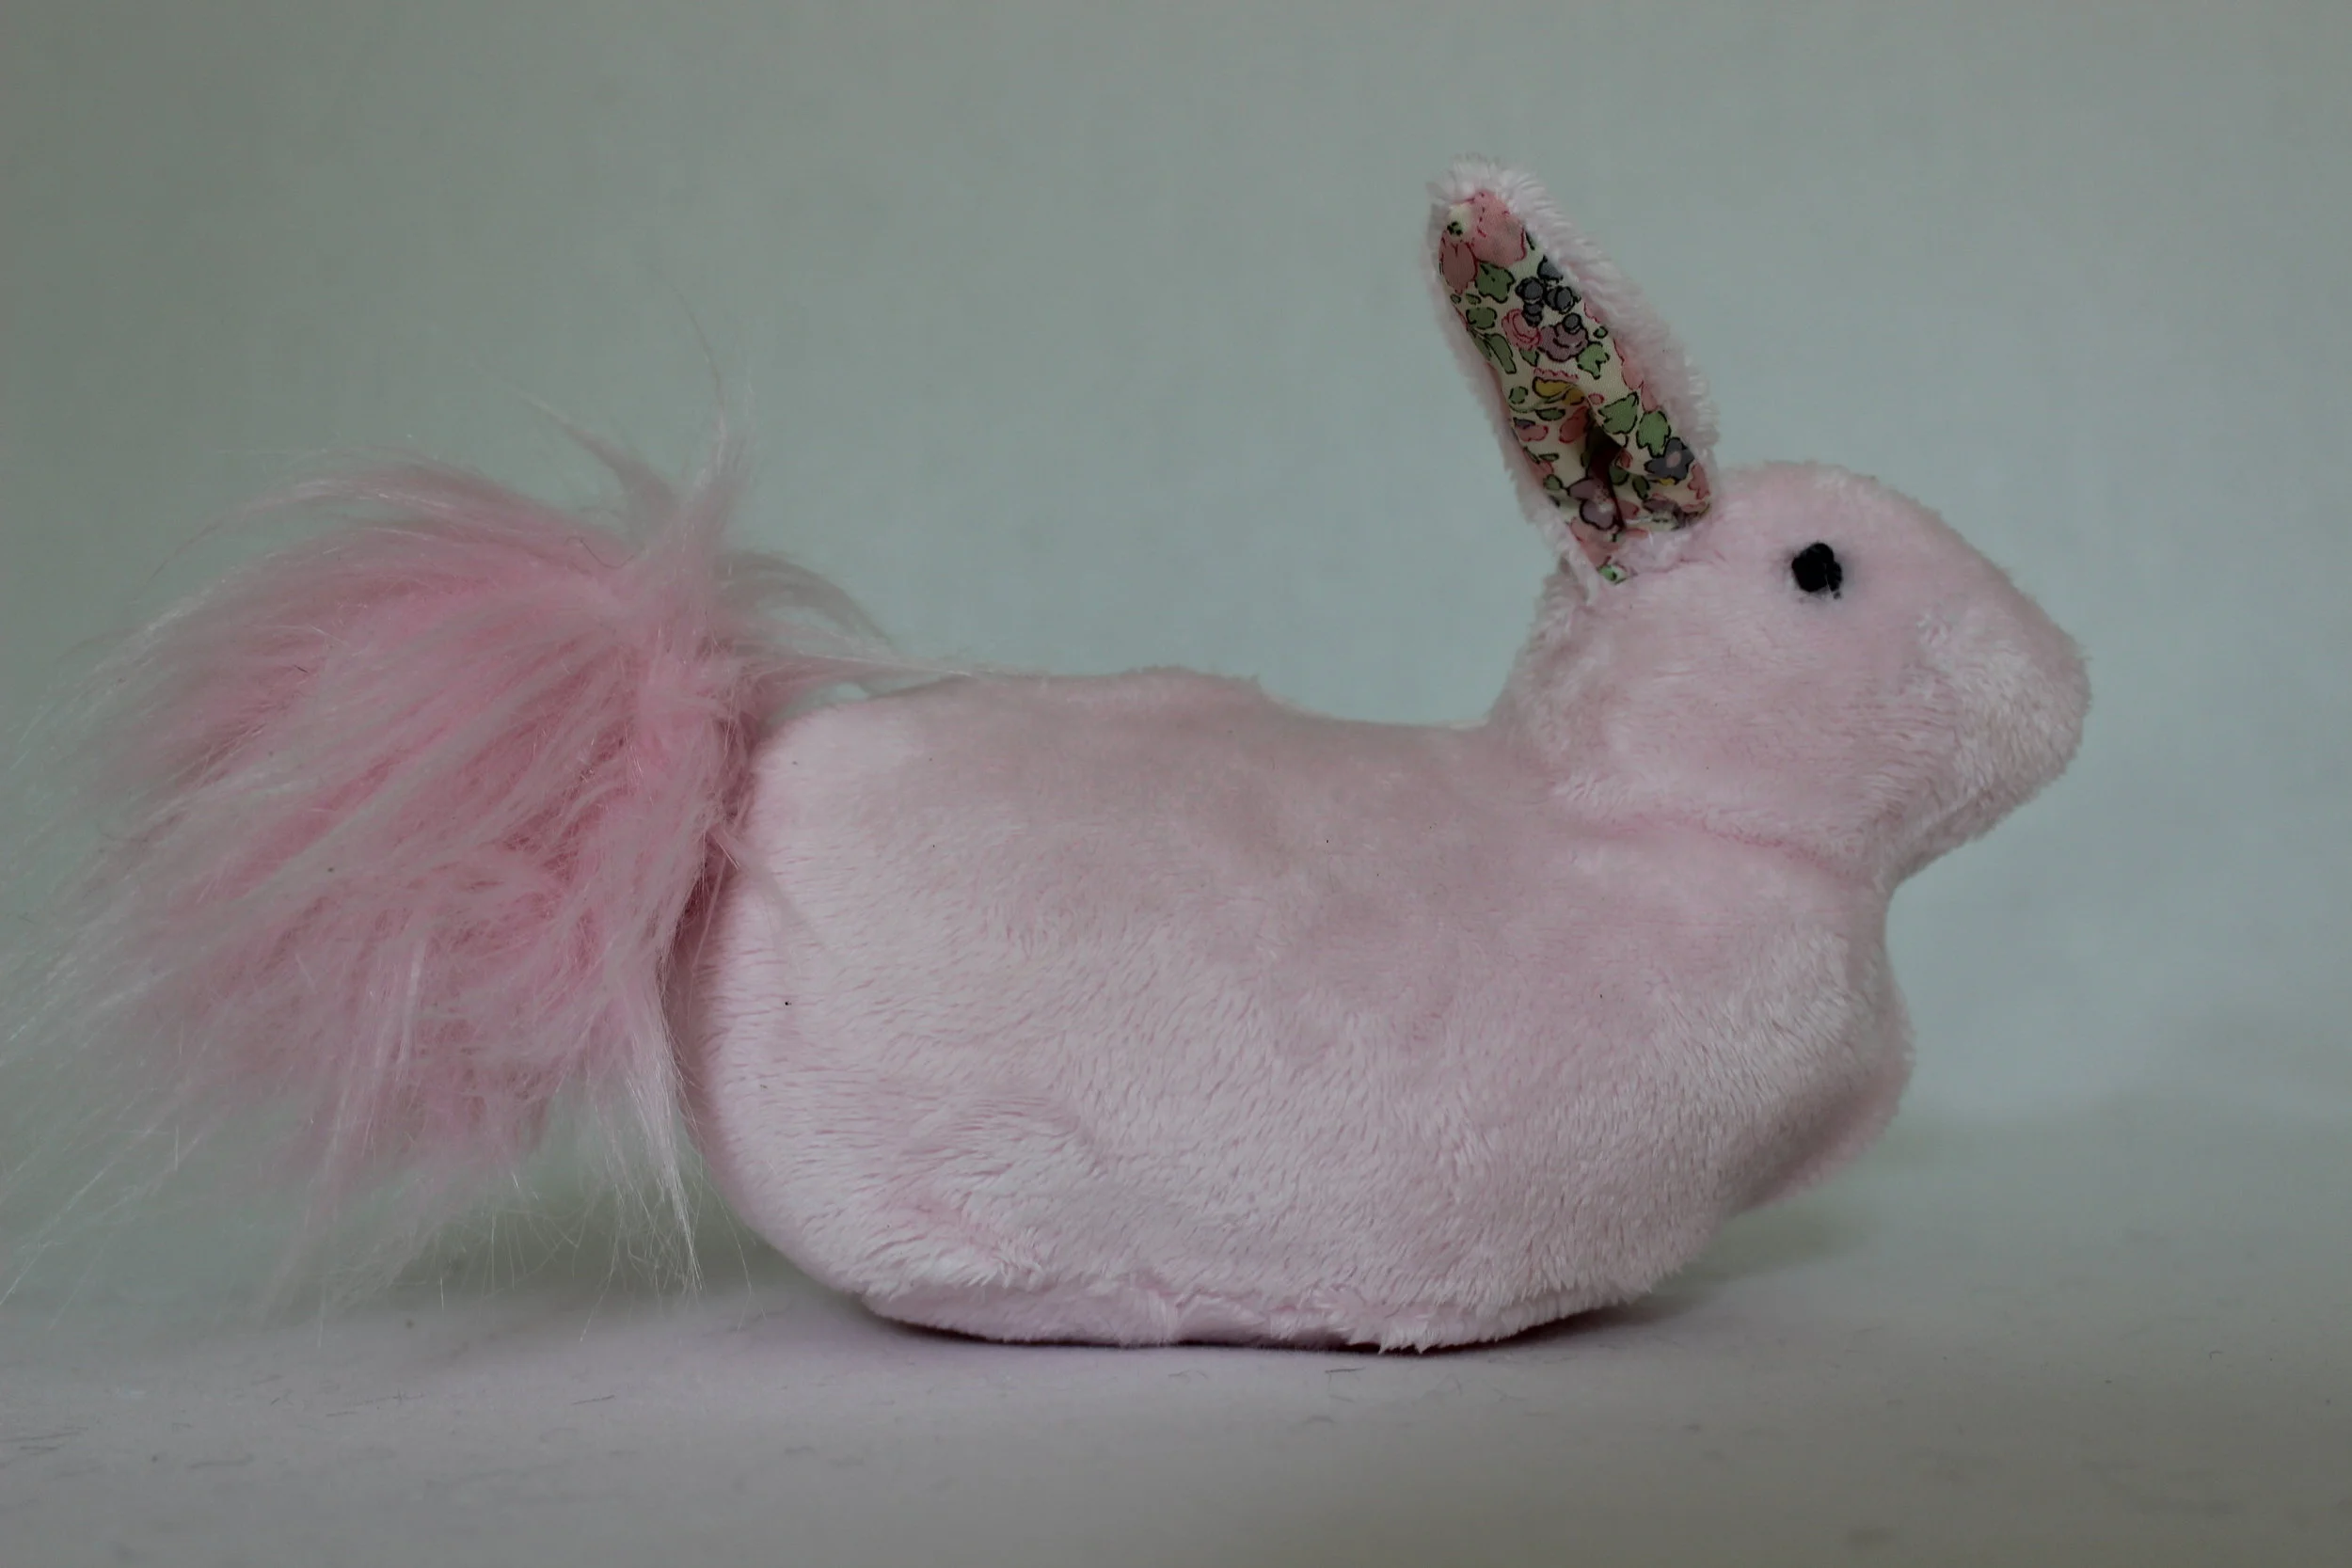
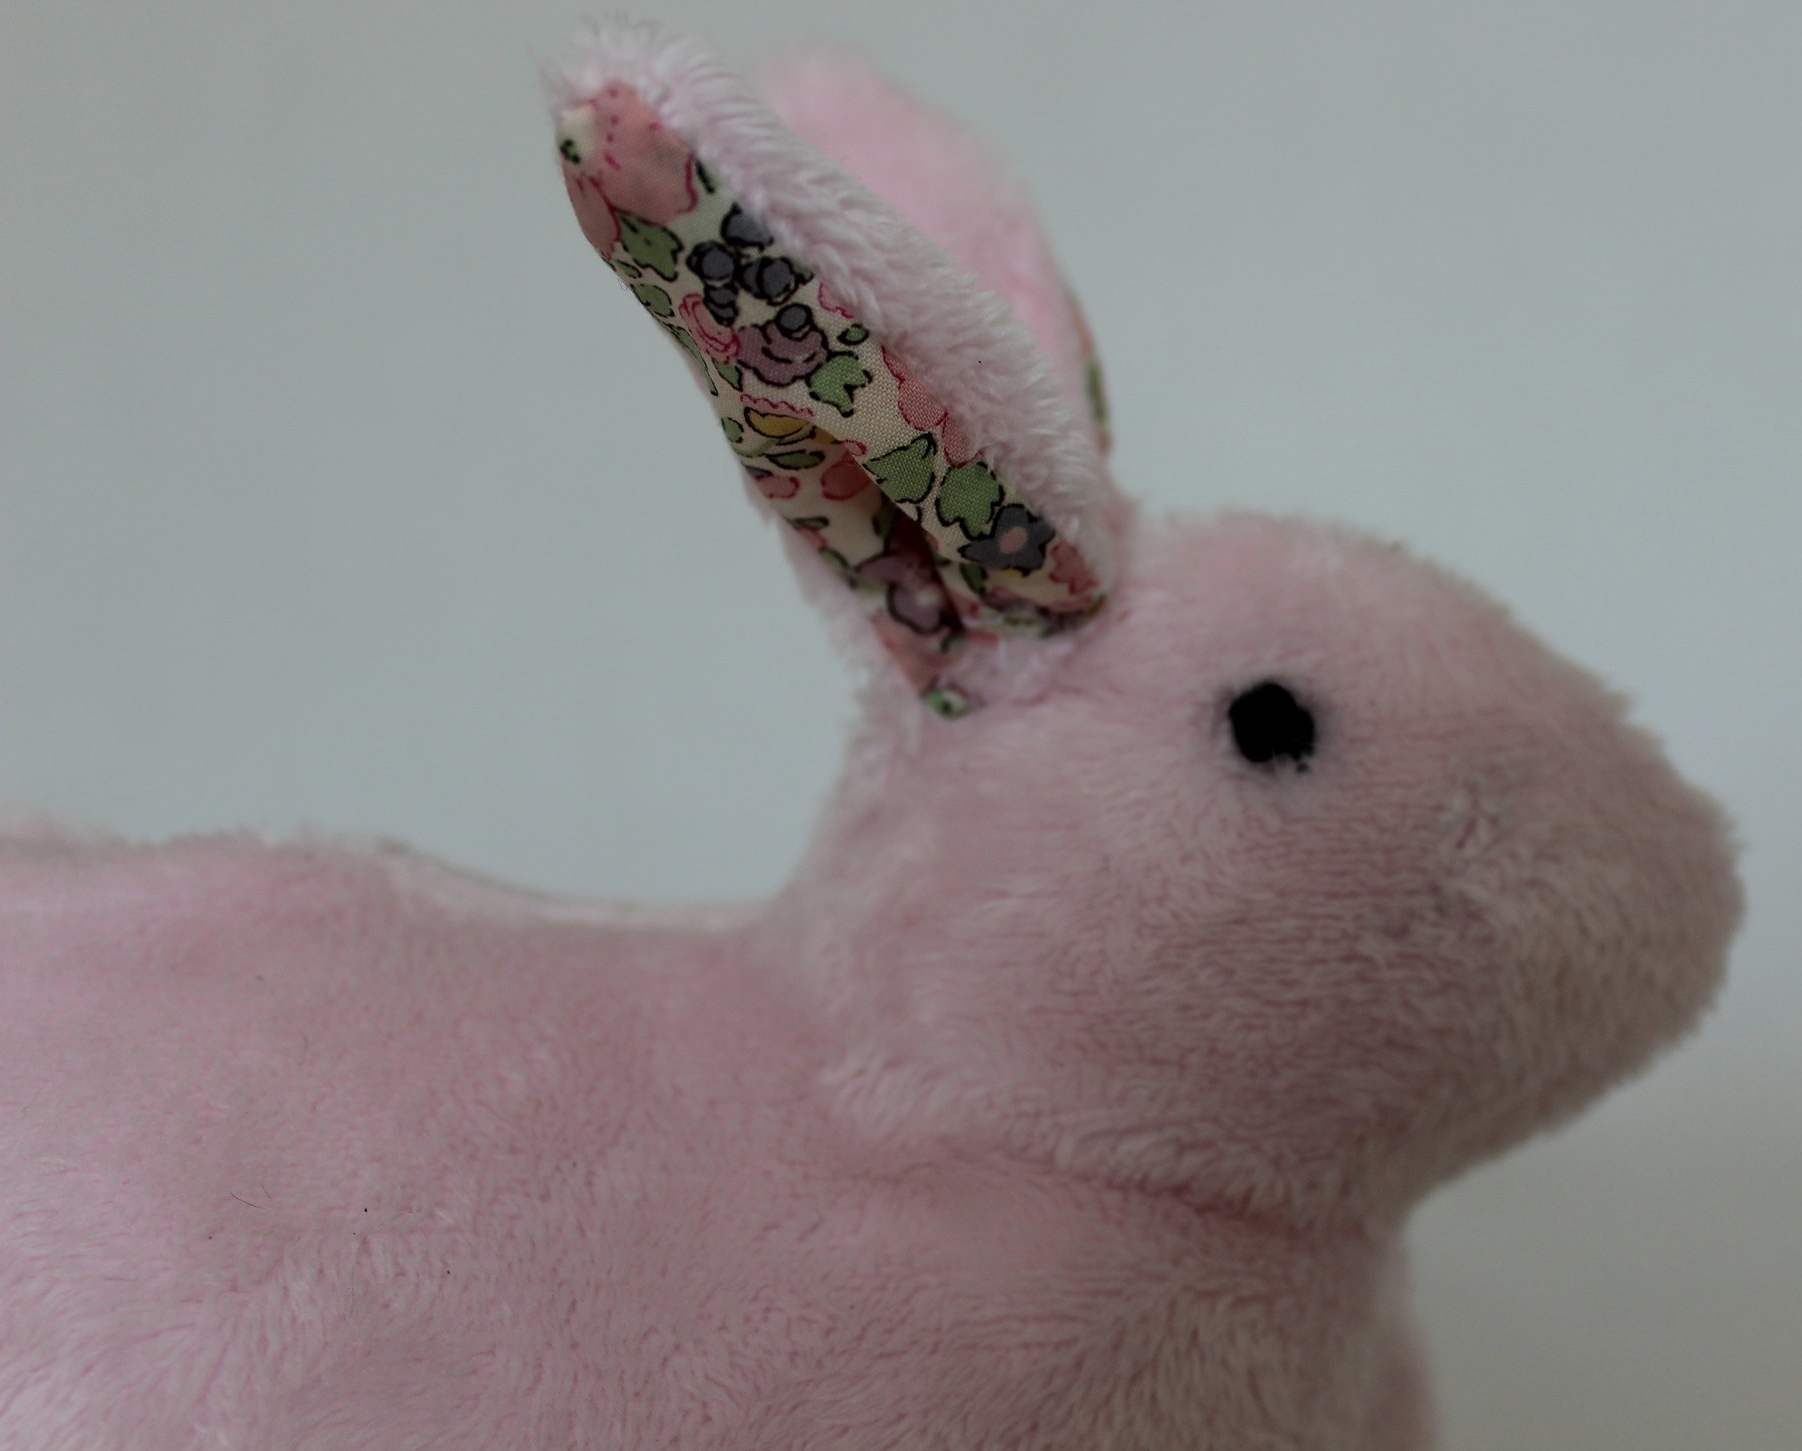
Meet Bessie Bunny. She is having her big debut today on Sew-a-Softie.

IMG_4569.JPG

Sew-a-Softie is an annual month-long event in July that expands all forms of social media. It was created by Trixi at Coloured Buttons. Please go to Trixi's website for a link to all the wonderful people who are participating in this blog hop. Wait until you see all the free patterns and tutorials. They will be awesome. Just use the tag #sewasoftie to find them. There will also be lots of fun prizes. We would love to see your creations, so please post them on facebook. 

Thank you to Shannon Fabrics for donating Bessie's sweet fabric for her body and tail. Thank you to Fairfield World for donating her soft stuffing. By the way, on the back of all the Fairfield World bags of poly-fil there is always a cute pattern and now they even include a stuffing stick to assist in the process of stuffing. 

IMG_4515.JPG

Bessie is so easy to sew by machine or by hand. She only requires scrap fabric about the size of a piece of paper and a handful of poly-fil stuffing. I used Shannon Fabrics Cuddle 3 in Baby Pink for the body and their Monkey Shag Fur in Baby Pink for the tail which is only 4" wide. I also used a teeny-tiny piece of Liberty London tawn fabric for the inside of the ears. 

Here are some links to tutorials on hand sewing stitches. You basically only need the backstitch for constructing Bessie and then a french knot for her eyes. The ears and tail are put on with a whip stitch and the running stitch is for basting the tail. 

Click here for Bessie Bunny's template

NOTE: This project uses a 1/4" seam allowance and it is included in the template.

STEP ONE

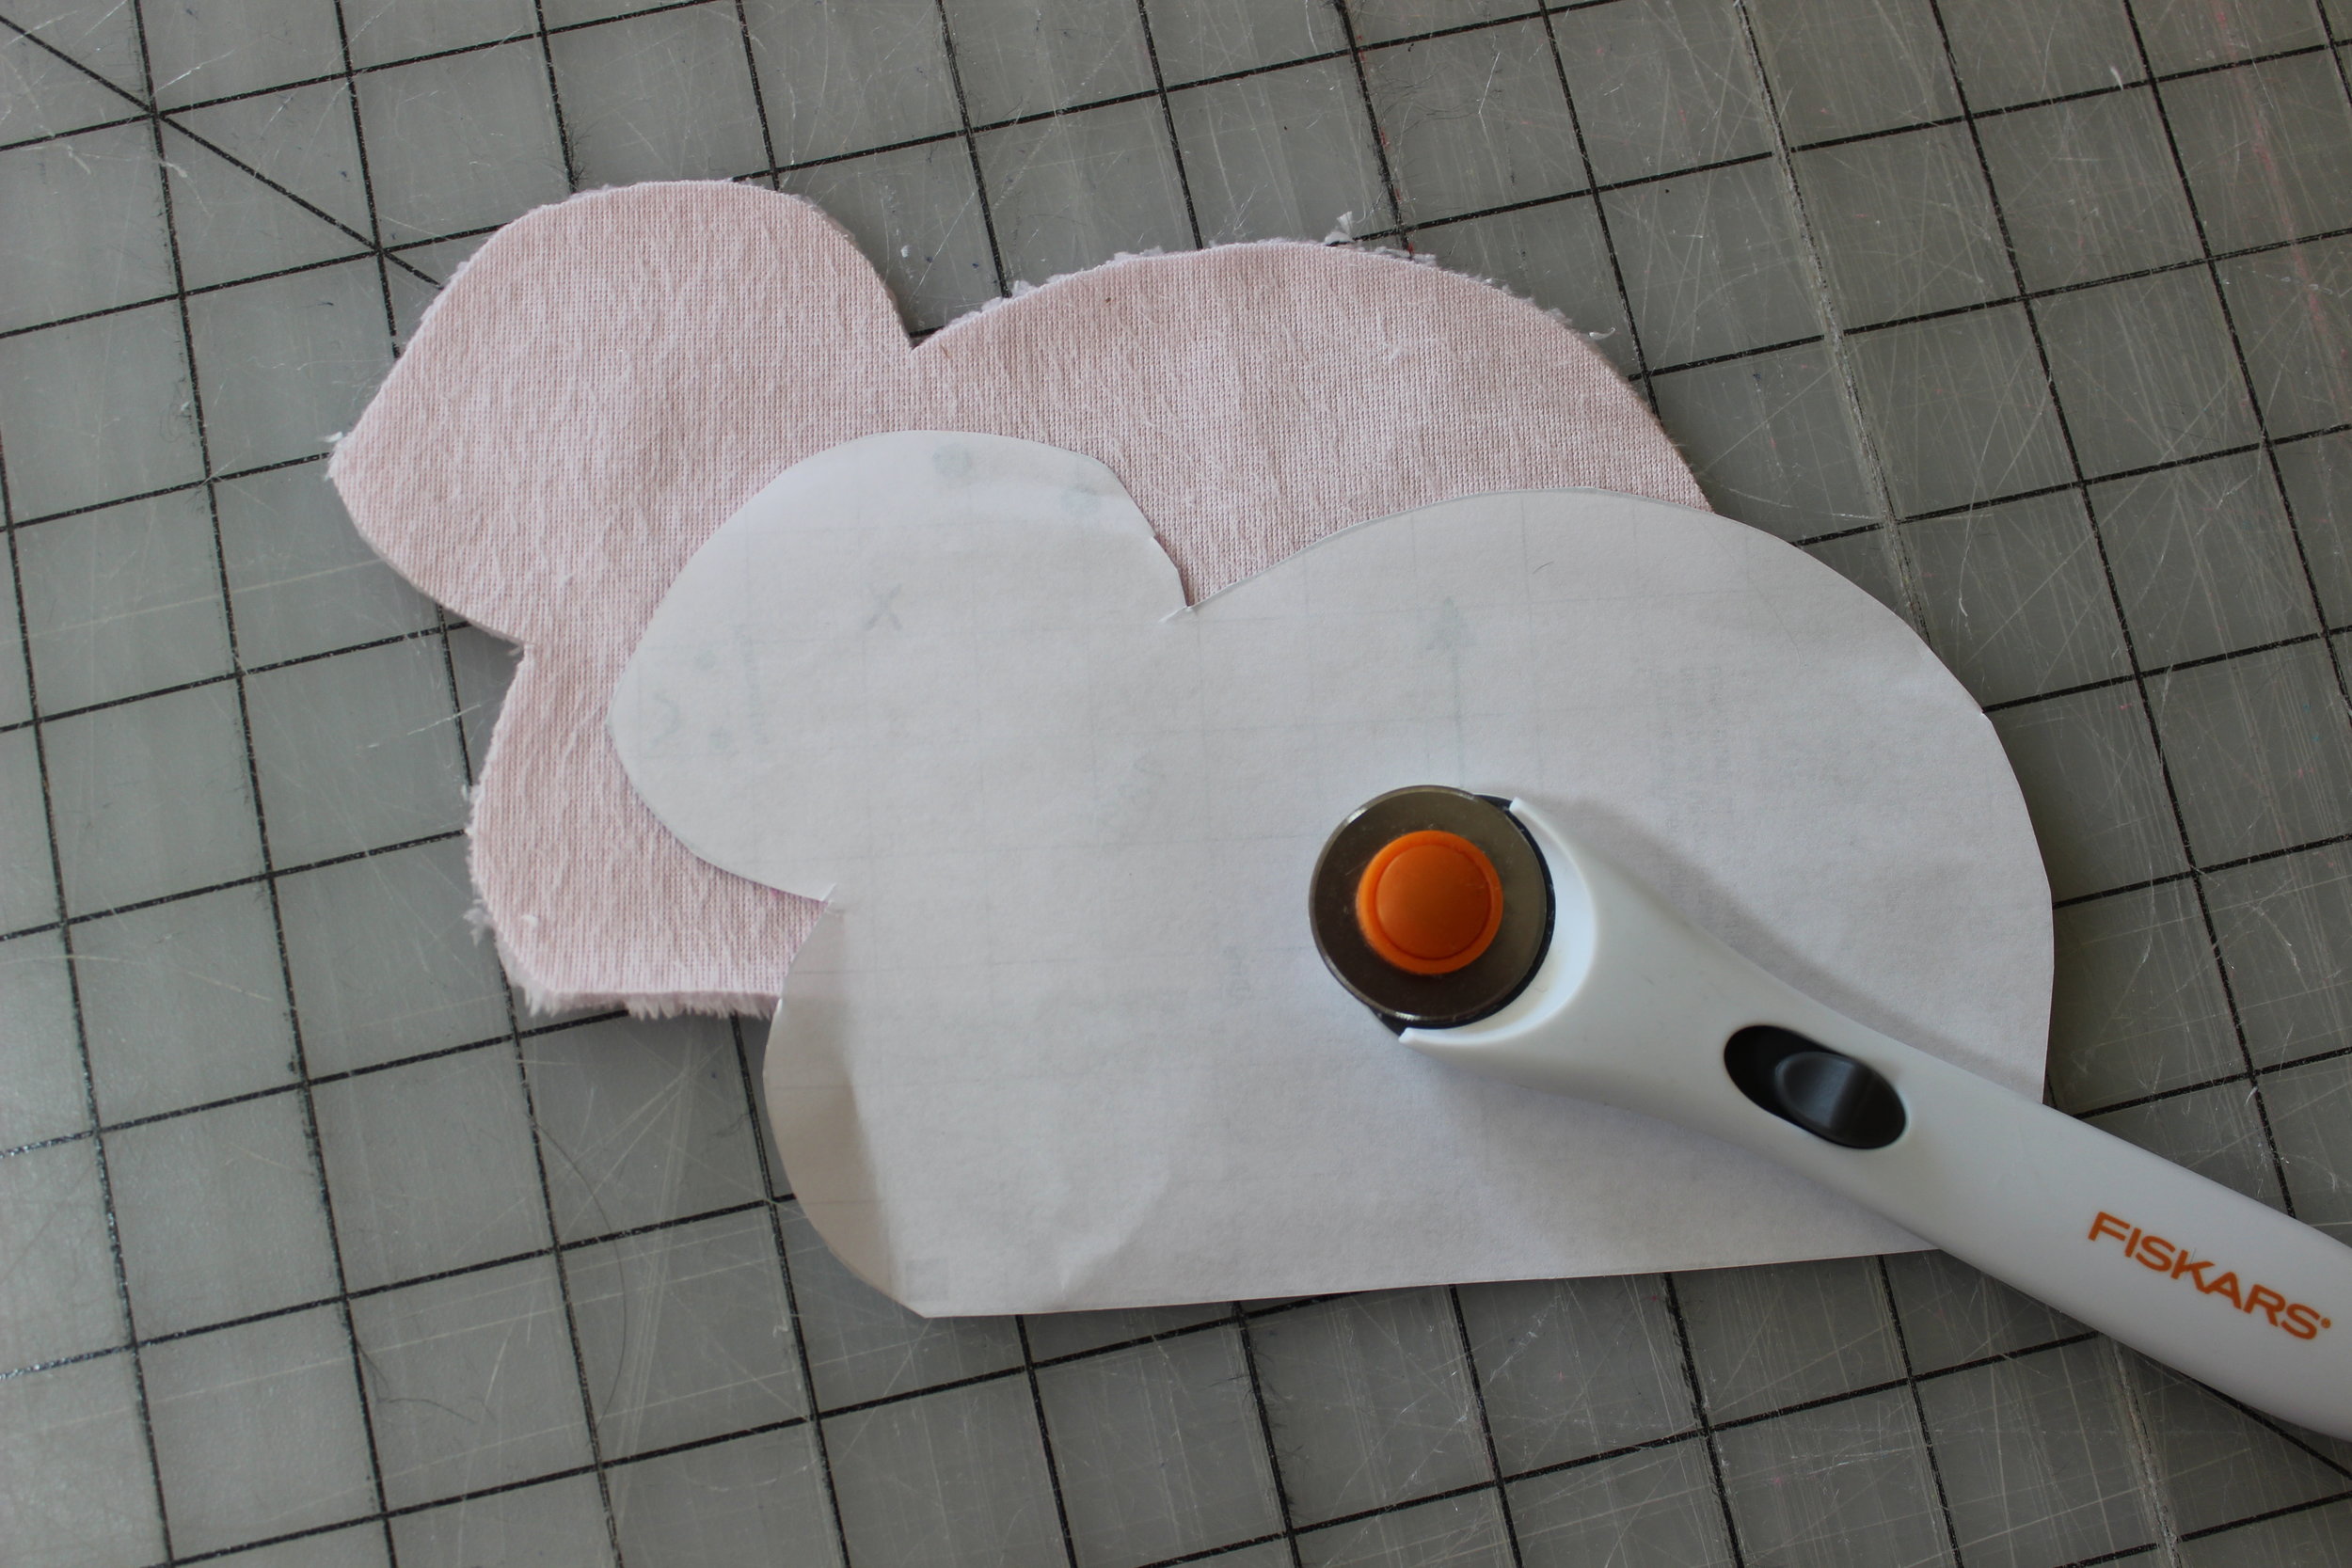
Print the template twice. Cut out the templates. 

STEP TWO

Following the instructions on the template cut the fabric with the nap of the fabric going in the downward position.

IMG_4506.JPG


STEP THREE

Sew the two body pieces together along the sides and top with right sides together. Leave the bottom open. 

IMG_4511.JPG

STEP FOUR

With the body still inside out, attach the bottom to the body with right sides together. Leave a two inch opening.

IMG_4514.JPG


STEP FIVE

Turn right side out.

IMG_4512.JPG

STEP SIX

Fill the body with poly-fil.

IMG_4517.JPG

STEP SEVEN

Close the bottom with a hand whip stitch.

IMG_4519.JPG

STEP EIGHT

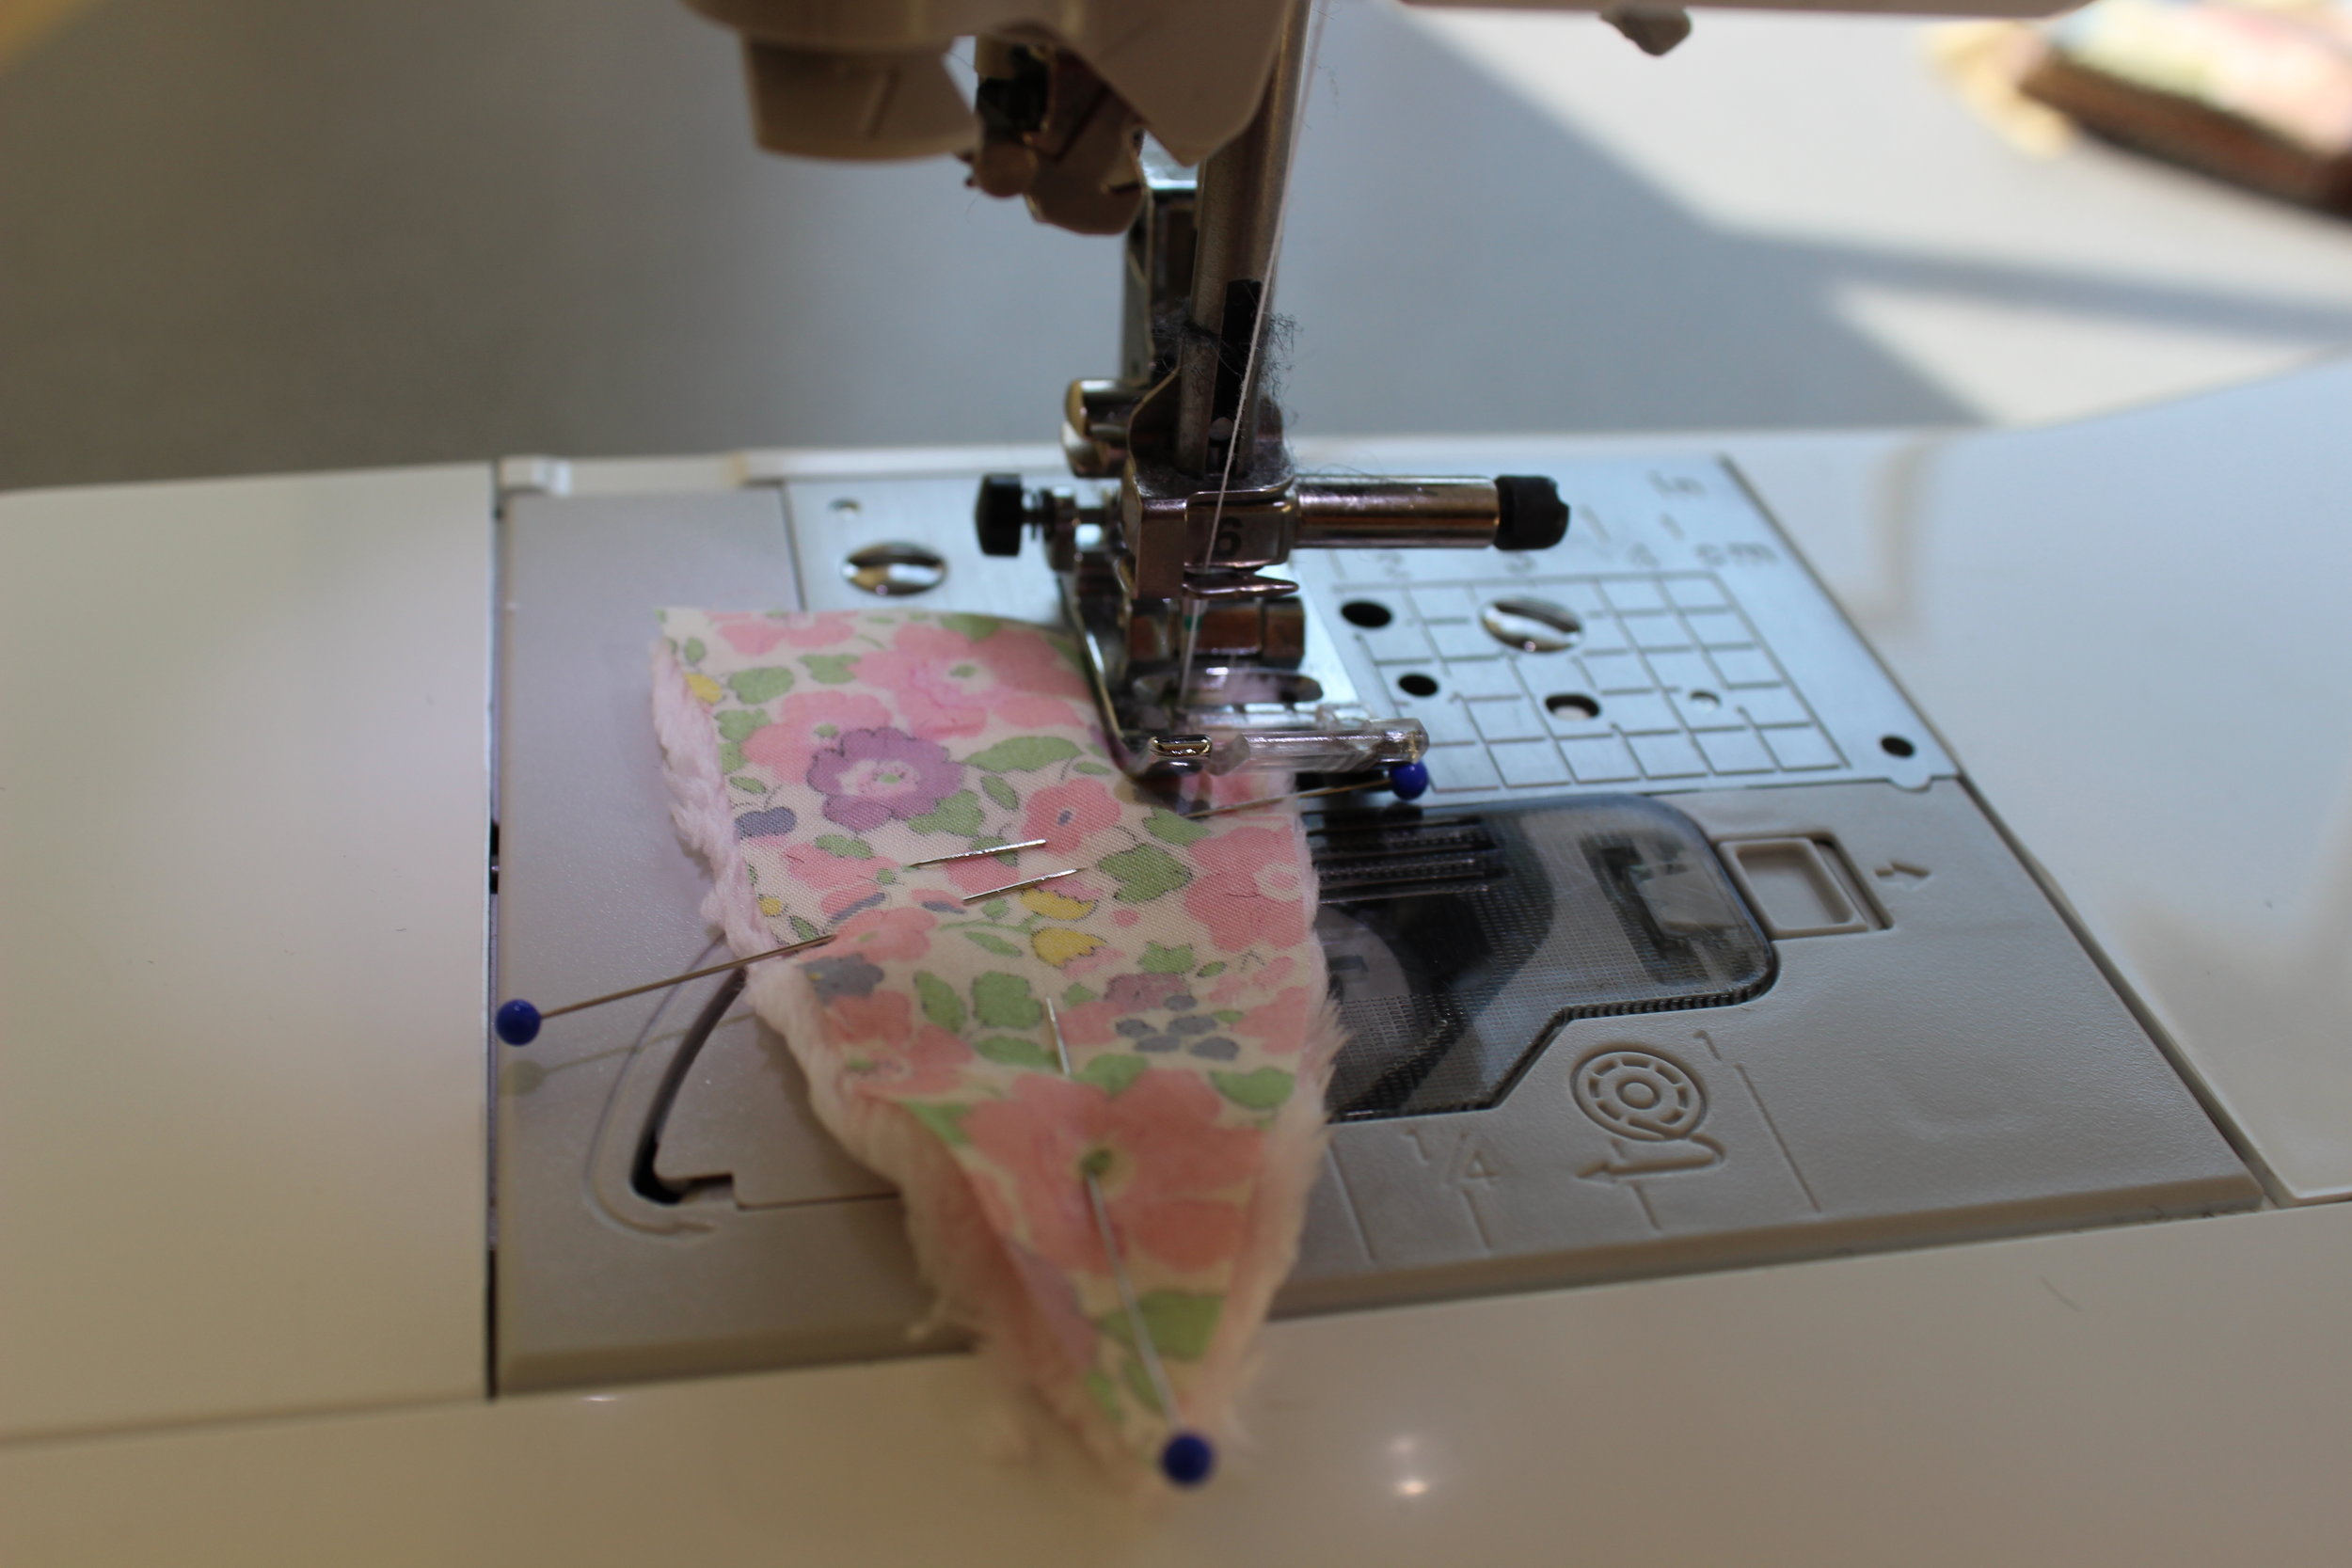
Sew the ears with right sides together, leaving the bottom open.

IMG_4505.JPG

Turn right side out.

IMG_4508.JPG

STEP NINE

Fold the bottom of the ears up and inside.

IMG_4513.JPG

Then attach to the head with a hand whip stitch and pinching the ear a little in the middle for a simple pleat.

IMG_4524.JPG

STEP TEN

Baste around the edge of the tail leaving two long lengths of thread.

IMG_4496.JPG

Pull the lengths of thread to form the tail into a ball leaving a very small opening to fill the the tail ball.

IMG_4526.JPG

STEP ELEVEN

Stuff the tail ball with poly-fil.

IMG_4528.JPG

STEP TWELVE

Sew the tail ball closed with a whip stitch. Use something thin like a bamboo stick to pull the long pile from out of the sitches.

IMG_4527.JPG

STEP THIRTEEN

Attach the tail to the body of the bunny.

STEP FOURTEEN

Add the eyes with the french knot stitch.
 

IMG_4571.JPG
IMG_4566.JPG

Hoppy trails to you and your bunny!


Appliquéing on Cuddle® Fabric

Appliqué is a wonderful sewing technique that allows you to sew one piece of fabric on top of another in a decorative manner to form pictures or patterns. It can be used on clothing, quilts, accessories, or basically anything that you can sew.  The hard part is getting the two fabrics to stay in exactly the same place while you are sewing.  Of course, for some people, it may be one of the other processes such as the actual sewing or the precision cutting, which is a challenge.

IMG_2800.JPG

Appliquéing Cuddle® fabric adds another wonderful dimension of a plush nap that must also be taken into account when appliquéing, but the soft plush nature of Cuddle® makes it well worth an extra step or two to get perfect and easy appliquéing. 

There are a few of you that read my blog that are relatively new to sewing, so I do not want to assume that you know what I mean by the term “Cuddle® fabric.”  Here is a link to a blog post on Cuddle® fabric that is manufactured by Shannon Fabrics.

One great thing about Cuddle® is that it does not fray, which means that you can appliqué on the raw edge and do not need to take the extra step of turning the fabric under.  That is an advantage that I love.  I have always loved appliquéing wool for that same reason. 

There are many methods of appliquéing Cuddle®, but I am only reviewing two of them in this blog post. Of course, they are the two that I use and love. One technique uses a sticky backing designed just for appliqué and the other does not. Using the backing is super simple, but I have included the instructions on how not to use it because sometimes you want to appliqué right away and you just do not have it on hand. I know that one all too well.

We live in a day and age where there is a product for everything and appliquéing is no different. There are so many different products for appliquéing. Since I am a machine embroiderer, I have a tendency to stay with a company that I trust for that purpose – Floriani (a division of RNK Distributing). I love all of their stabilizers for machine embroidery, so it was natural for me to try their Appli-Kay Wonder product and I love it just as much as I love all their other stabilizers. It is a double-sided fusible with an iron on fuse on one side and a sticky adhesive on the other. You iron the backside of the fabric that will be cut so you can trace the design directly onto the back and THEN cut it out.  This saves the step of cutting out the paper design to trace. 

IMG_2776.JPG

The other alternative to using a double-sided fusible product is to cut the appliqué out and spray the back of it with a temporary adhesive like Odif’s 505 Spray and Fix or Sulky’s KK 2000. Personally, when it comes to appliquéing, I love the Sulky just a little bit better. I have a tendency to use the 505 when I baste quilting and the Sulky for appliquéing.

You may feel timid about ironing a fusible on the back of a polyester microfiber plush fabric, but if you are using a good quality microfiber plush fabric like Cuddle®, you have no worries. Because it is high quality, the back can withstand a medium heat setting on an iron or even a high setting for a few seconds. Follow the manufacturer’s guidelines for applying the double-sided fusible for appliquéing. If the guidelines call for pressing on the top side of the fabric, please use a pressing cloth on top of the fabric.  The Appli-Kay Wonder product has you press the backside of the fabric, so there is no need to use a pressing cloth. As always, it is a good practice to test the fabric with the fusible first.

IMG_2780.JPG

At this point, it is the same for all appliquéing. Applying the appliqué to the other fabric is where it starts to make a difference for a napped fabric such as Cuddle®.

HERE IS MY TIP:

To be honest, if that was the end of the story, this blog post would not be any different than everyone else’s on how to appliqué. It is this next step that takes appliquéing Cuddle® to the level of precision. The key is using a product that machine embroiderers call a “topper.” It is a clear water-soluble product that looks like the plastic wrap that you use in the kitchen. It is usually manufactured by companies that produce stabilizers and in an instance where a stabilizer is recommended, a topper can possibly be used in lieu of the stabilizer, with the exception of machine embroidery where a stabilizer is always needed and the topper is just added to the others.

IMG_2785.JPG

Now not all toppers are created the same. I have used just about all the different brands and let me tell you that most have almost brought me to tears when they rip while machine embroidering and I have to start all over again. I have found that the product, “Floriani Water Soluble Topping,“ is thin enough for the needle to glide through and yet strong enough not to rip.

IMG_2786.JPG

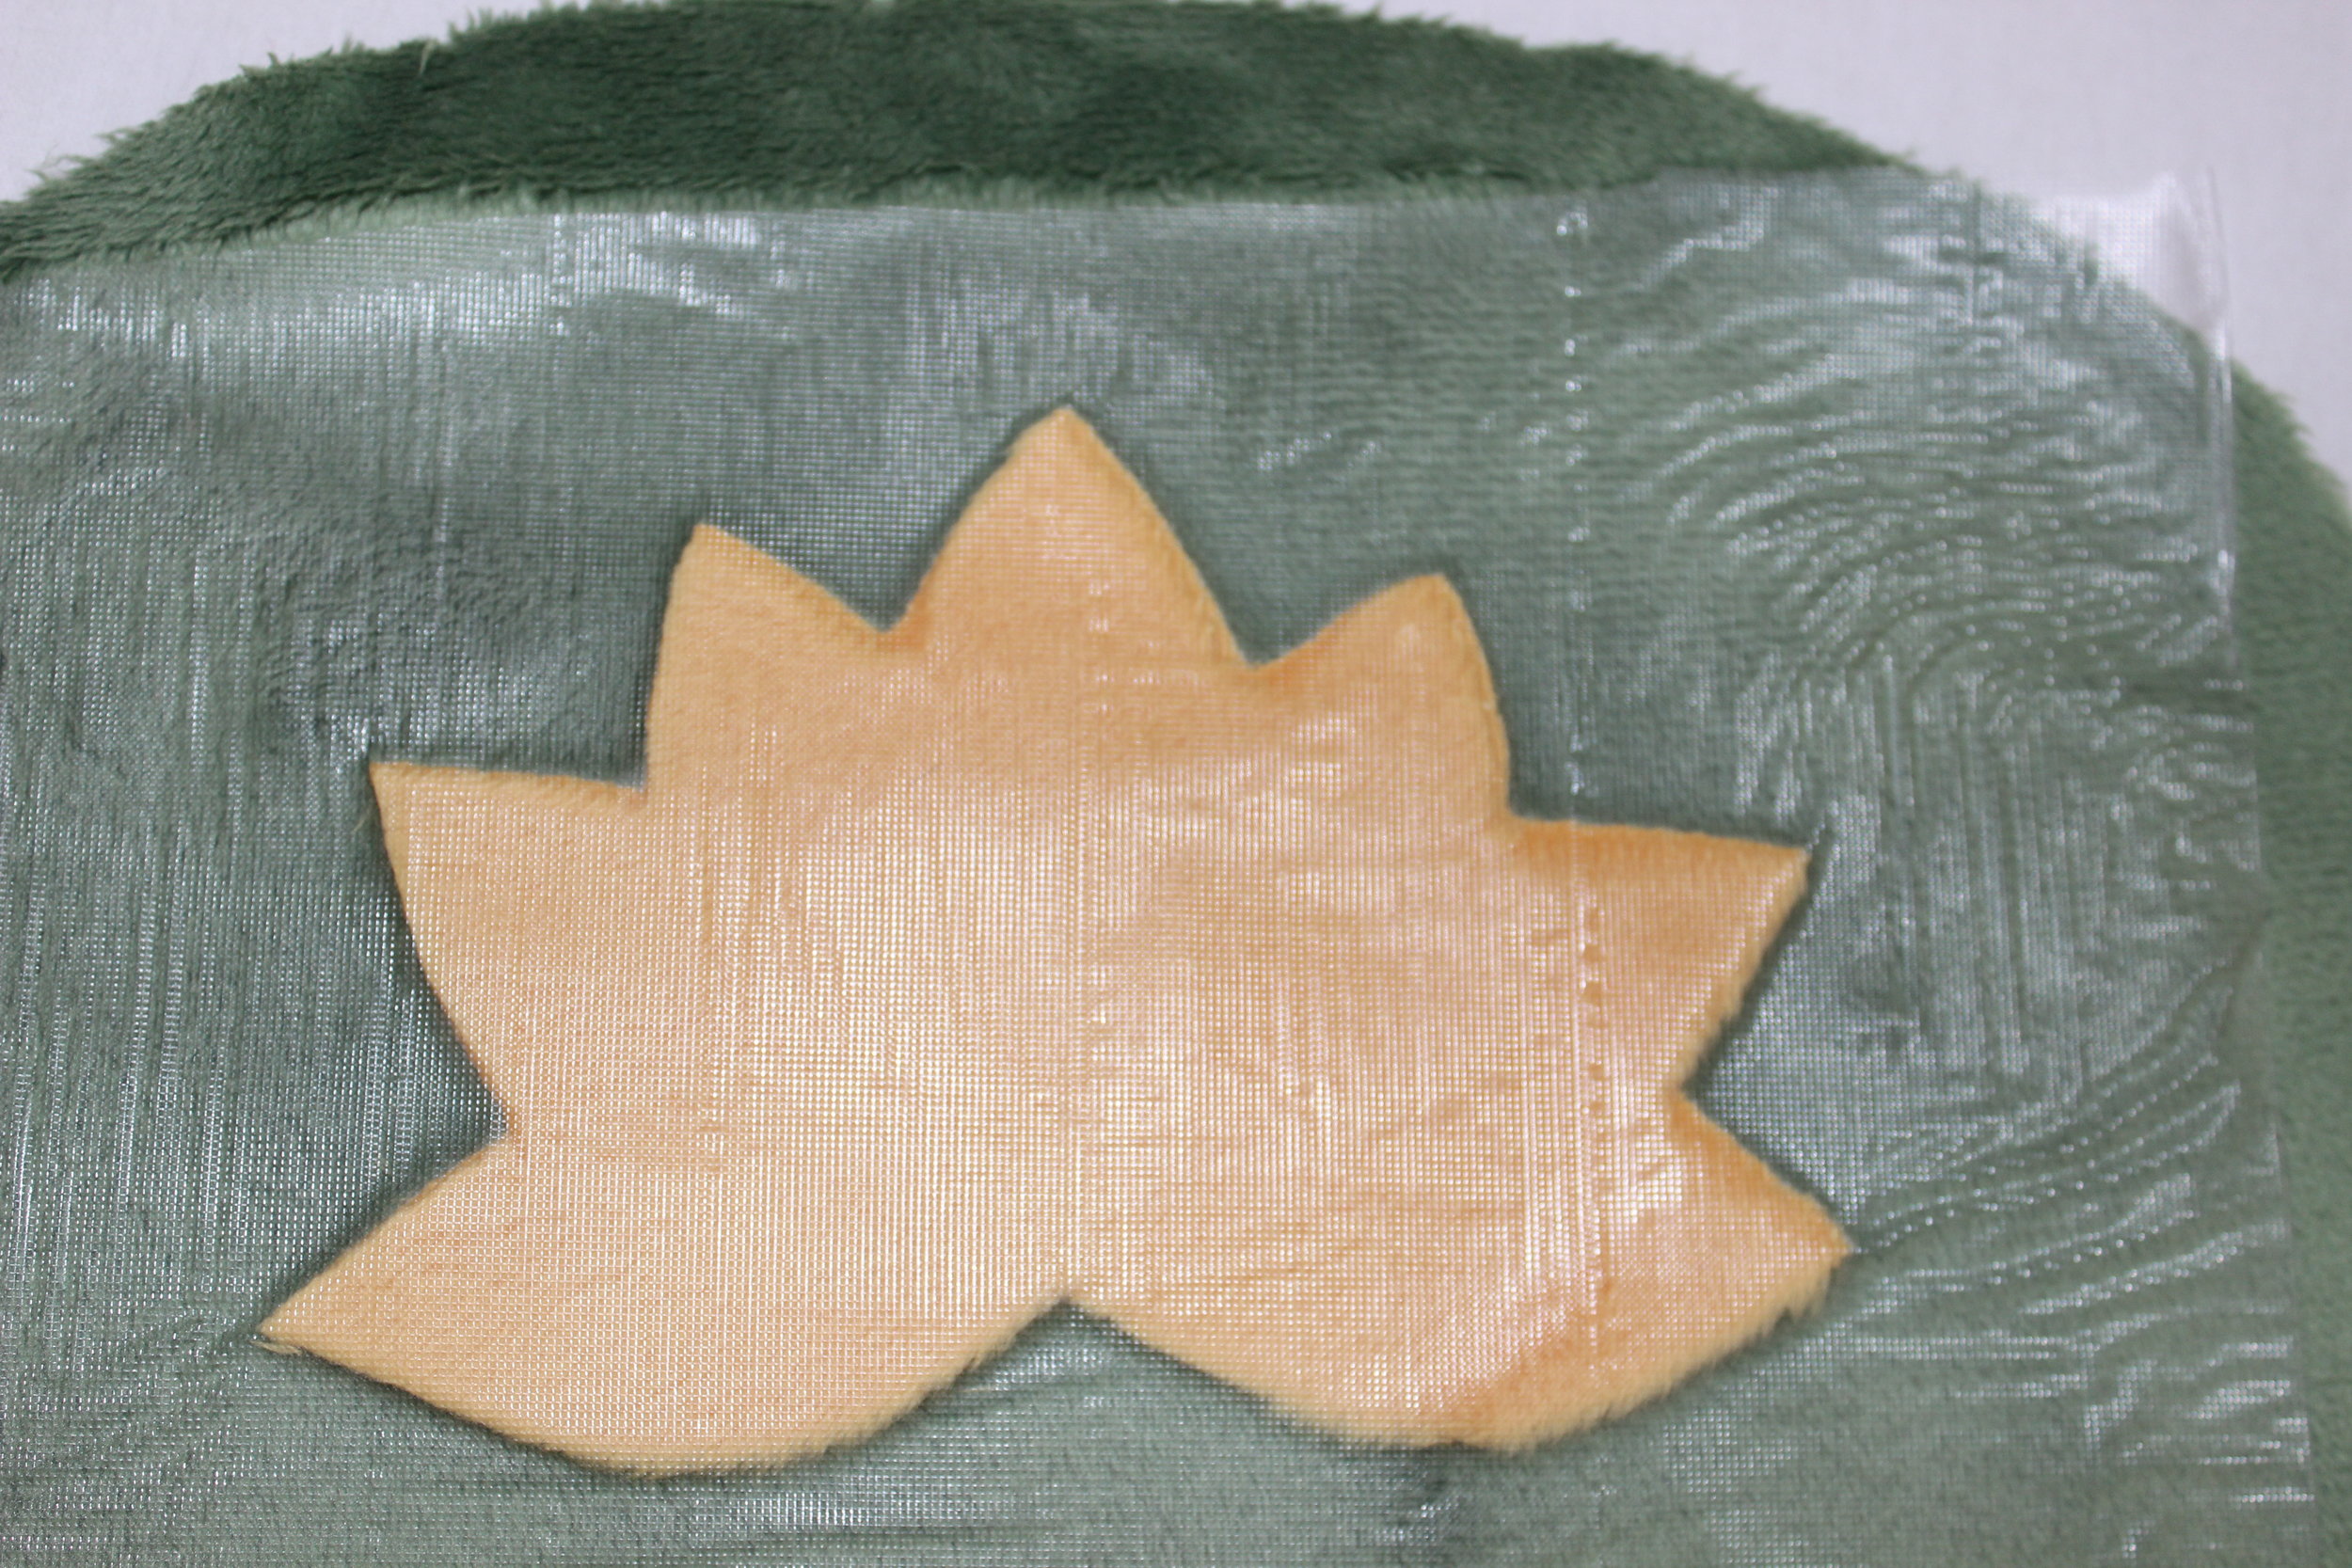
It is an interesting product.  The needle just goes right through it as if it does not exist.  This is not true of all toppers as some are so tough the needle has to work to puncture it. I apply the topper with Sulky’s KK 2000. I cut the topper, spray it, and then apply it to the top of the entire piece to be appliquéd, i.e., the appliqué and the bottom piece of fabric. I proceed to appliqué as if the topper was not there.  It keeps all the fibers in the same direction and leaves a distinct impression as to where you should appliqué the straight lines and the fingers of the stitch.

IMG_2791.JPG

INSTRUCTIONS for Appliquéing for Cuddle®

STEP 1

BEFORE any cutting, determine the direction of the Cuddle® fabric. The bottom fabric and the appliqué fabric should be going in the same downward direction.

STEP 2

Cut out the Cuddle® fabric that will be the top appliqué using the traditional trace and cut method,

IMG_2779.JPG

or adhering an appliqué product to the back and then cutting it out.

IMG_2781.JPG

STEP 3

Lay the bottom Cuddle® fabric and the appliqué Cuddle® fabric next to each other and brush the nap in the same direction. This step is important. You want to smooth out the nap so that the fibers are all lying in the same direction.

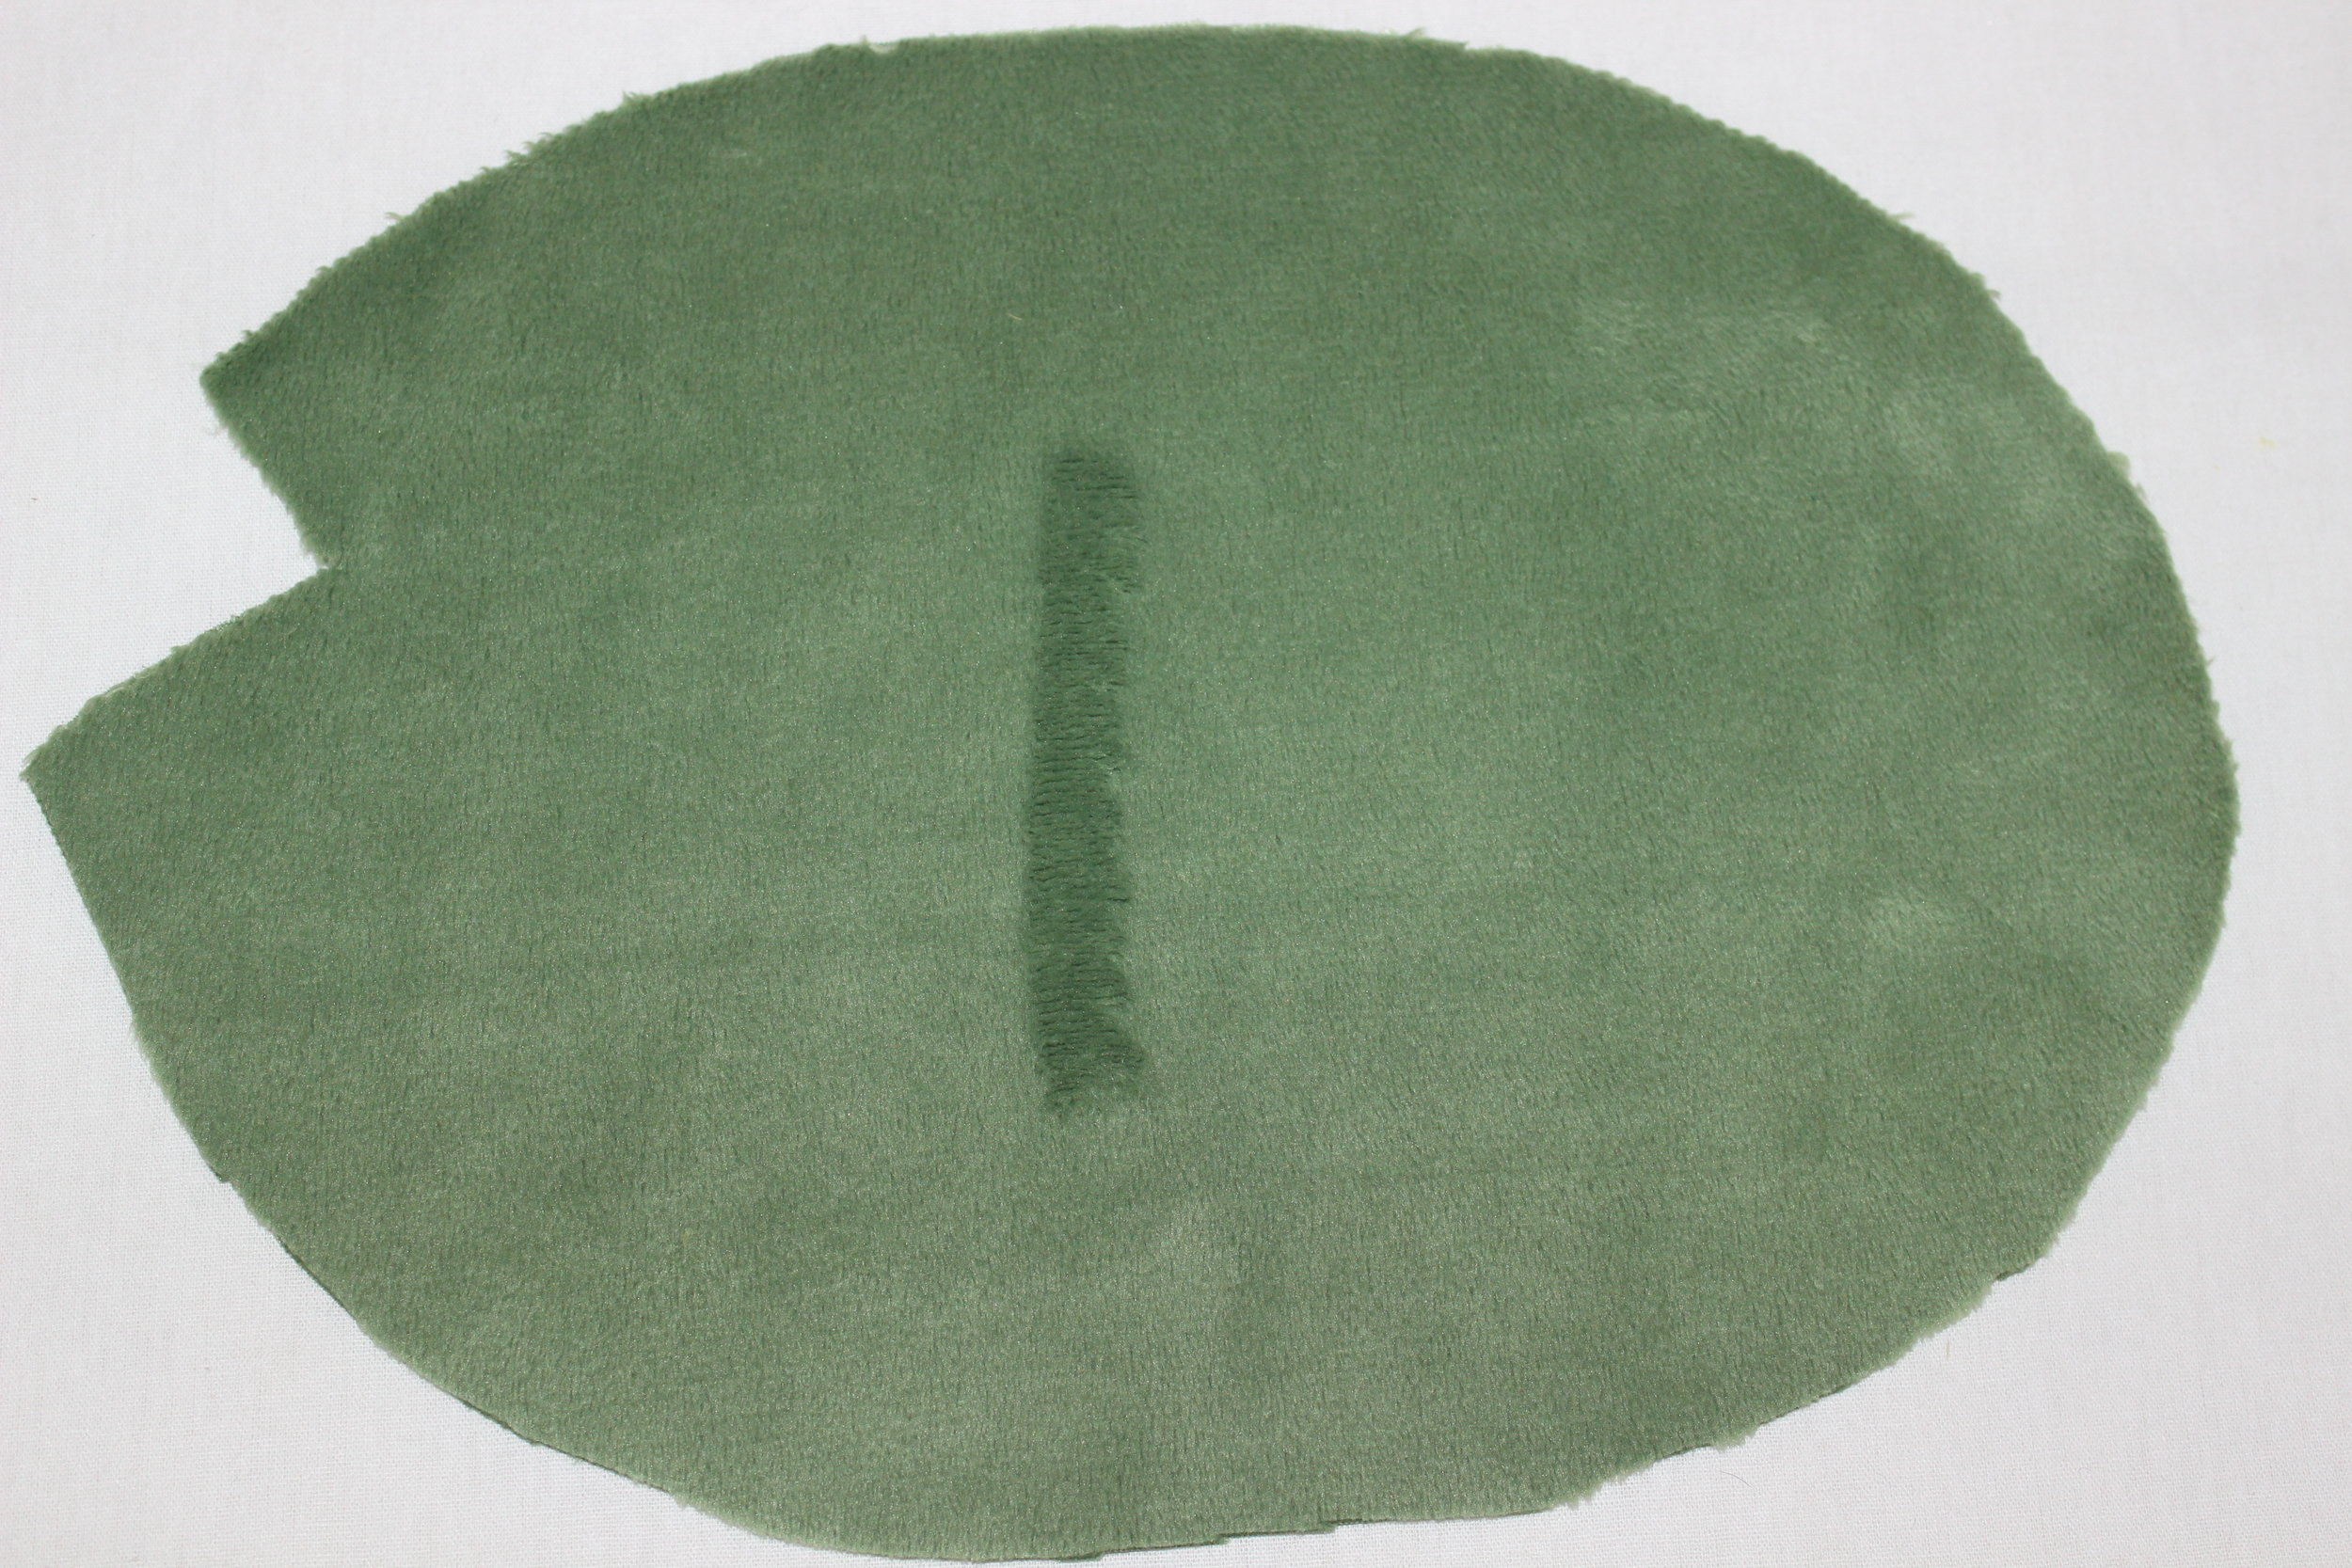
TIP: Because Cuddle® fabric has a nap, you can trace the placement of the appliqué onto the bottom of the fabric with your finger or a blunt object. This allows for perfect placement without the need of using a tracing pen.

IMG_2782.JPG

STEP 4

If you are using a temporary spray adhesive, spray the back of the fabric and then lay it on top of the bottom fabric.

If you are using a fusible, remove the paper backing and apply it to the bottom fabric.

IMG_2783.JPG

Smooth the nap once again; making sure it is in the same direction.

IMG_2784.JPG

STEP 5

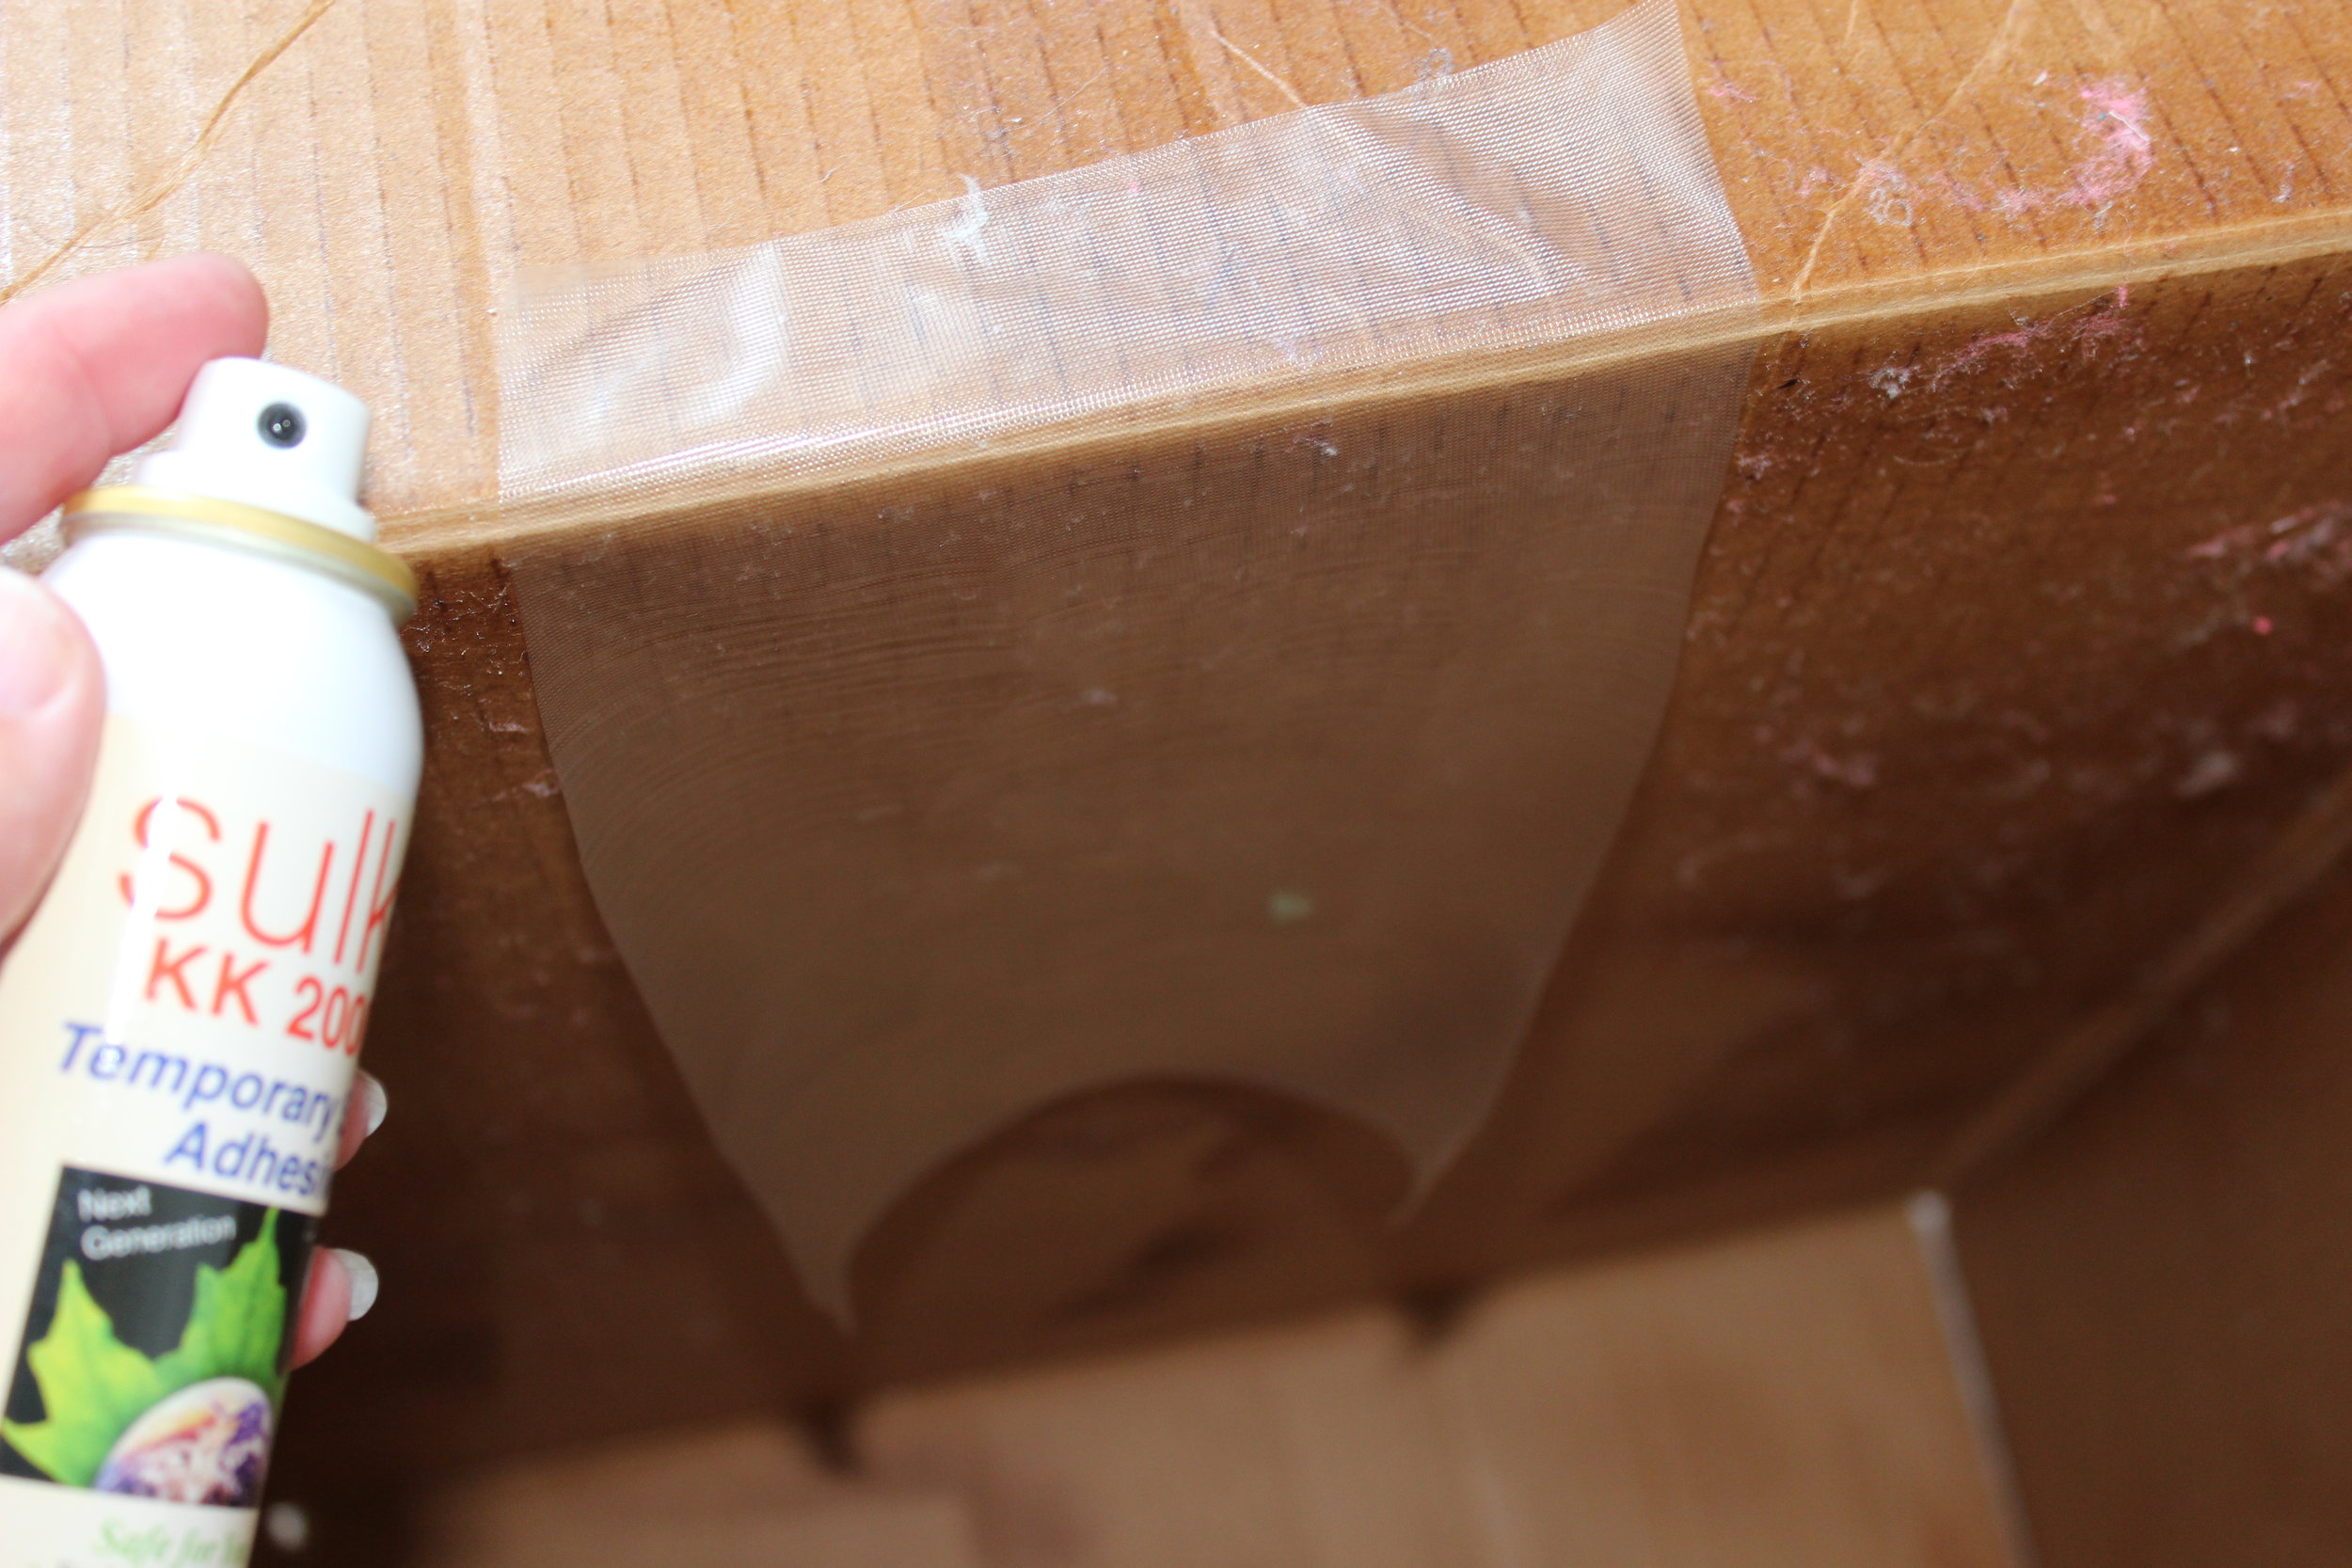
Cut out a piece of water-soluble topper that is larger than the appliqué. Spray one side of it with a temporary adhesive.

TIP: Always spray temporary adhesives in an area where there is no computer equipment or anything that can be harmed by the spray. I always spray into a cardboard box that I have folded up in my laundry room just for this purpose. 

IMG_2788.JPG

Apply the topper with the sprayed side down on top of the appliqué. It should cover the entire piece of appliqué as well as several inches of the bottom fabric.

IMG_2789.JPG

STEP 6

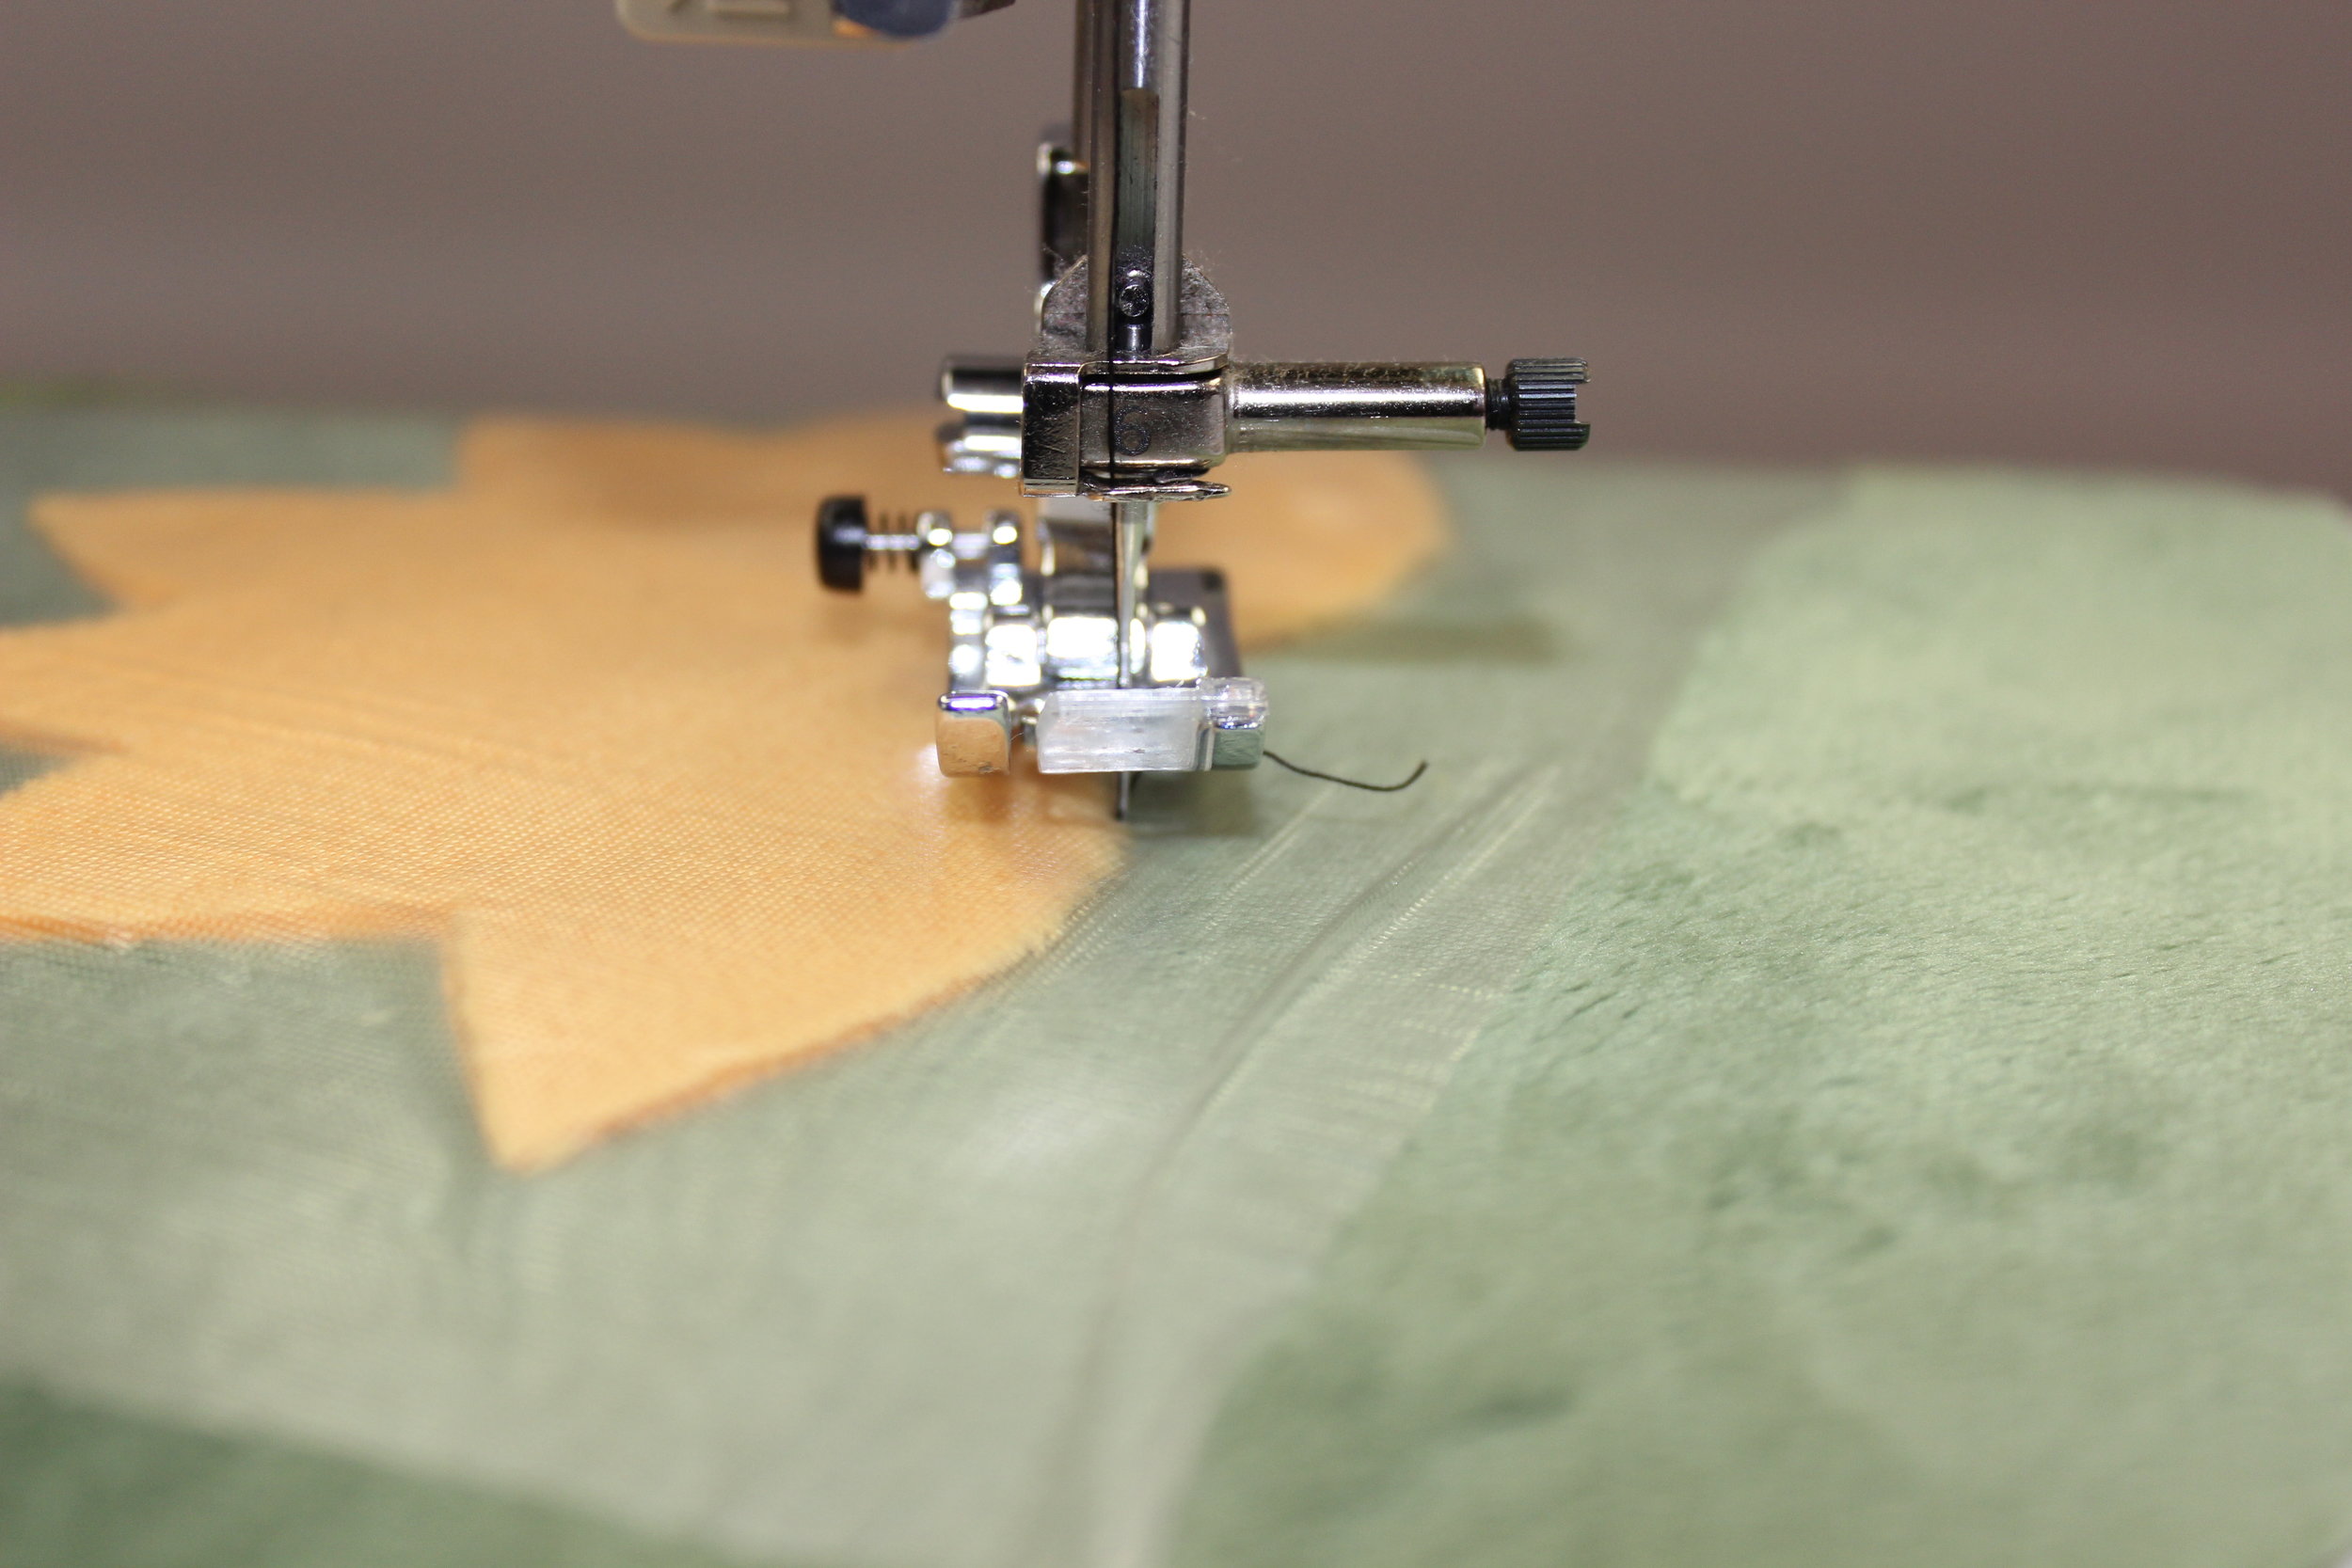
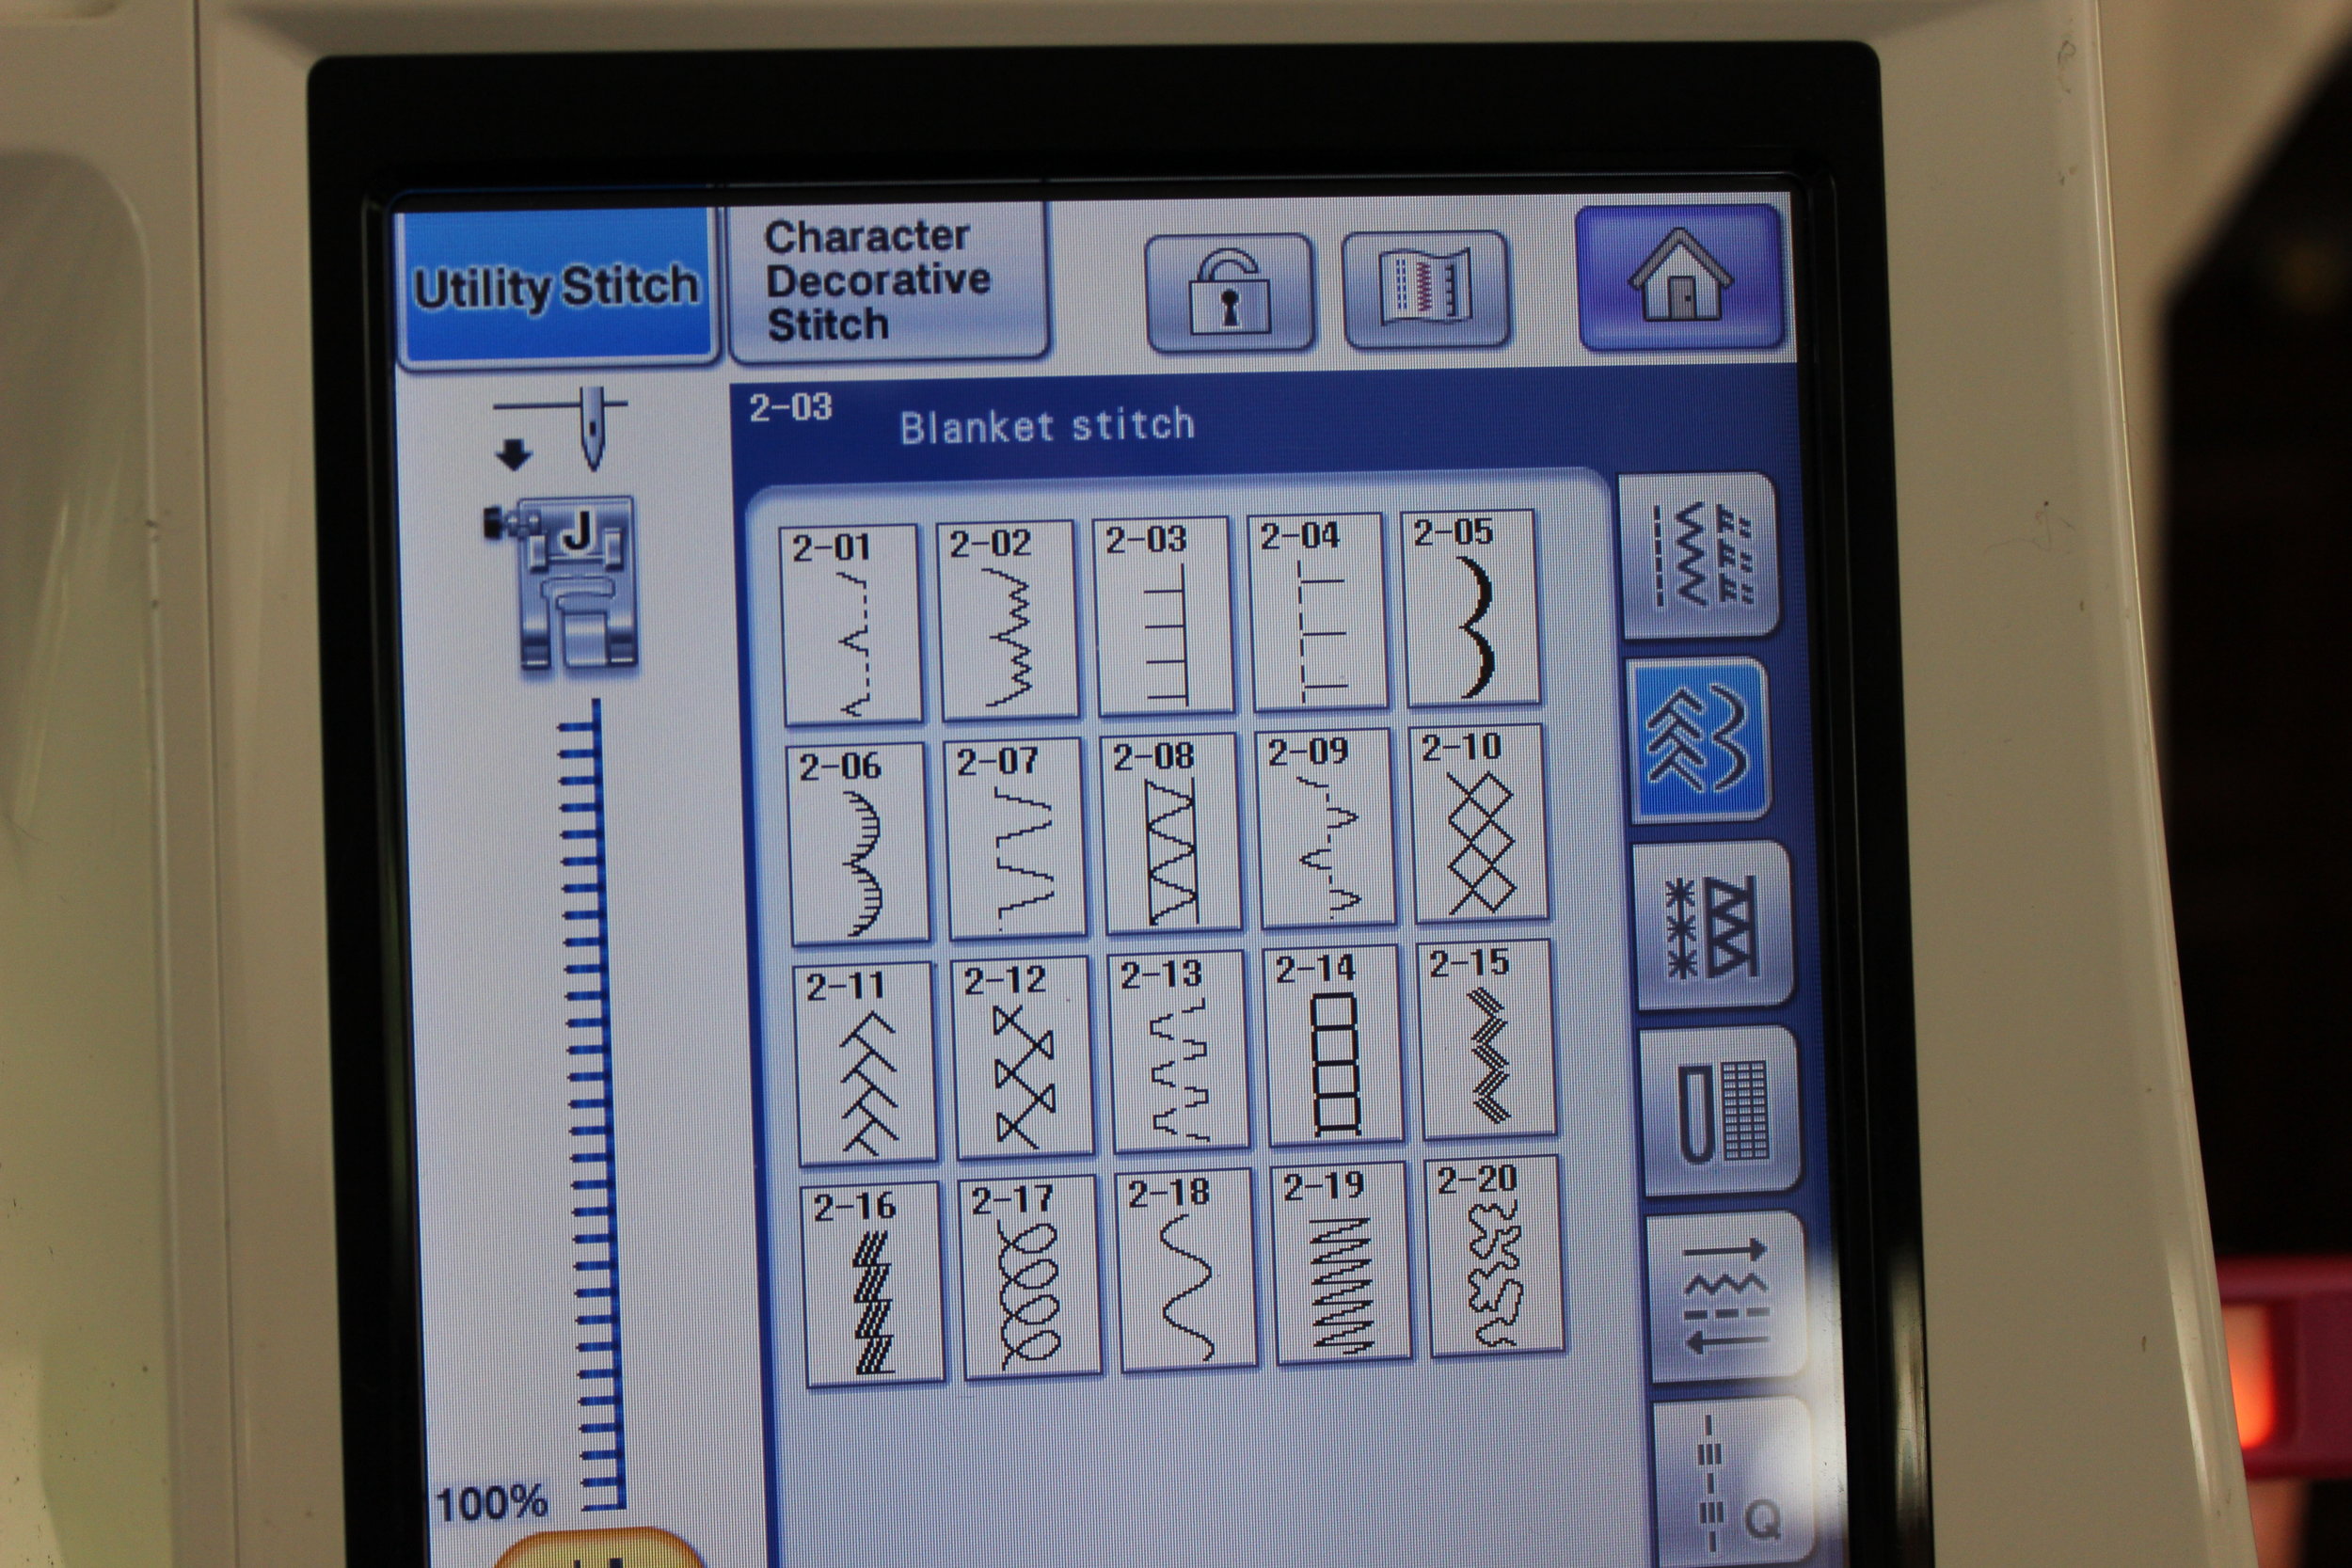
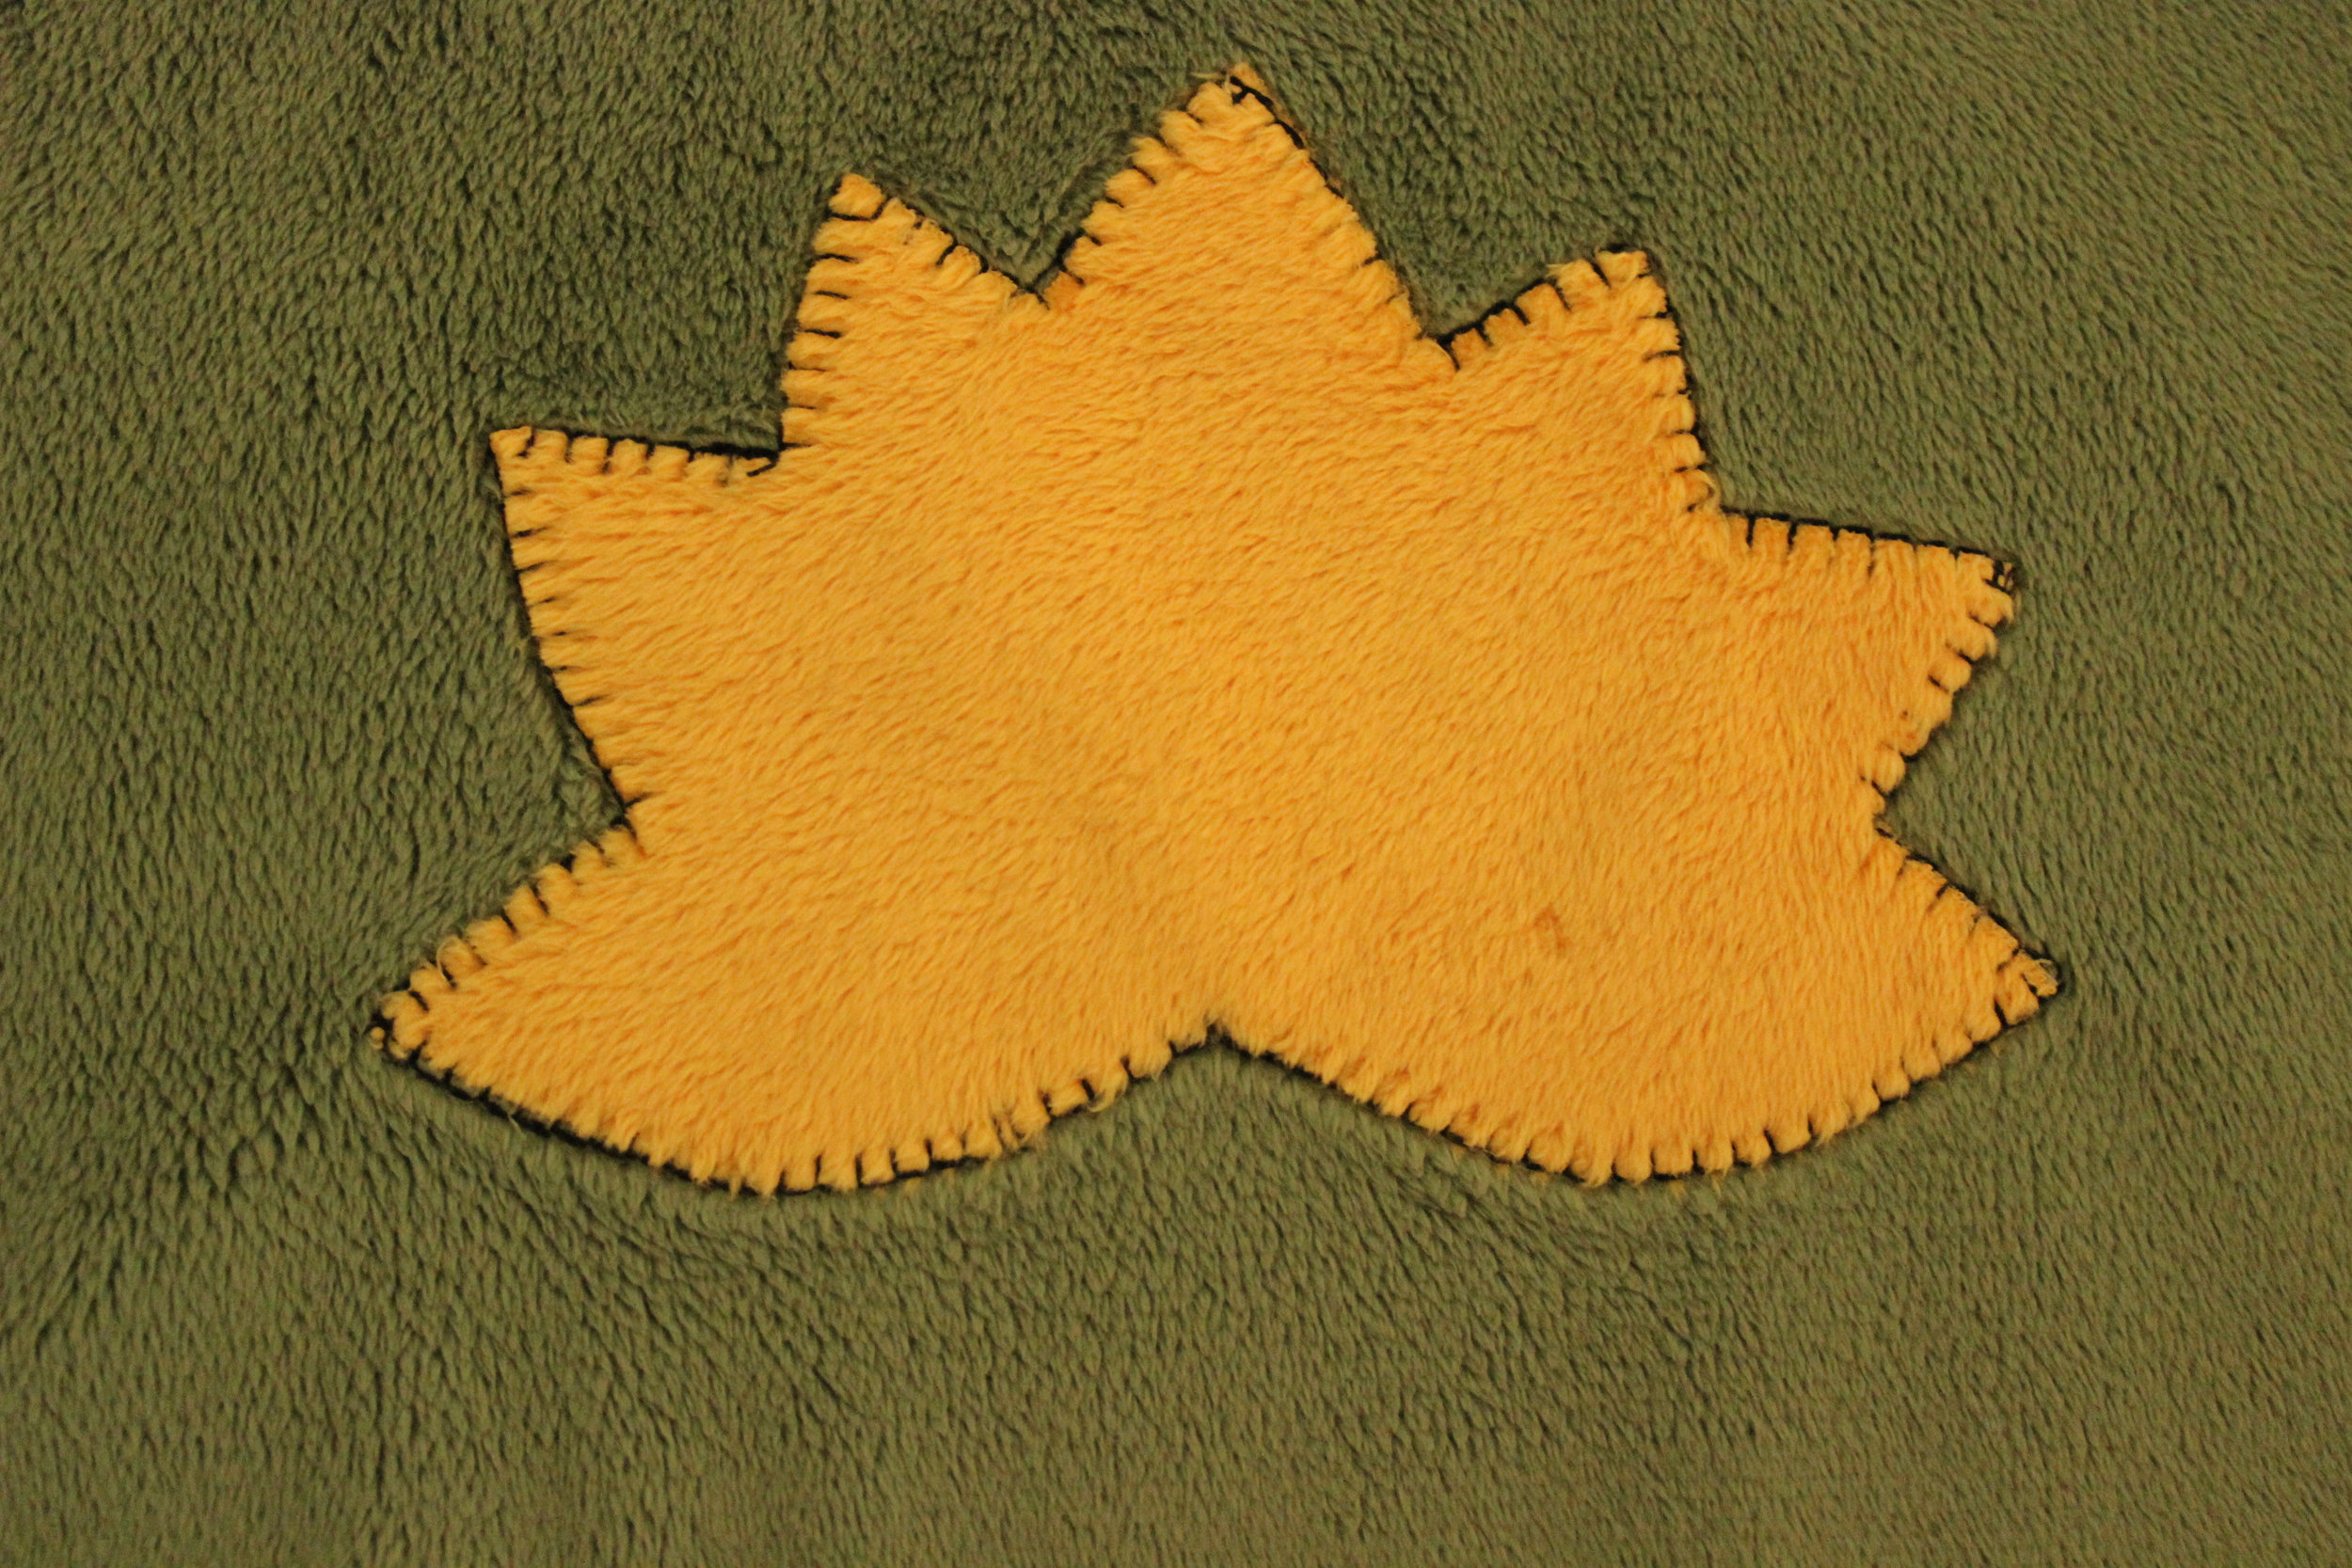
Appliqué like normal using a zig-zag stitch or your favorite decorative stitch like the traditional blanket stitch.

IMG_2790.JPG
IMG_2797.JPG

STEP 7

Once all the appliqué stitching is complete, gently tear the water-soluble topper away from the fabric. If any of the shiny filament remains, you can use a damp cloth to remove it or if you are going to be washing your Cuddle® fabric then it will quickly wash away then.

IMG_2799.JPG

Enjoy appliquéing. Please let me know what you think of this technique.

By the way, technically this article is not sponsored by Shannon Fabrics. Sulky, Odif, Floriani, or any other company, as I am not getting paid to write it and I paid for all the fabrics in the pictures, but yes, I am a Shannon Fabrics Brand Ambassador, which means I get paid to be an educator for them when I teach at a fabric shop for them. There will be later posts on how to sew with Cuddle® and some of its unique properties. 


What is “Cuddle” in the Sewing Industry?

That word “cuddle” conjures up so many warm and fuzzy feelings. Maybe you are thinking of that last lingering hug and kiss from somebody dear to you. But believe it or not, “cuddle” is also actually a type of fabric. Now that is brand marketing at its finest because let me tell you – this fabric really does make you want to cuddle up in it.

A picture is not worth a thousand words when you cannot feel it!

A picture is not worth a thousand words when you cannot feel it!

Cuddle® fabric is a brand of fabric. Cuddle® is like the word “Kleenex.” They are brand names. It is a type of fabric called minky, sometimes spelled minkee (another brand name). Minky is a product name like tissue is the product. So for those of you who took logic or remember those analogies, Kleenex : tissue :: Cuddle® : minky. Well, maybe you forgot those symbols, so it reads; Kleenex is to tissue as Cuddle® is to minky.

Normal
0


false
false
false

EN-US
JA
X-NONE


 <w:LatentStyles DefLockedState="false" DefUnhideWhenUsed="true"
DefSemiHidden="true" DefQFormat="false" DefPriority="99"
LatentStyleCount="276">…

Cuddle® comes in different colors, prints and textures.  This is their dimple - unbelieveably cute! 

Shannon Fabrics produces Cuddle®, which is a 100% polyester microfiber plush fabric. Microfiber is a very fine synthetic filament that is even finer than silk (Fairchild’s Dictionary of Textiles, by Phyllis G. Tortora). These yarns are knitted together to make this ultra plush textile that is used for so many purposes but is best known for the softest throws, blankets, and quilts. Interestingly, Cuddle® is not a fleece product, but it does have a very strong directional nap like velvet. Cuddle® is far superior to the microfiber plush fabrics in the clothing stores and the chain fabric stores.

This picture shows the difference between Shannon fabrics (top) and the chain fabric store version of minky (bottom).

This picture shows the difference between Shannon fabrics (top) and the chain fabric store version of minky (bottom).

Cuddle® is the softest fabric that I have ever felt. I know it sounds like I would be biased, but I was in love with this Cuddle® fabric years before I became a brand ambassador for Shannon Fabrics. To quote their sales manager, Sheryl Sapriel, “It is the most superior minky fabric in the world.” Even my husband (who is not a tactile person) was petting the fabrics strewn across the kitchen table and said, “No wonder you wanted to work for them. These are the softest fabrics I have ever felt.” Shannon Fabrics is living up to their motto, "Making the World a Softer Place!"

This is 


Normal
0


false
false
false

EN-US
JA
X-NONE


 <w:LatentStyles DefLockedState="false" DefUnhideWhenUsed="true"
DefSemiHidden="true" DefQFormat="false" DefPriority="99"
LatentStyleCoun…

This is Cuddle®  in French Blue, which is one of 96 delicious colors, with more in the works.

Personally, this is one of those frustrating blog posts because I can describe it all I want, but until you feel it, you will never know what I mean. It is like trying to explain a sweet scent to someone over a blog post. It just does not work. It is like someone who has never seen snow. You can read about it. See pictures about it and even experience ice, but until you see it in person, no words can adequately describe it.  It is amazing. In the same way, imitation and real things are very different, but yet so similar. You know it when you see the real thing.  I hope you have the privilege to feel the real Cuddle®.
By the way, technically this article is not sponsored by Shannon Fabrics, as I am not getting paid to write it and I paid for all the fabrics in the pictures, but yes, I am a Shannon Fabrics Brand Ambassador, which means I get paid to be an educator for them when I teach at a fabric shop. There will be later posts on how to sew with Cuddle® and some of its unique properties. Cuddle® can be purchased at Fabric.com or FabricDepot.com - no affiliation - just where I purchased the fabrics.


Officially a Brand Ambassador for Shannon Fabrics

It’s official! I am so excited to announce that I am a brand ambassador for Shannon Fabrics. Last week I spent an amazing three days just outside Chicago, Illinois, at the incredible Bernina Center.

Some of the Shannon Fabrics' executives,&nbsp;representatives and band ambassadors

Some of the Shannon Fabrics' executives, representatives and band ambassadors

Thirty people from all over the country were chosen out of four hundred applicants to be brand ambassadors. We were all chosen for different reasons and expertise, but we all have a common thread of sewing.  It was a time of a lifetime to be able to affectionately bond with so many different people.

Not only did we wear the same scarf, we were sewing partners that had the common bond of being the mother to large families - 8 for Pamela O'Neil and 9 for me

Not only did we wear the same scarf, we were sewing partners that had the common bond of being the mother to large families - 8 for Pamela O'Neil and 9 for me

Our mission as brand ambassadors is to teach others how to sew with the lush Shannon Fabrics. We are the Shannon Fabrics educators. We were trained on how to present demonstrations, trunk shows, and classes. This brand ambassador program is a new concept for them and we are proudly the first class to graduate. 

Our wonderful main educator and coordinator, Teresa Coates

Our wonderful main educator and coordinator, Teresa Coates

We spent three days in an intensive training. From six in the morning until eleven at night it was non-stop training (okay eating too), but it was truly a time of a lifetime.  I had so much fun, learned so much, and fell in love with the company’s culture. They are passionately family and quality oriented.

Even the executive, Julie Olds, had a hand at instructing us

Even the executive, Julie Olds, had a hand at instructing us

The actual fabrics of Shannon Fabrics are what initially sold me on applying to become a brand ambassador.  Their number one product is a line called Cuddle.

Cuddle comes in a wide range of 96 colors

Cuddle comes in a wide range of 96 colors

This is just one example of the lovely quilts that can be made from Cuddle

This is just one example of the lovely quilts that can be made from Cuddle

In my opinion, it is the softest fabric there is. It is in the broad category of textiles named minky, but this is far superior to the generic minky fabric that you would feel at the local chain fabric store. It has a thicker pile and is so much more luxurious. There are also many other aspects as to why it sews so much better, but that is for another blog post (of course).

The colors in the this quilt are just exquiste

The colors in the this quilt are just exquiste

This is one of my favorite colors and workmanship as I am amazed at the detail in this printing

This is one of my favorite colors and workmanship as I am amazed at the detail in this printing

Over the past few months in preparing for this venture, I have come to realize that Shannon Fabrics has so many more sumptuous fabrics beyond the simple Cuddle line. I am absolutely in love with their faux fur and to be perfectly honest, I do not know why people wear real animal furs when they can have these Tissavel furs that are so soft you get lost in them. Those Luxe Cuddle throws had a hard time being passed around as everyone wanted a chance to cuddle up with them and did not want to give them up.

The sweet Donna Thornton swaddled in a lucious Luxe Cuddle

The sweet Donna Thornton swaddled in a lucious Luxe Cuddle

During our three days, we were treated like royalty. Of course, we were all given our own set of fur throws, but Shannon Fabrics was also extremely generous with each one of us being provided an entire large suitcase full of fabrics and notions.

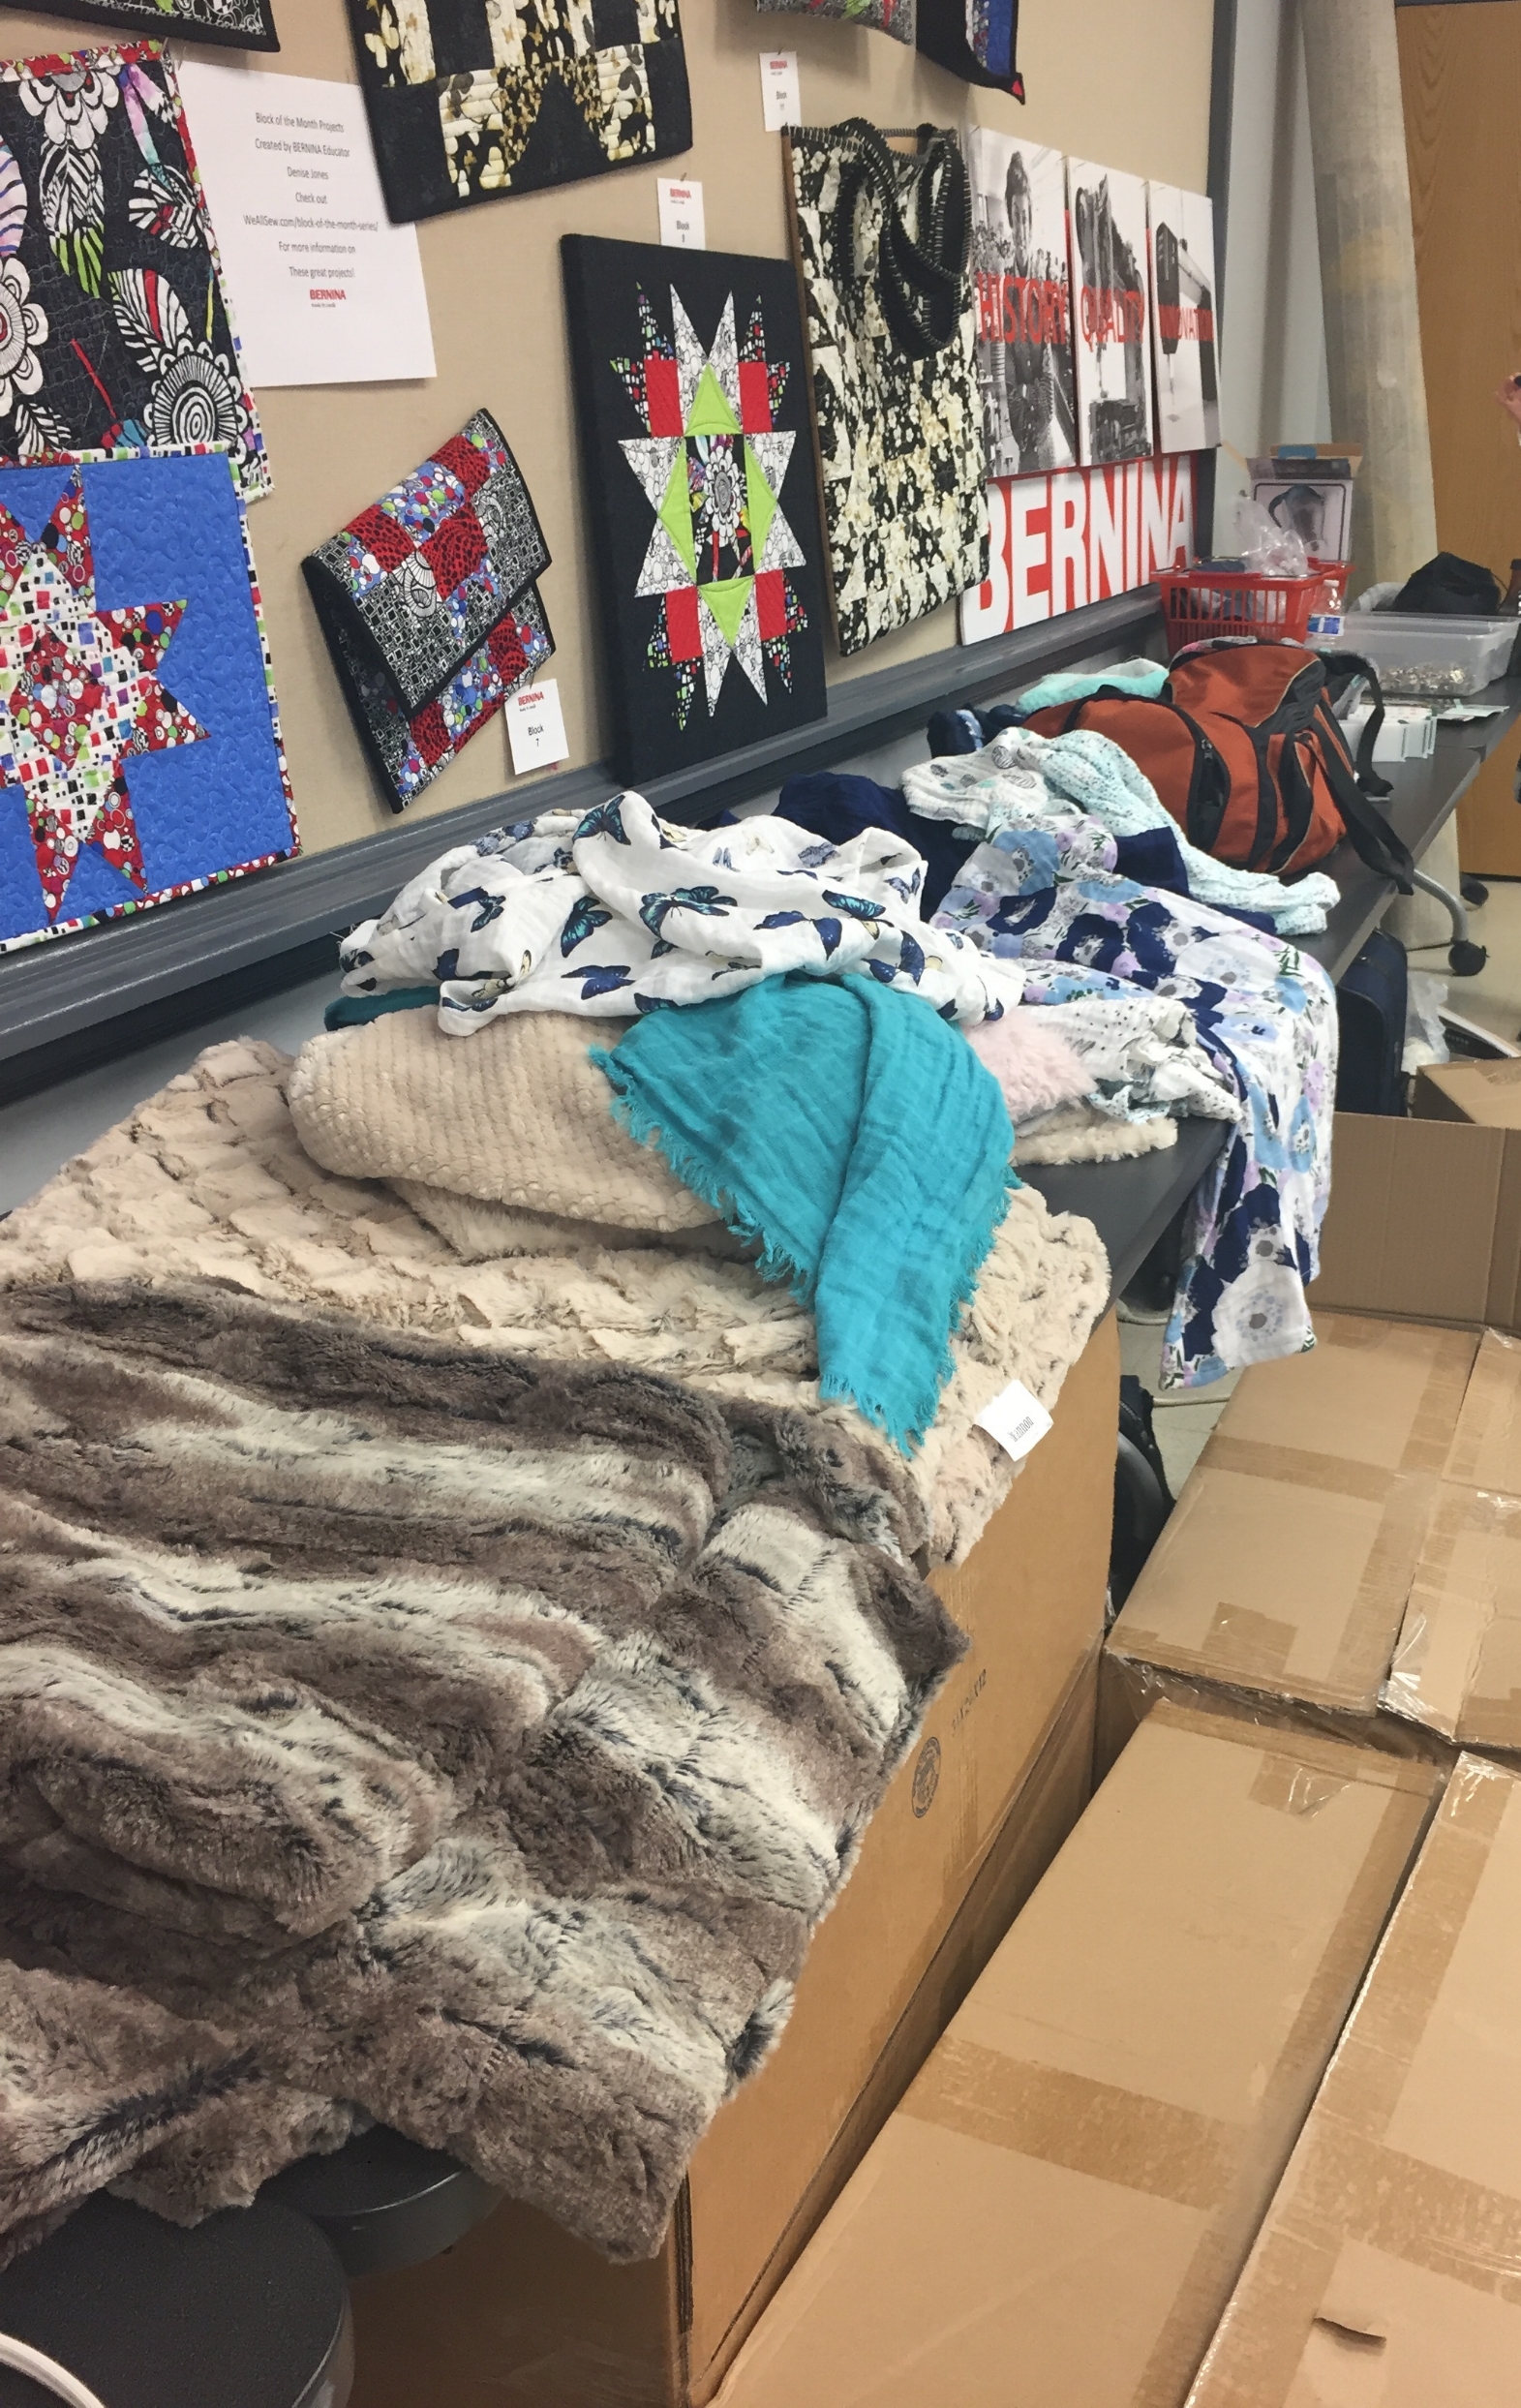
All those boxes are filled with fabric for each of us and an abundance of samples are on the table

All those boxes are filled with fabric for each of us and an abundance of samples are on the table

They had arranged with their sponsors to indulge us with so many notions. There were so many that they filled an entire bag. We were all so overwhelmed with the generosity of Shannon Fabrics and their sponsors.

A bag filled with sewing notions to begin, but it would be overflowing by the end

A bag filled with sewing notions to begin, but it would be overflowing by the end

As you would expect, we ate like the rich and famous with all their furs. The first night we had a wonderful sampling of those Chicago deep-dish pizzas and the next night we were privileged to be at the Aspen Lane Wine Company that follows the Newman model of donating all their profits. You can read about their giving hearts if you click here.

Dinner at the Aspen Lane Wine Company

Dinner at the Aspen Lane Wine Company

Shannon Fabrics also has many other lines of fabrics such as their Embrace, which is a contemporary and popular double gauze.  Have you noticed how many names are loving names? Let me tell you we had fun with those as each morning we cuddled. Yes, we gave hugs and kisses to everyone – people we had never known before this event. There were a few people that were stretched out of their comfort zones and I think the Bernina educator was the saddest to see us leave.

This is a sweet blanket made with Embrace on the top and a gorgeous Luxe Cuddle on the bottom

This is a sweet blanket made with Embrace on the top and a gorgeous Luxe Cuddle on the bottom

Some of the garments that can be created with Embrace

Some of the garments that can be created with Embrace

The Bernina Center was unbelievable.  There was a dedicated high-end Bernina sewing machine for all of us with a large workstation and the training was phenomenal.

The Bernina Center educational room

The Bernina Center educational room

Indubitably, Shannon Fabrics taught us well. We had thorough explanations as well as hands on construction, and evaluations. We saw garments as well as every other possible item that could be made with their fabrics. We even heard from a company that specialized in cosplay using Shannon Fabrics.  

The detail in this garment is impecable

The detail in this garment is impecable

It was a wonderful experience and one that I will treasure for a lifetime, but it was the people that made the difference. Without them, this would not have been the same. They were an incredible group of people and I hope that you have the pleasure to meet some of them. 

My lovely roommate, Susan Hastings, was so sweet that she wore machine embroidery every day

My lovely roommate, Susan Hastings, was so sweet that she wore machine embroidery every day

Beyond a doubt, I am so psyched. I just want to start sewing all that fabric in my suitcase.  Yes, there is so much that I am having a little trouble finding where to put it all. It is still in my suitcase. Do not tell my husband, but I have big plans for a new sewing studio.

Thank you, Shannon Fabrics for everything, but especially for “Making the world a softer place!” Words can never express my gratitude.