Children and snow go together like peanut butter and jelly. They are inseparable. But those little toes suffer the consequences of them playing long hours outside. These bootliners are just the trick. They are made with Fairfield World’s Solarize that is a thin insulating thermal barrier fabric.
Thank you to Fairfield World for donating the Solarize and the stabilizer, and compensating me for this blog post series. Thank you to Shannon Fabrics for providing the inspiration and a discount on the fabric.
Top these bootliners off with the cutest faux fur ever – baby pink monkey shag fur from Shannon fabrics and you are sure to beat the cold. Because Shannon’s fur is a knit, there is no need to line the fur or finish the edges. You can merely cut it and sew it on to the top. It is super easy.
These bootliners are loose fitting liners that slide inside of a boot. They are intended to be worn with socks. They assist in keeping feet warm and are not intended to be worn as slippers since there is no sole. Solarize could be used to line slippers for a wonderful snuggly warmth.
If your child’s boots have trouble staying dry, just add an extra layer of Shield, a moisture-proof fabric. These are your creations, so make them just perfect for your little one.
MATERIALS
- Solarize by Fairfield World – 1 yard for a small size (22” wide)
- Shannon Fabrics’ Monkey Shag Fur (faux) in Baby Pink – two pieces measuring 13” (or desired length) by the circumference of the top of the boot plus 1” – mine measured 13” by 11”
- Stabilize by Fairfield World for the bottom of the foot only– mine measured 16” by 11”
- Matching thread
- Sewing machine and supplies
- Optional: Coordinating faux fur Pompoms – instructions in this blog post
INSTRUCTIONS
NOTE: Use ½” seam allowance, unless noted otherwise.
STEP 1 – Make the Pattern for the Sole
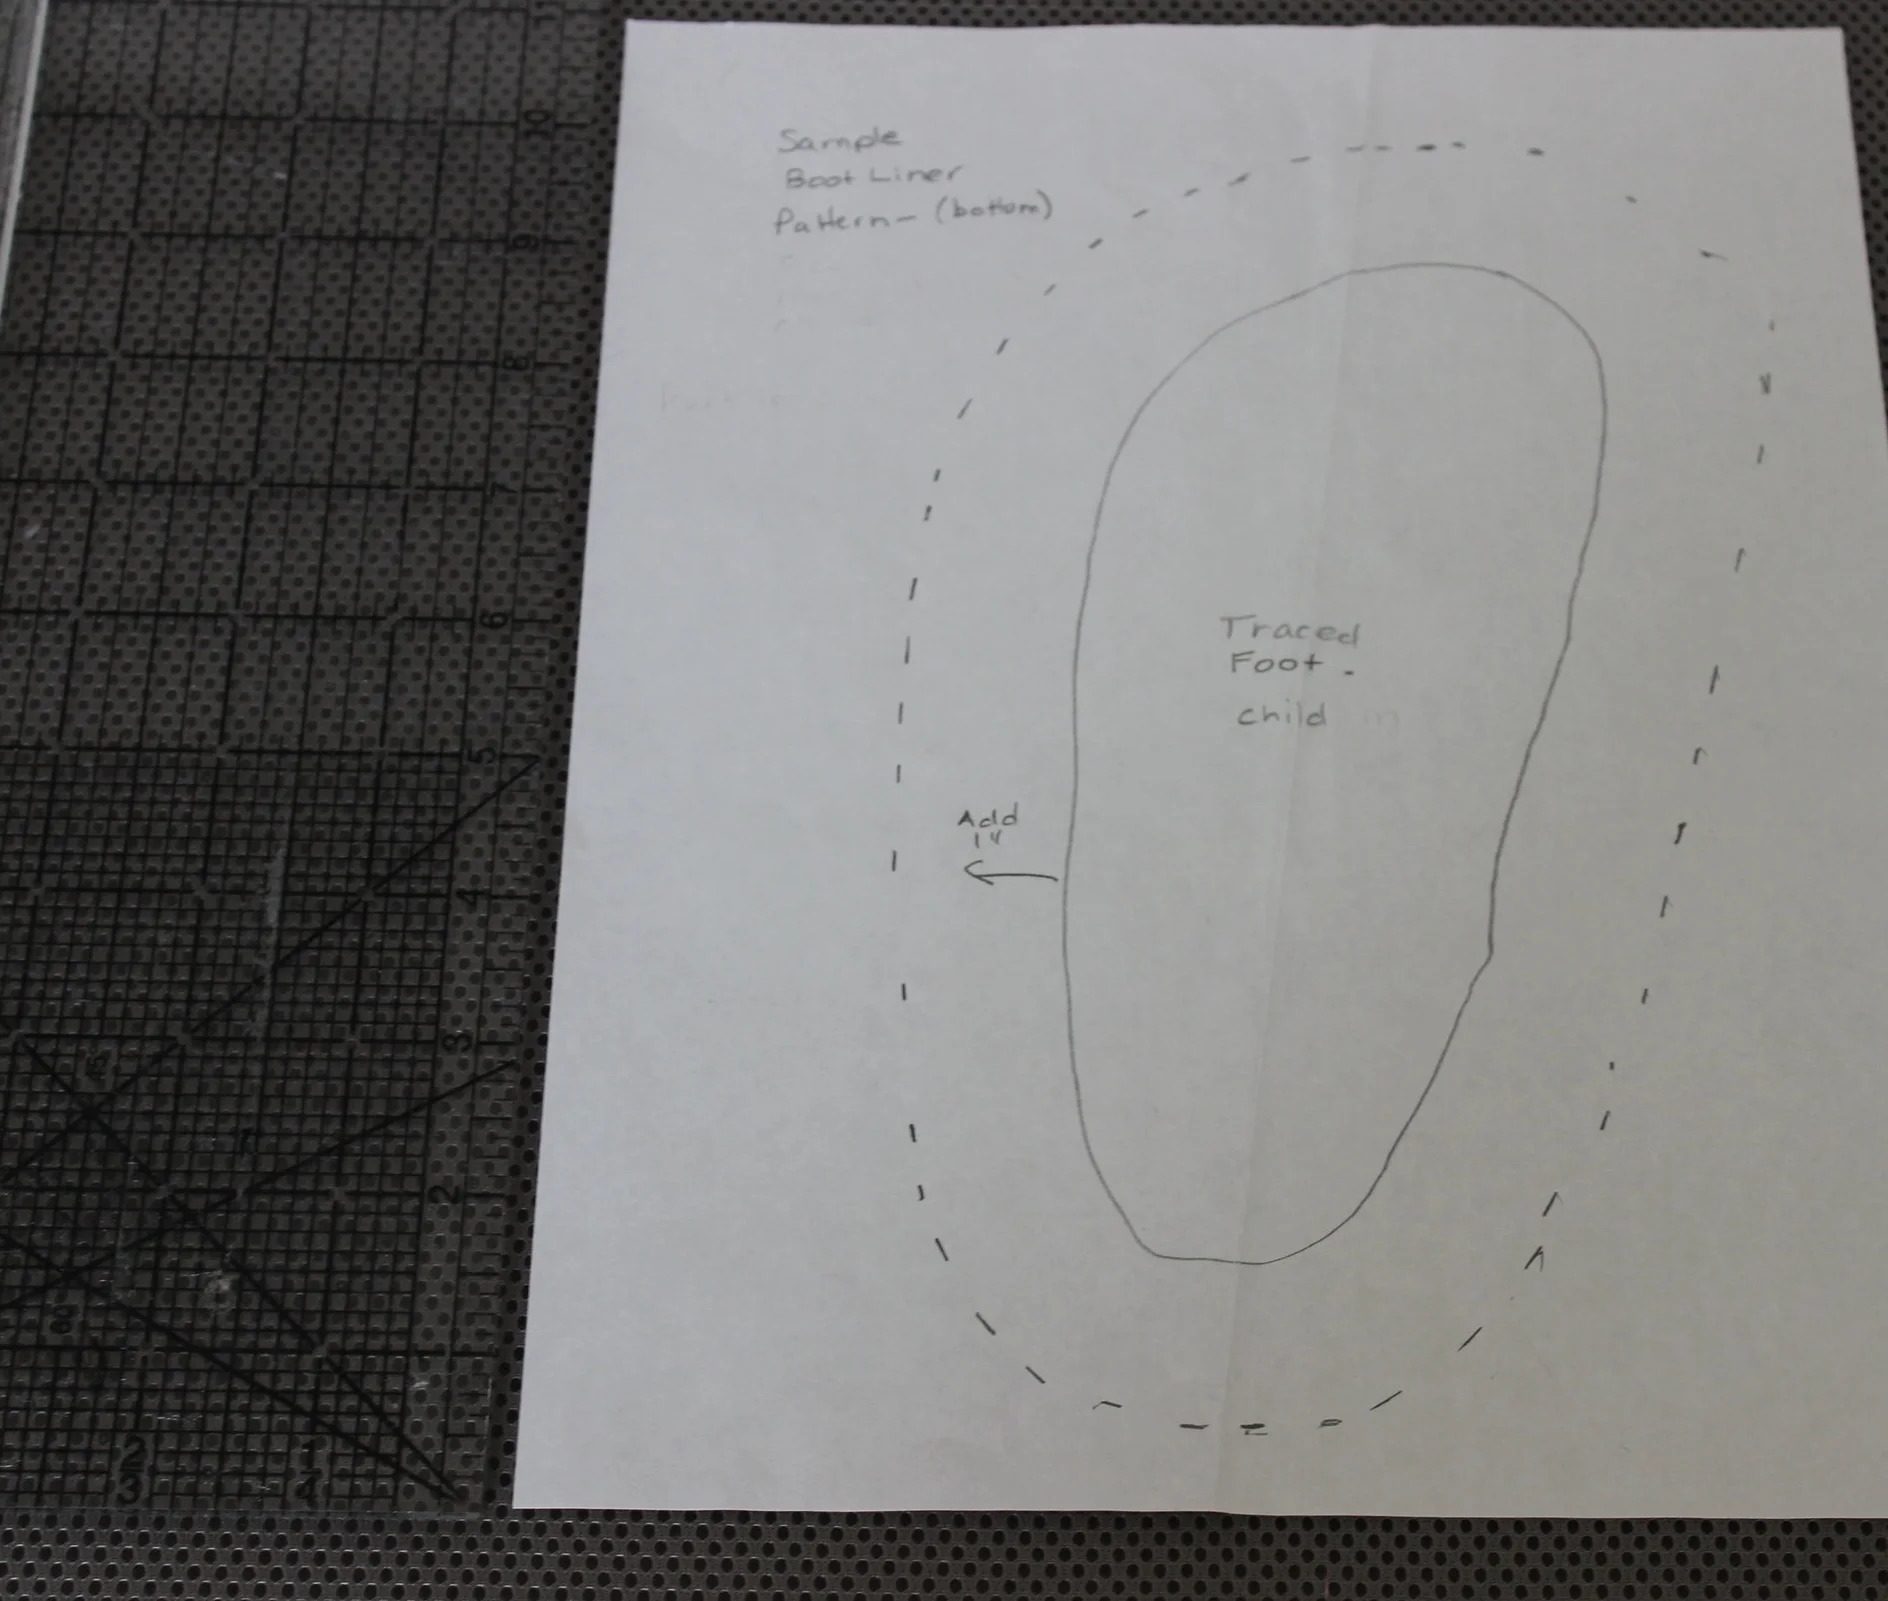
With a sock on, trace the child’s foot on a piece of paper.
On the paper with the foot pattern, add 1” all the way around the foot. See my example of the pattern. Cut out the pattern.
STEP 2 - Make the Pattern for the Upper Boot
With the boot on, measure the height from the top of the sole to the top of the boot. Measure the boot’s opening circumference. Measure the distance from the boot sole to the ankle.
Measure the length of this foot pattern and add 2” to it. This will be the bottom measurement of the boot top.
Draw an L shape from the bottom of the boot with the side being the measurement of the height of the boot.
At the top of the L extend it half the circumference of the boot top plus 1”. Draw a line straight down stopping at the ankle height from the bottom. From the ankle point curve a line to the toe. See my example of the pattern. Cut out the pattern.
STEP 2 – Cut the Fabrics
· From the foot pattern, cut 2 pieces from the Solarize
· From the foot pattern, cut 2 pieces from the Stabilizer
· From the boot top pattern, cut 4 pieces from the Solarize – 2 should be facing left and 2 should be facing right
STEP 3 - Construct the Bootliner
With right sides together, sew both sides of the boot top.
STEP 4
Place the stabilizer of the foot pattern flat on a table, put the solarize foot pattern on top of it with the silver facing up. Pin in place.
STEP 5
Place the bottom edge of the boot top around the perimeter of the foot pattern in STEP 4. This will be the widest part of the boot top. Pin in place.
STEP 6
Using the piece of Monkey Shag Fur with right sides together sew the length sides together.
STEP 7
With right sides together (silver matching the fur) place the sewn piece of Monkey Shag Fur inside the top of the bootliner and pin in place.
STEP 8
Sew the fur to the top of the solarize bootliner.
STEP 9
Fold the fur cuff over so that it is on the outside of the booliner. The inside of the bootliner is silver, the outside is the white of the fabric, but to be honest, it can work either way.


